I was walking through Chapters the other day and spotted the flashiest little globe. I really didn’t know I was in need of a globe until I came across this one. It had to be mine! I checked out the price and realized owning it would be a bit more complicated. Yes it was on sale from $149.50 to $119.50, but I could already hear my husband asking questions if I made the purchase.
“We needed a globe?” “Where is it going?” “How much was it?”
It’s the last question about how much it would have cost that I was a little worried about, so I set off to make my own painted globe.
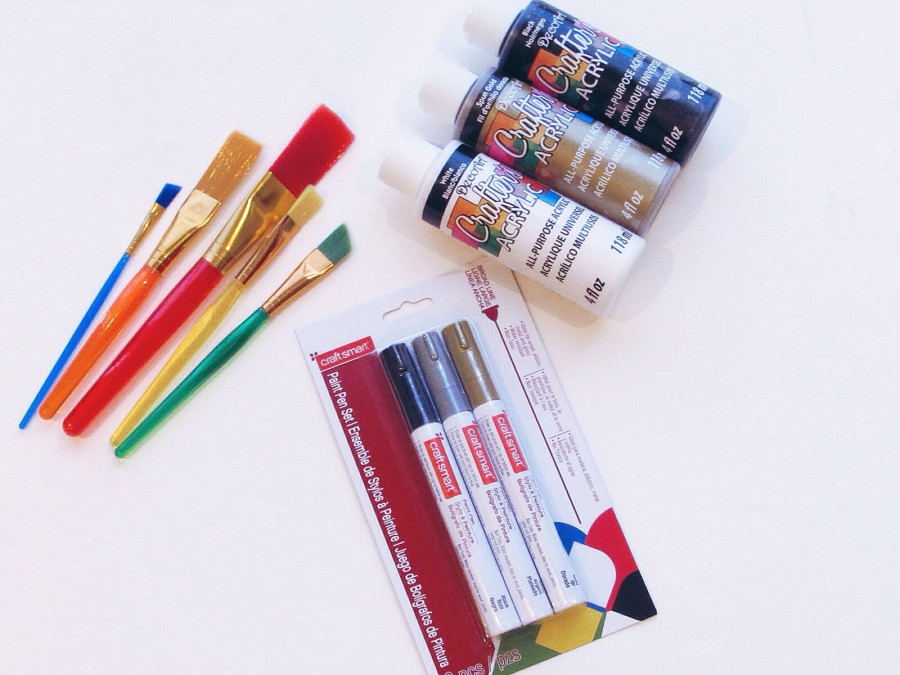
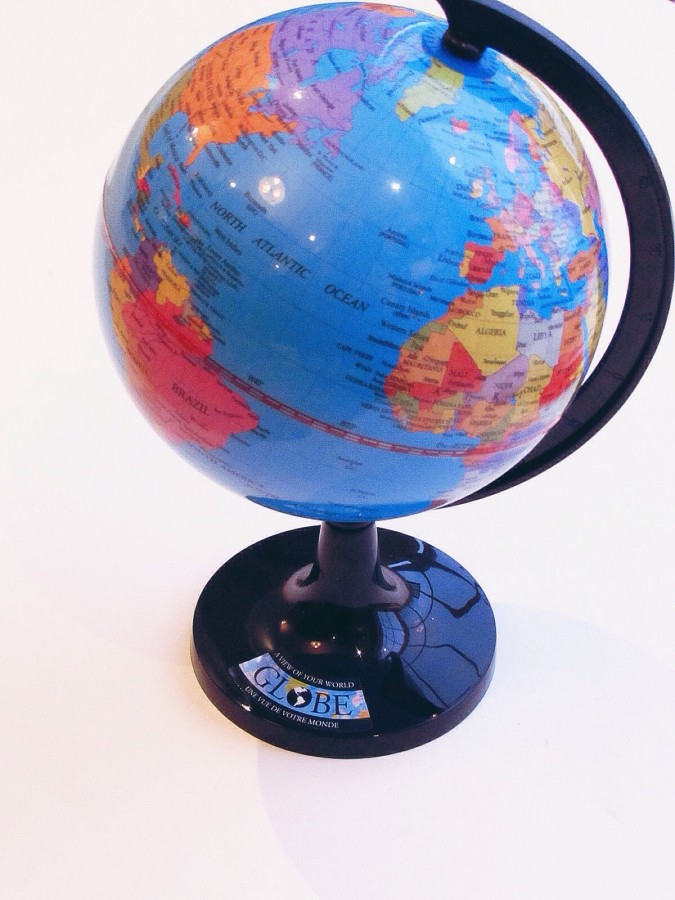
I bought the globe, paint and brushes at the dollar store. I purchased a gold paint pen as well from Michael’s, but had no choice but to buy it in a three-pack with other colors. Overall this project only cost me $16.
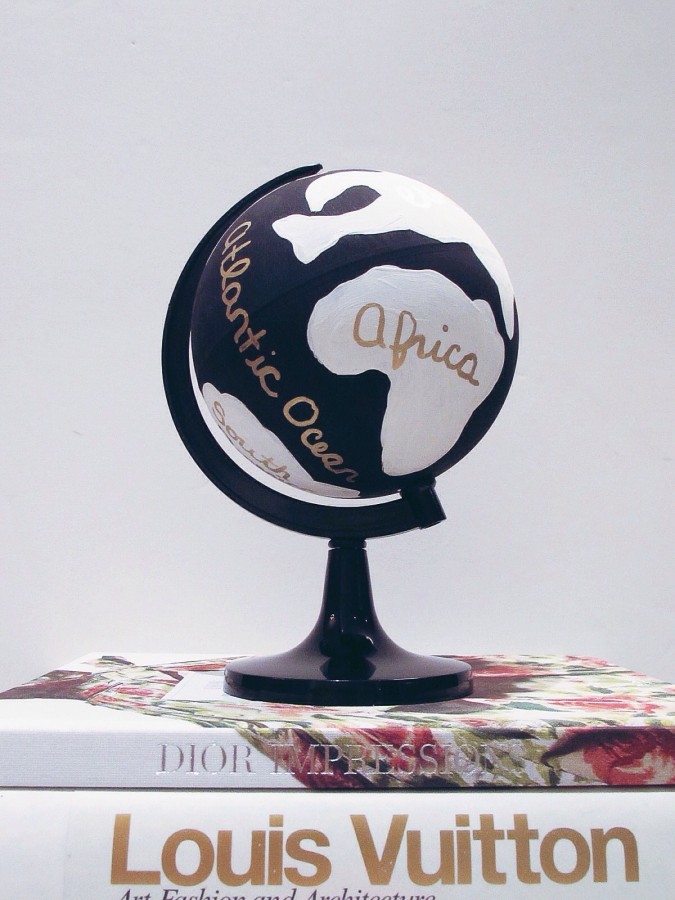
I wasn’t sure if dollar store paint would work, but ended up turning out really well. I covered the globe in 3 coats of black paint to start. This was actually very easy since the globe was on a stand.
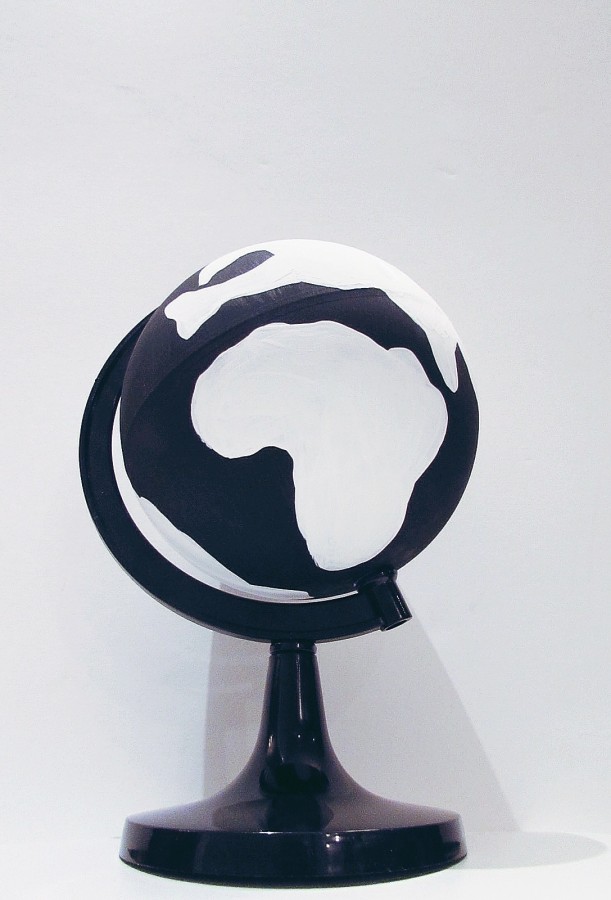
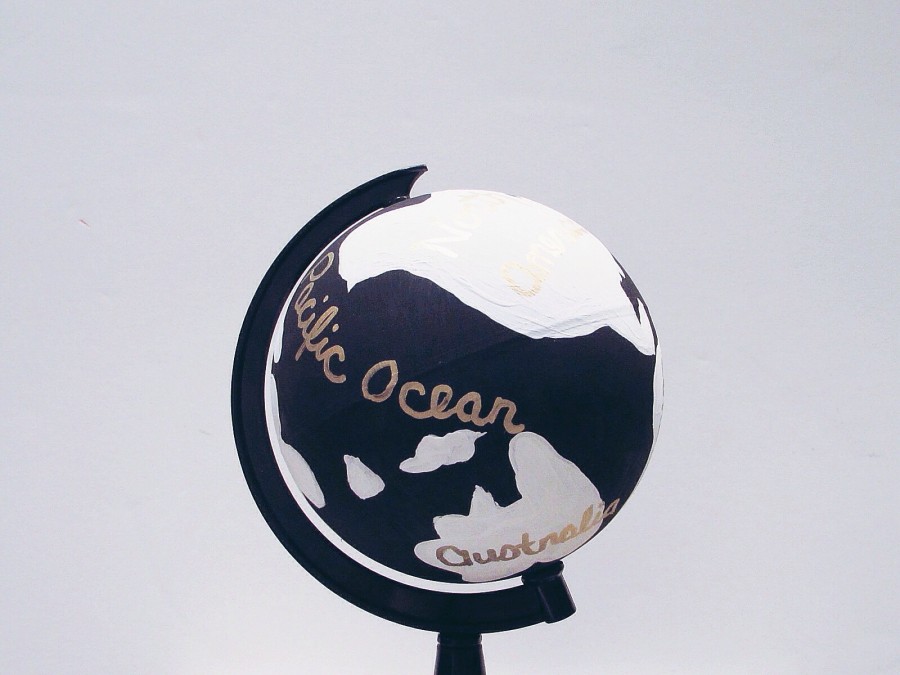
Next up I had to paint the continents. I did this free hand while looking at a map on my iPad, but I’m sure if you wanted to be more accurate you could trace the continents on the globe before painting.
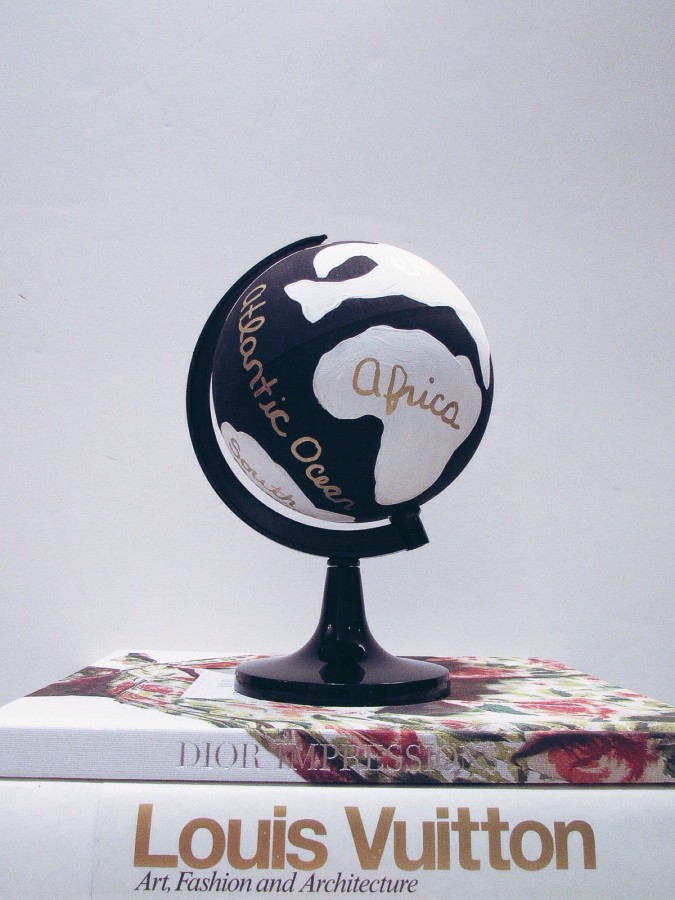
I used four coats of the white paint and let it dry before I used the gold paint pen to handwrite the oceans and continents on the globe. Again, having the globe on a stand was super helpful! It was easier than I thought it would be to do the handwriting, but there was definitely still some concentration involved.
Once it dried I was very happy with the overall project, and I was happy to inform my husband about how much money I saved him with this DIY project.
That way he would be more understanding when I end up spending the money I saved in other places. Like on shoes.




That is amazing!! It looks beautiful, I can’t wait to revamp the one we own now 🙂
You really knocked this one out of the park, Mandy!!! OMG its awesome!