When I say I’ve complied a gift guide for “her”, I secretly mean a gift guide for moi!
I think most girls would like some of these fun items on this list, and I am one of those girls.
Some people really dislike Valentine’s Day since it’s a little commercial, but I will take any holiday where I get presents! Pair that with hearts, the color pink, and half price chocolate the day after Valentine’s Day, and it’s easy to see why this holiday is one of my favourites.
I don’t think it’s a bad idea at all to fill your significant other’s head with gift idea’s that you would love. It’s a great way to avoid disappointment, and take some stress away from the gift buyer.
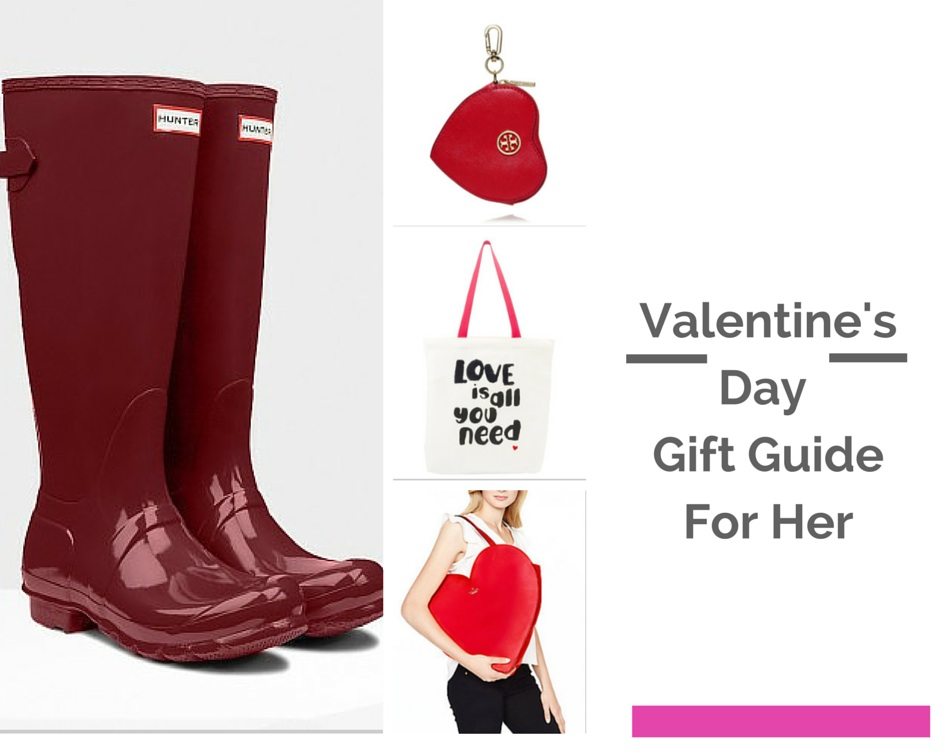
Here are a few of my favourite Valentine’s Day gift ideas for this year.
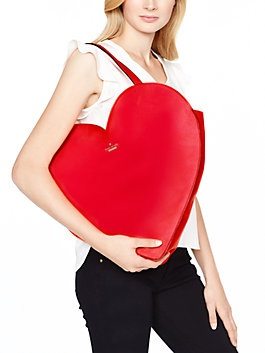
This Kate Spade Love Birds Heart Tote is complexly ridiculous, and I love it. Who wouldn’t want a heart-shaped tote bag? It’s perfect for a Valentine’s Day date as well!
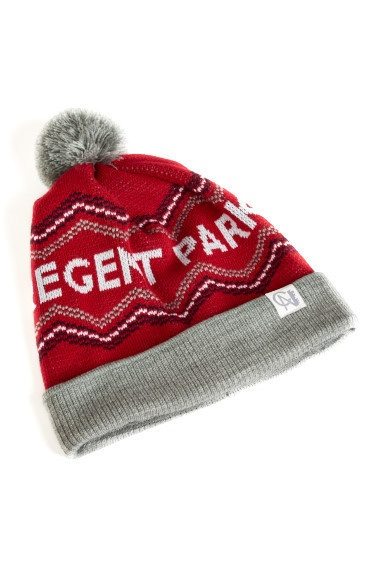
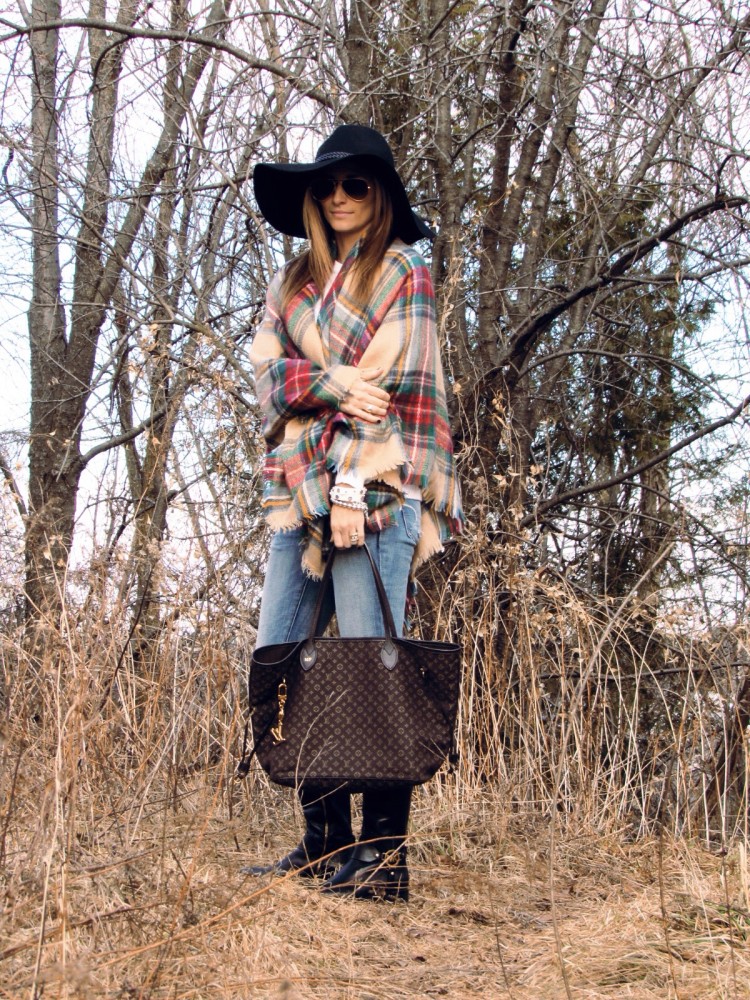
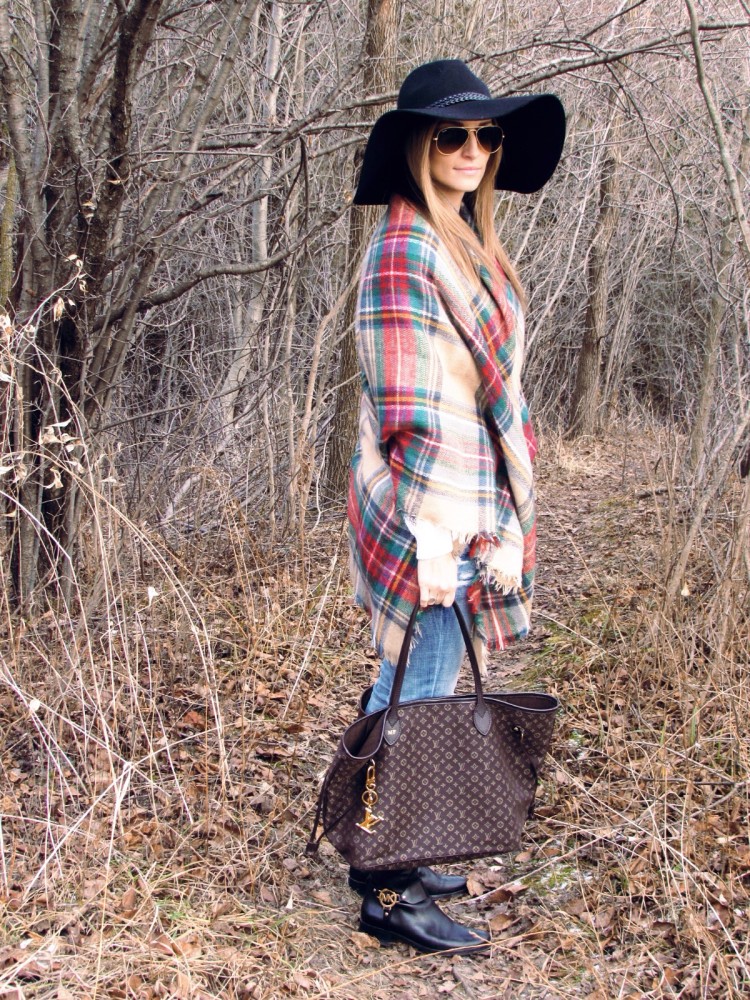
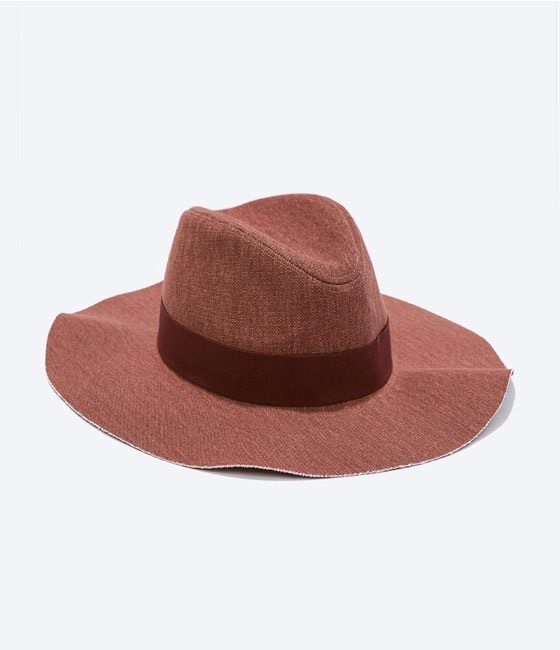
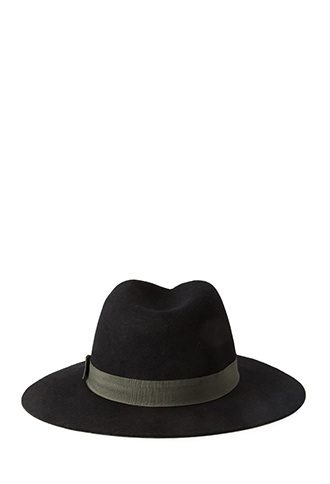
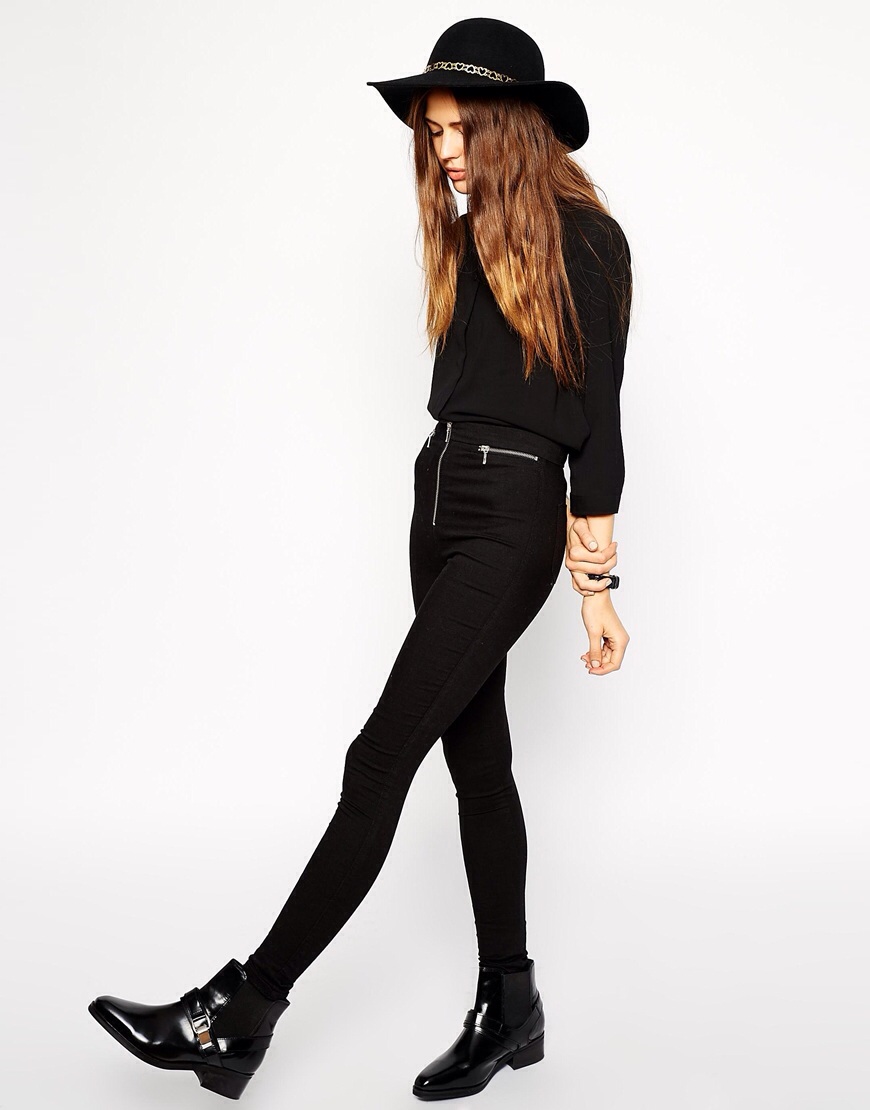
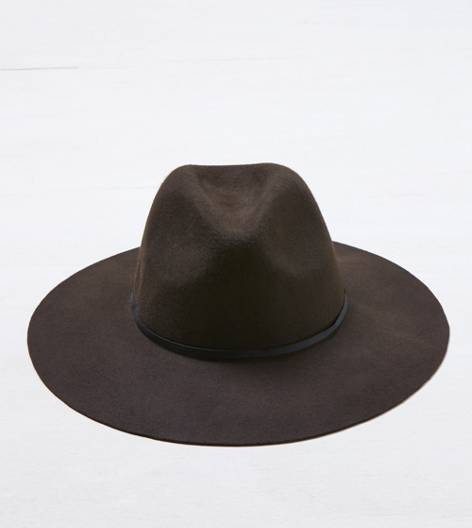
This Tuck Shop Trading Co hat looks like it would be cute in even the warmer months! There are dozens of hats for areas of Toronto from Yorkville to Scarbrough, but I like the Beverly Hills hat the most (hint hint Valentine!).
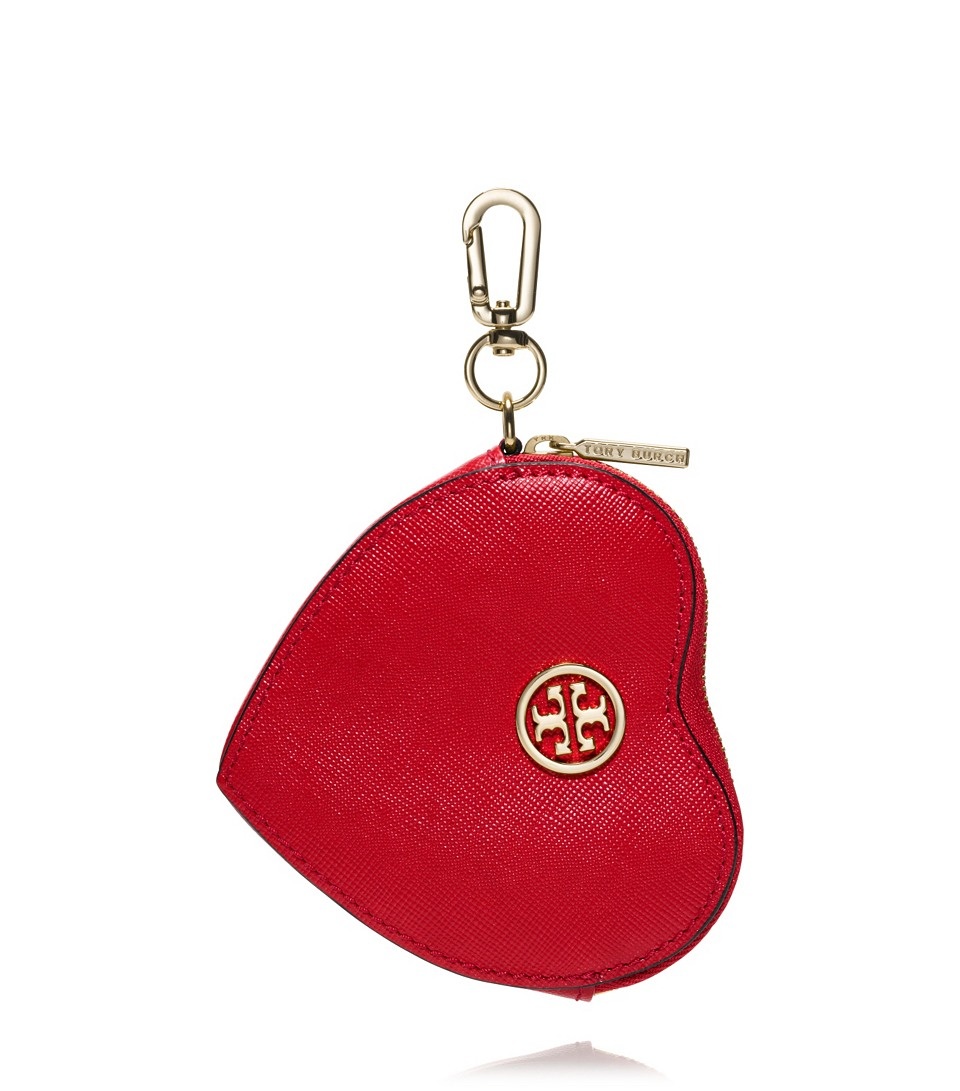
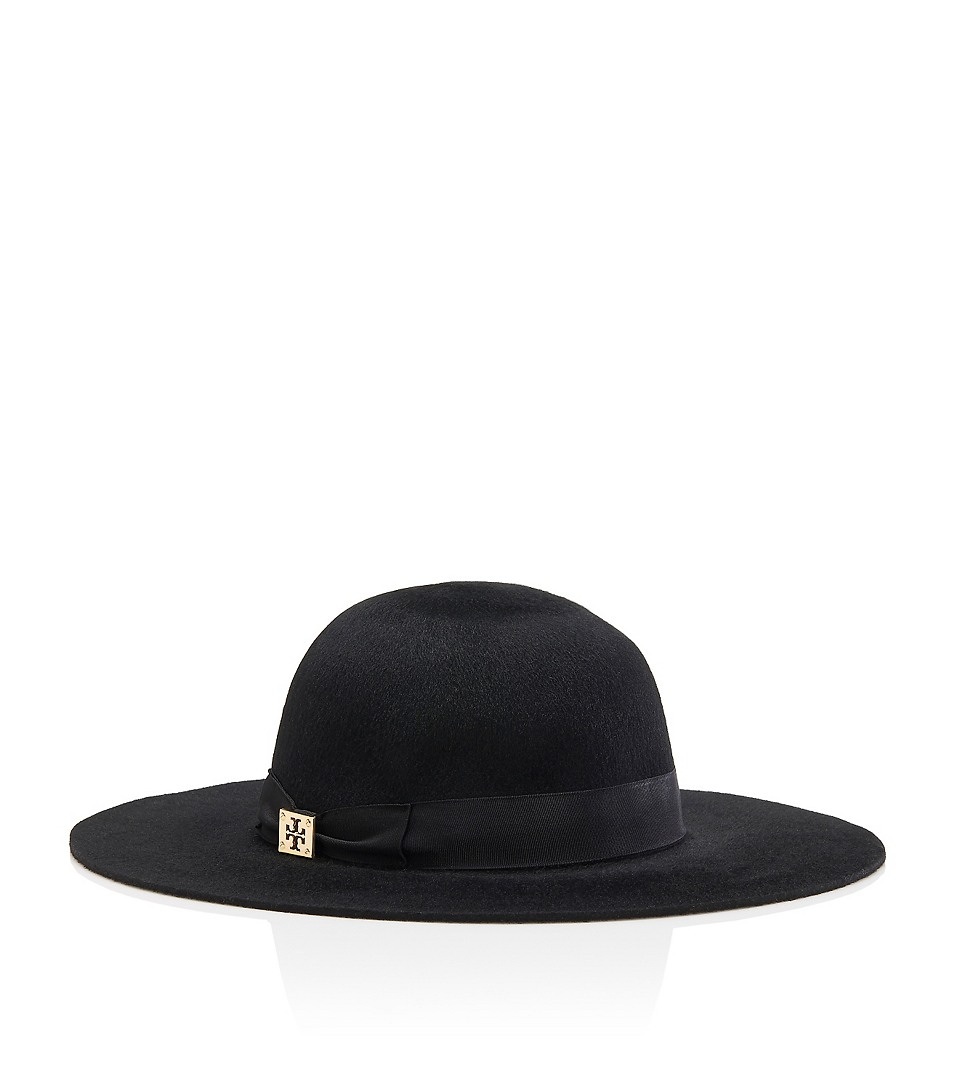
Tory Burch has a cute heart-shaped key fob in celebration of Valentine’s Day, amount other heart-themed gifts on their website.
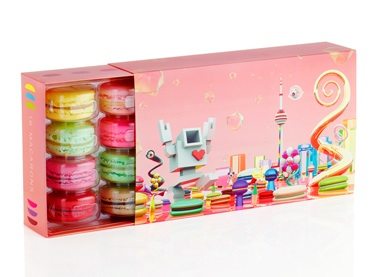
16 macarons come in this special Toronto-themed box by artist Matthew Del Degan. Macaron’s from Nadege are some if the best Toronto has to offer, plus they ship online to make it easy for your Valentine!
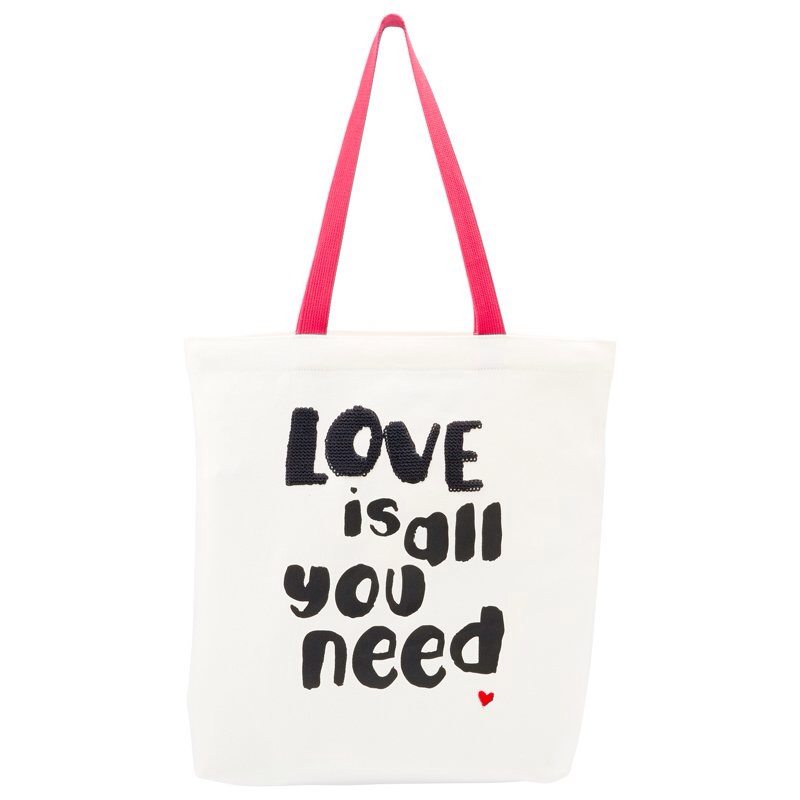
This Love is all you need tote tote from from Chapters would be easy to wear all year long.
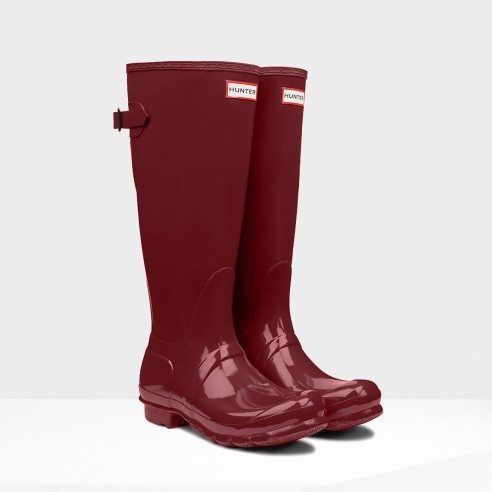
These Original Adjustable Gloss Wellington Boots by Hunter would look cute for Valentine’s Day, and every other rainy day of the year. Sometimes I wear my Hunter Boots on sunny days just because they are so comfortable.
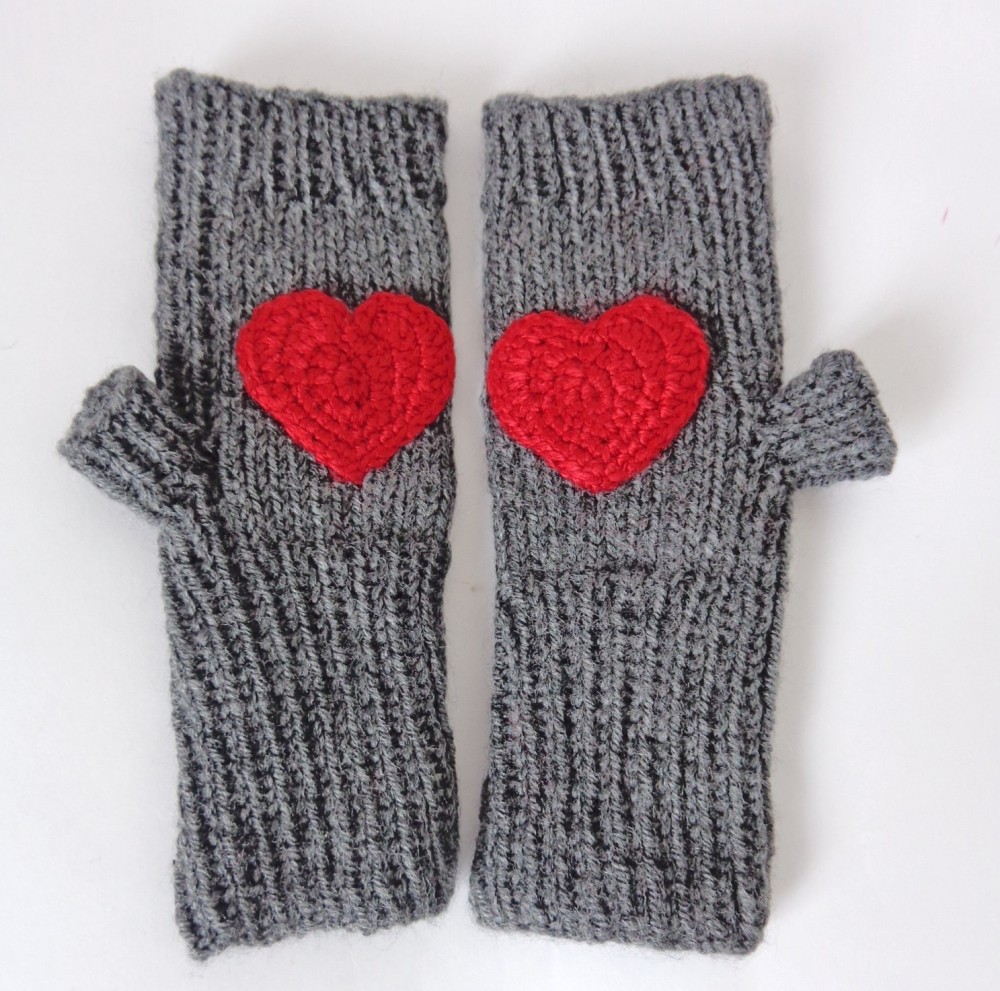
These cute fingerless gloves from Etsy shop KernalCrafts are adorable! I love the one-of-a-kind gifts you can find on Etsy.

This Tiffany Notes “I Love You” Ring is so pretty, and it would be an excellent reminder that someone is thinking of you.