My At-Home Gel Manicure With SensatioNail Fuse Starter Kit

Fuse-Gelnamel


For a girl who tries to stay on top of the trends, I’m embarrassed to say my first time doing a gel manicure was for this blogpost. Crazy right? I’ve heard rave reviews about them, but I’ve never really looked into doing one myself.

I do my own nails a lot. Like one to two times a week! I’m constantly changing my polish because I’ve either chipped it, or I feel like a colour change.

The hard part about my at-home manicures has been the presence of my toddler. I am always waiting for his nap or bed time to do my nails so they have a chance to dry.

I was a little worried that a gel manicure would be too time consuming for me to take on with the limited time I have to spare.

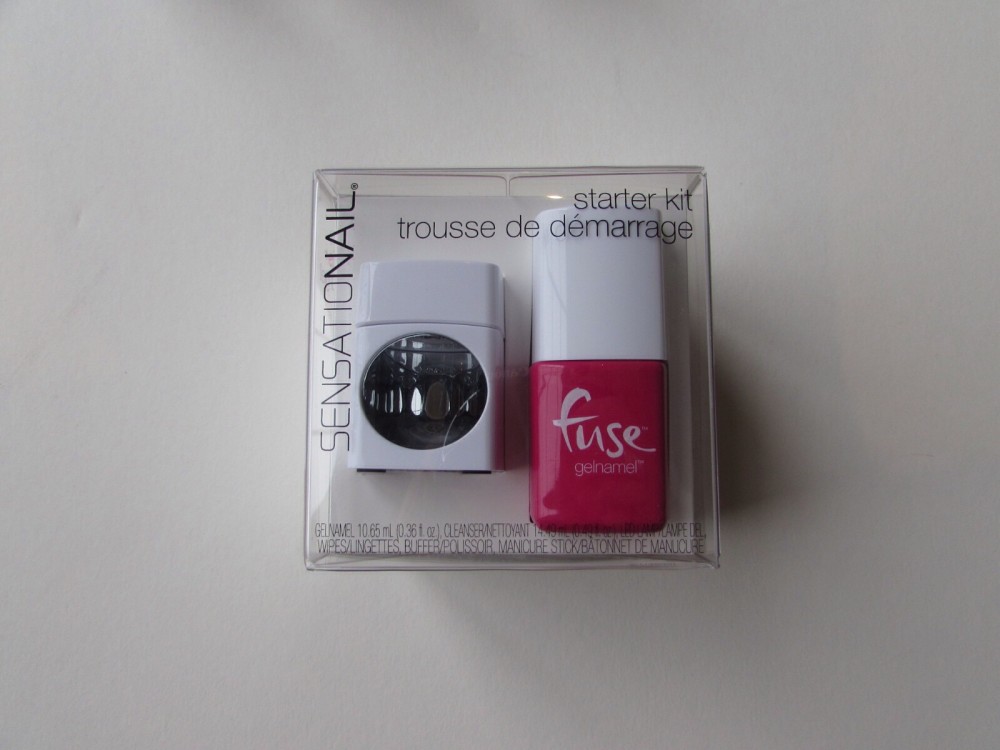
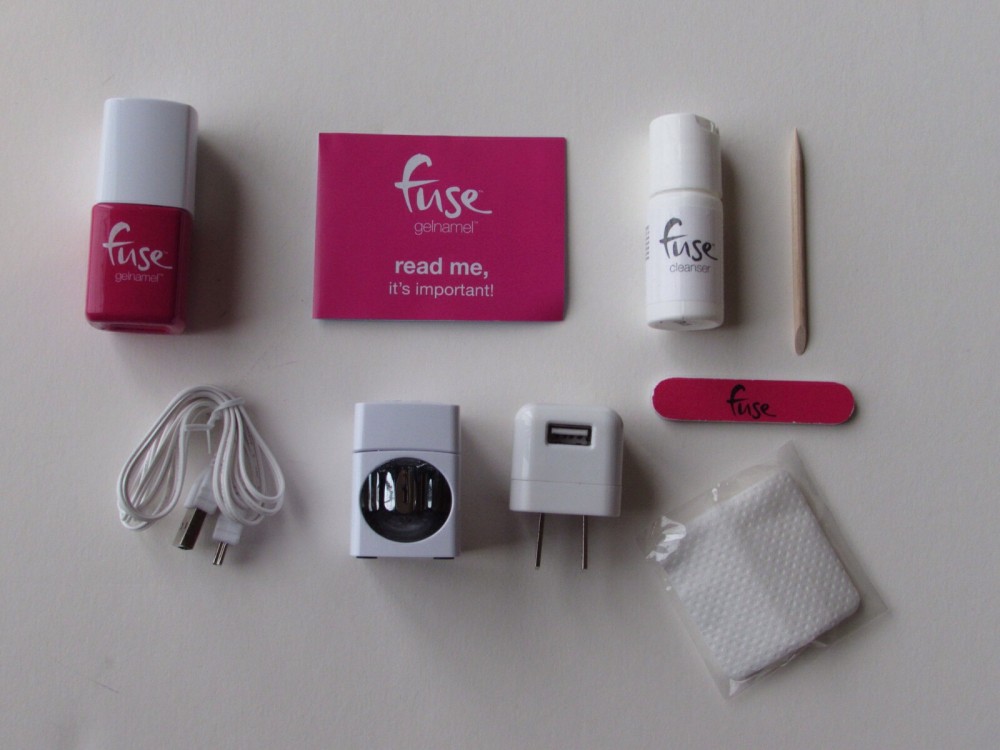
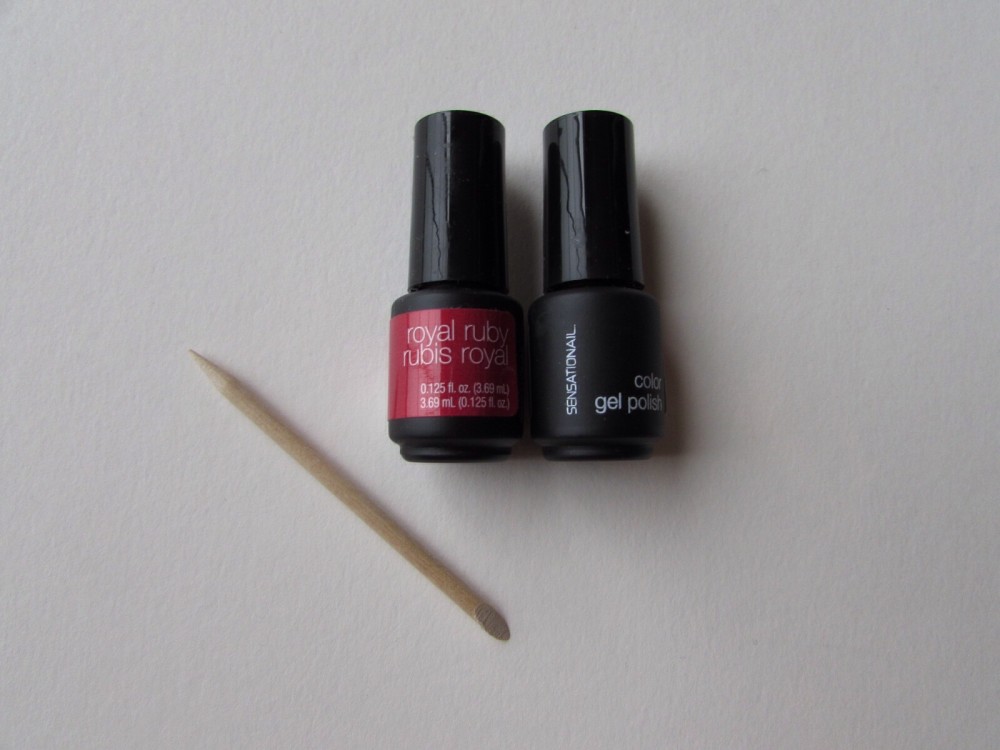
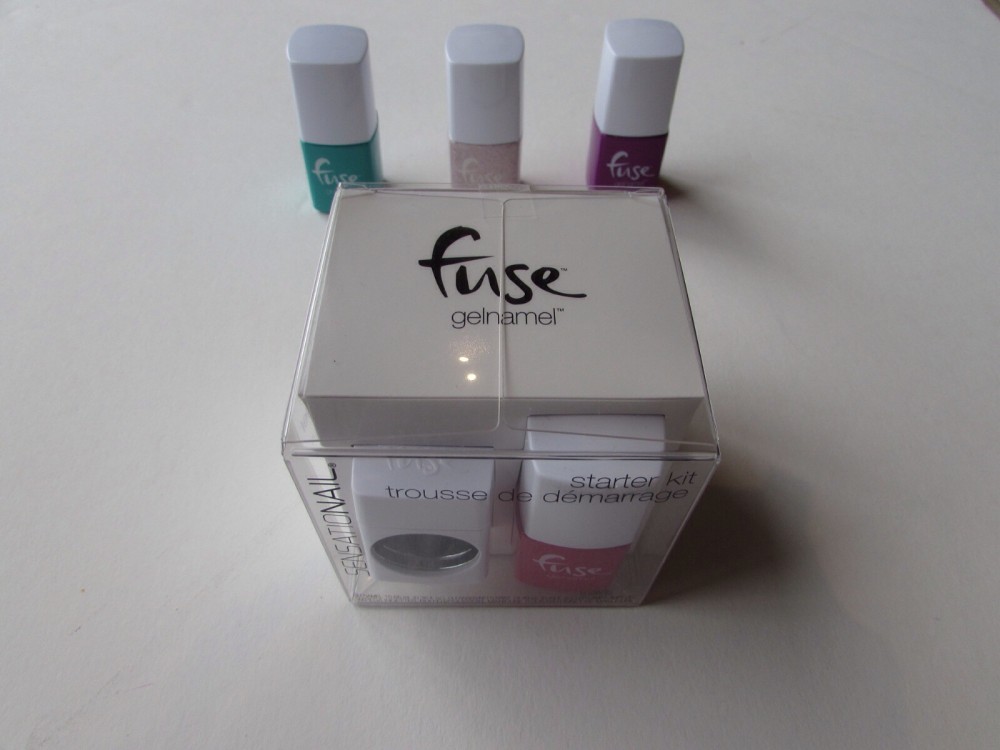
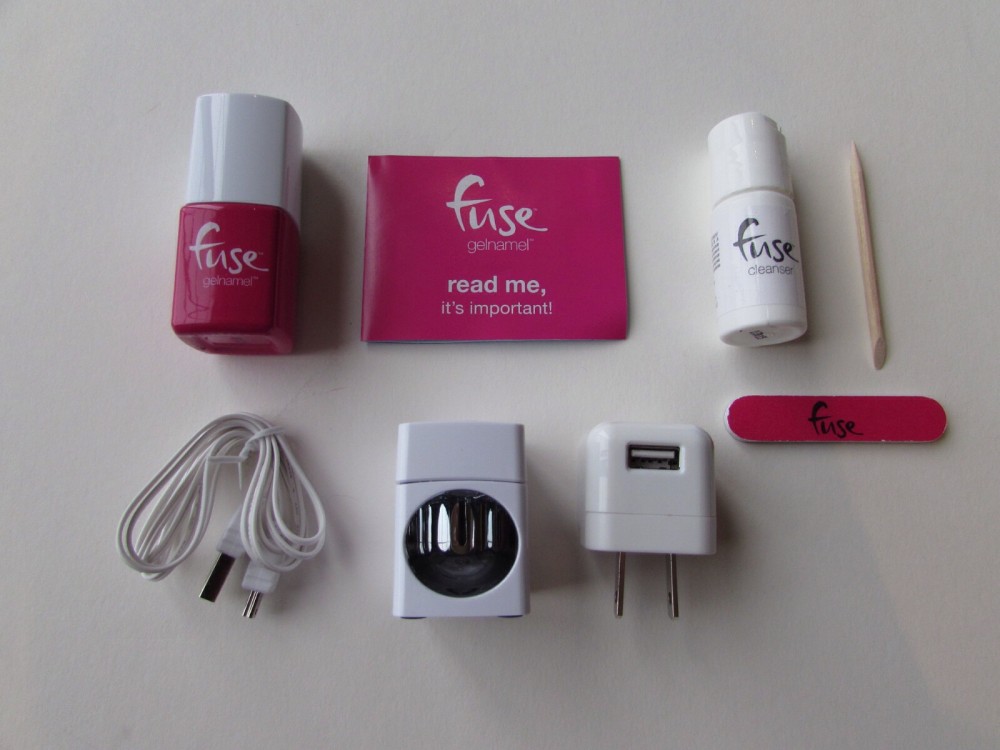
The SensatioNail Fuse Starter Kit is so pint-sized that it’s hard to believe what it includes. A Fuse Gelnamel colour, nail file, manicure stick, Gel Cleanser, cleansing cloths, and a high-powered Fuse LED lamp is included in the kit.


Fuse-Gelnamel


Fuse-Gelnamel


The Fuse Gelnamel polish formula ensures you don’t need a base or top coat which makes life even easier!

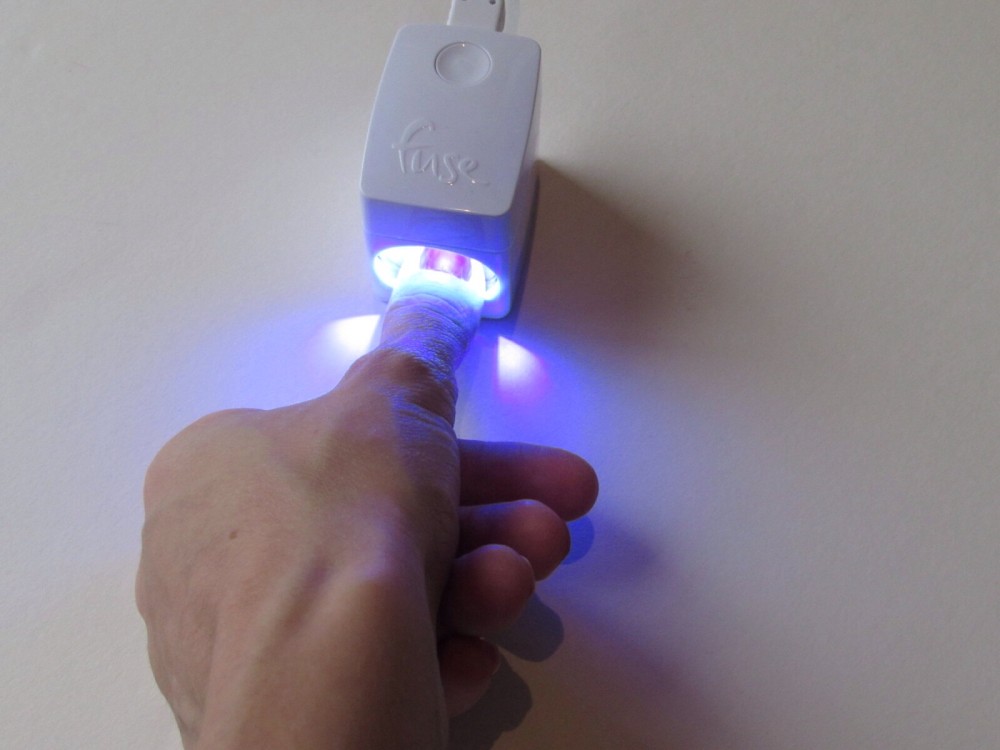
Since this was my first time doing a gel manicure, I read the instructions very carefully. I usually skip the whole “instructions” part of a project, but I figured I’d better play by the rules this time around. It was pretty easy because there weren’t many (part of the reason I was following them). Basically I had to wipe my nails with the cleanser, then add the polish. It was important to do very thin coats! The tiny LED lamp easily plugged in, and the button to turn the light on would stay on for 30 seconds, which is all you would need to set the polish on each nail.


Fuse-Gelnamel


The final step was to cleanse the nail again, and that’s it. I was surprised how easy it was. Each nail had to be painted and set with the LED lamp one nail at a time, and that was actually a good thing for me because the first time I tried the kit my son woke up with a nightmare (of course) during his nap! Luckily I was able to run upstairs and soothe him without getting my new manicure all over him.

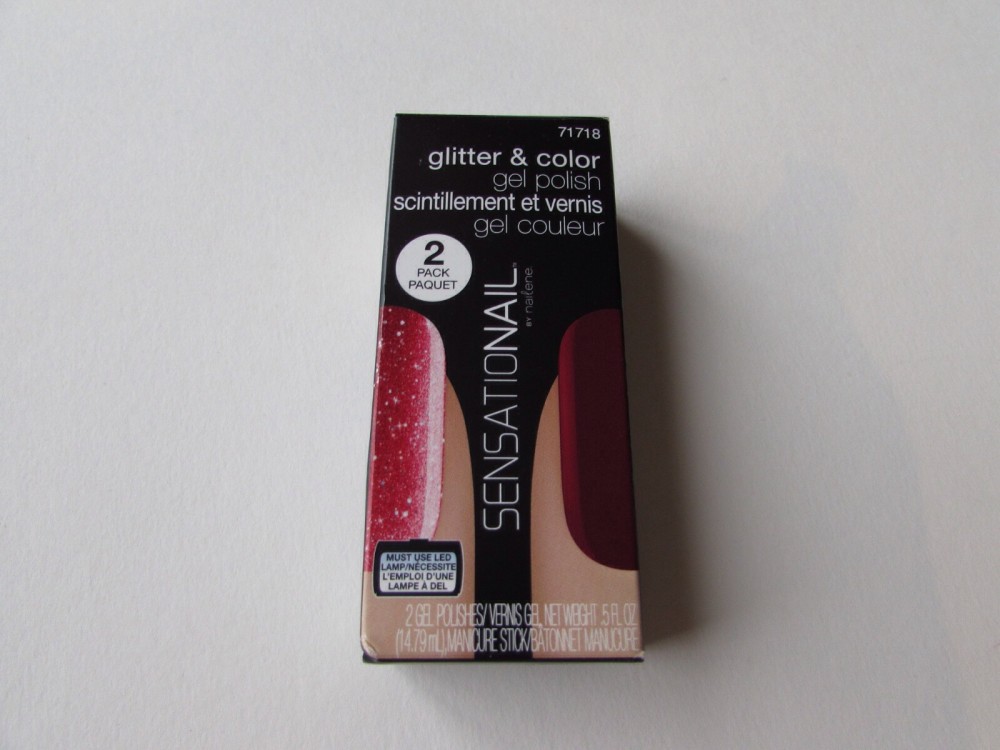
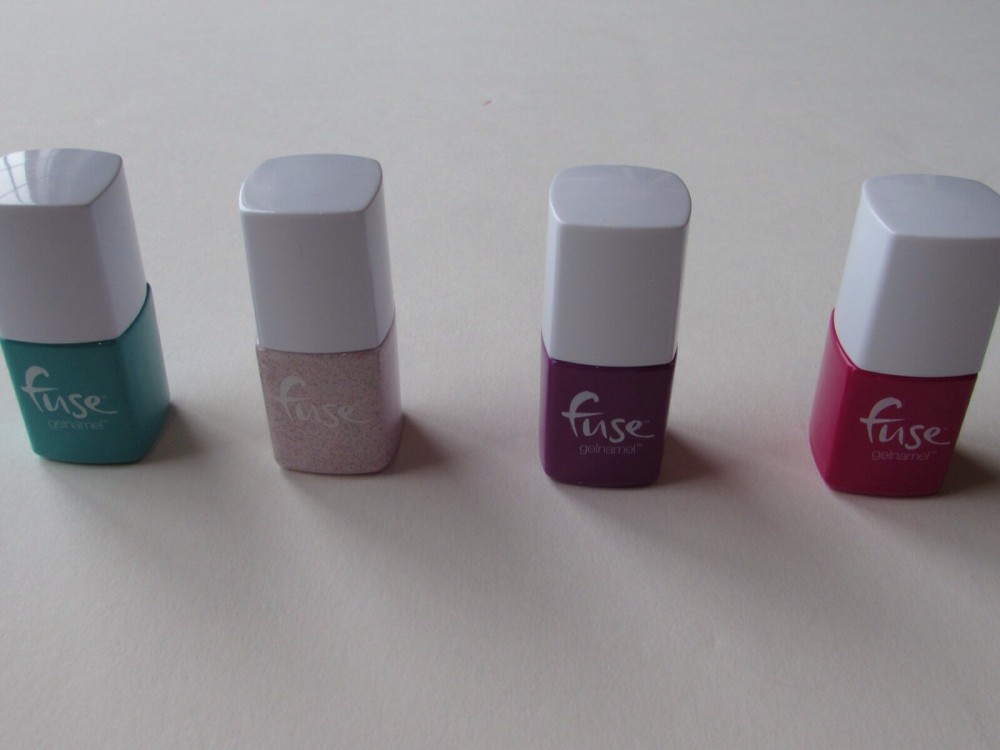
I decided to try one of the SensatioNail colour kits because it included a matching sparkle polish. Fuse also sells individual colours as well which you can use once you buy the starter kit.


Fuse-Gelnamel


Fuse-Gelnamel


The real test for me would be how long this polish would last without chipping. My nails are the worst – they are always breaking, and I chip my polish all the time. I kept track of my progress to see how long the manicure would last over the holidays.


Eight days is a new record for me for sure. I’m used to making it three days without a chip if I’m lucky! On the 9th day I finally chipped a nail, and decided it was time to remove the polish.

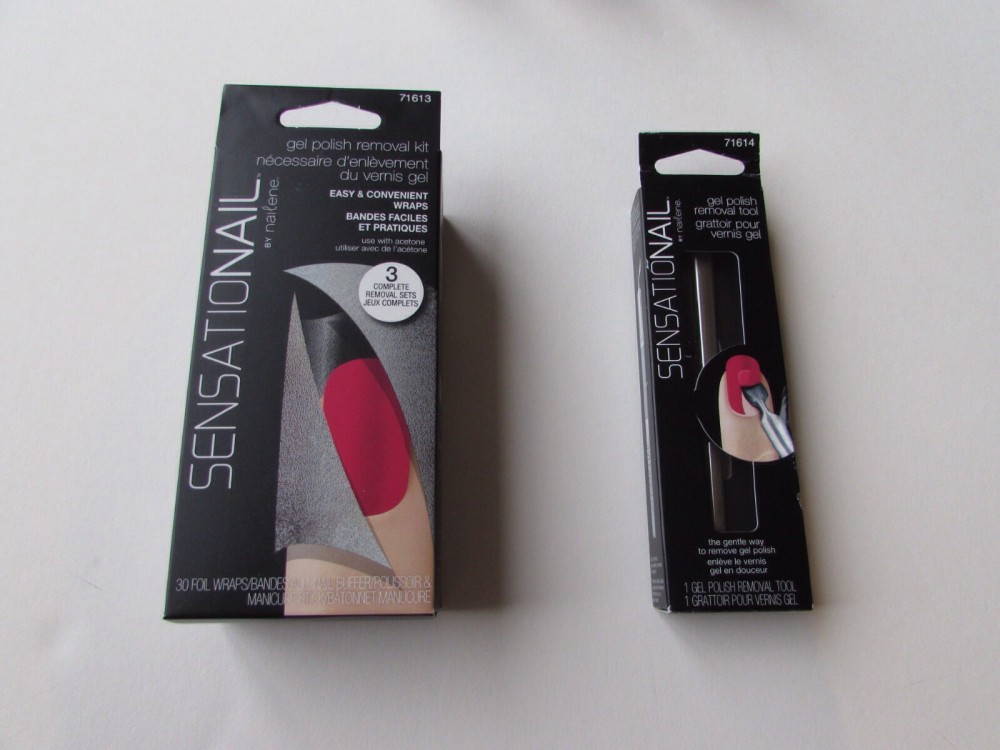
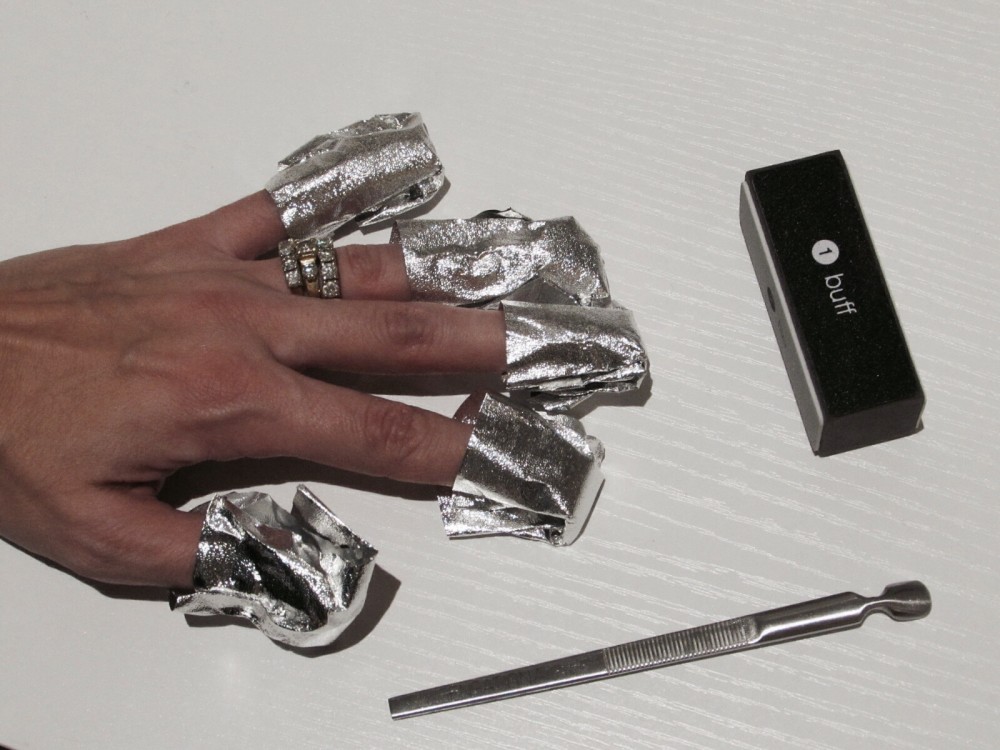
I used the SensatioNail Gel Polish Removal Kit and SensatioNail Gel Polish Removal Tool for this part. The foil had pads inside that I saturated with acetone, and left on for fifteen minutes. Once I removed the foil, most of the polish slid off as well. I used the removal tool to remove the rest of the polish easily.


Fuse-Gelnamel


image


The whole process ended up being a lot easier than I expected! It gave my nails a chance to grow as well since the gel manicure prevented my nails from breaking. The best part was how quick the process was. Thirty seconds for each nail to dry was very impressive, and was perfect for someone like me who doesn’t have a lot of time to work on their manicure.


Fuse-Gelnamel


Fuse-Gelnamel


I’m not sure why it took me so long to try a gel manicure, but now I get what everyone is raving about. This home kit couldn’t have made it easier for me!

You can find the SensatioNail Fuse Starter Kit, and other SensatioNail products at most major drug stores (including Shoppers Drug Mart), and online here.



Review of Finesse Dry Shampoo with Keratin Protein

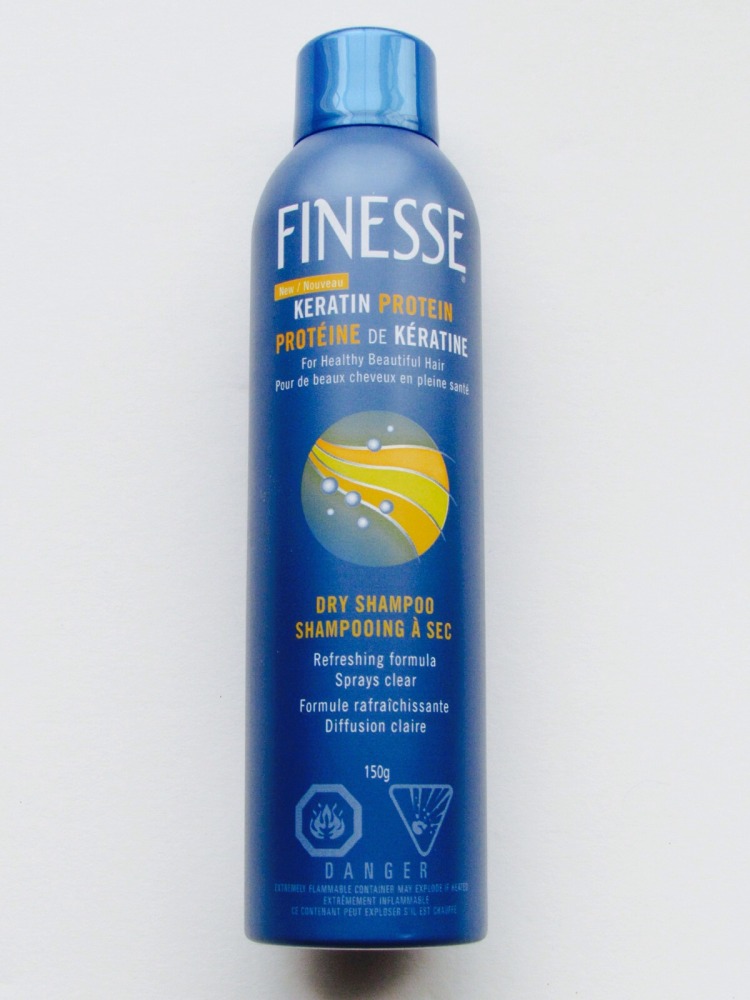
Finesse-dry-shampoo


I love a good dry shampoo. Mostly because washing my hair can seem like a huge pain. I have to wait until my son is in bed because when I need to wash it I also need to blow dry it, and then straighten it. It takes forever! Ok not forever, but long enough that I don’t have time to so it every day. Using a dry shampoo in between washes saves me some valuable time, and prevents some damage to my hair. I have reviewed a few other dry shampoos in the past here.

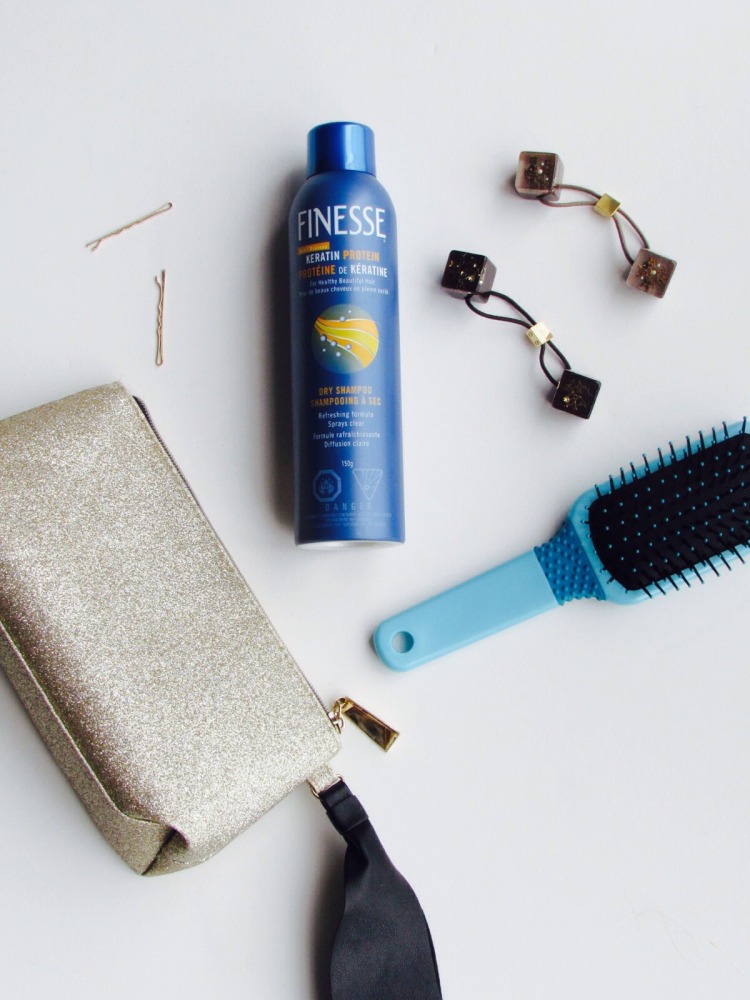
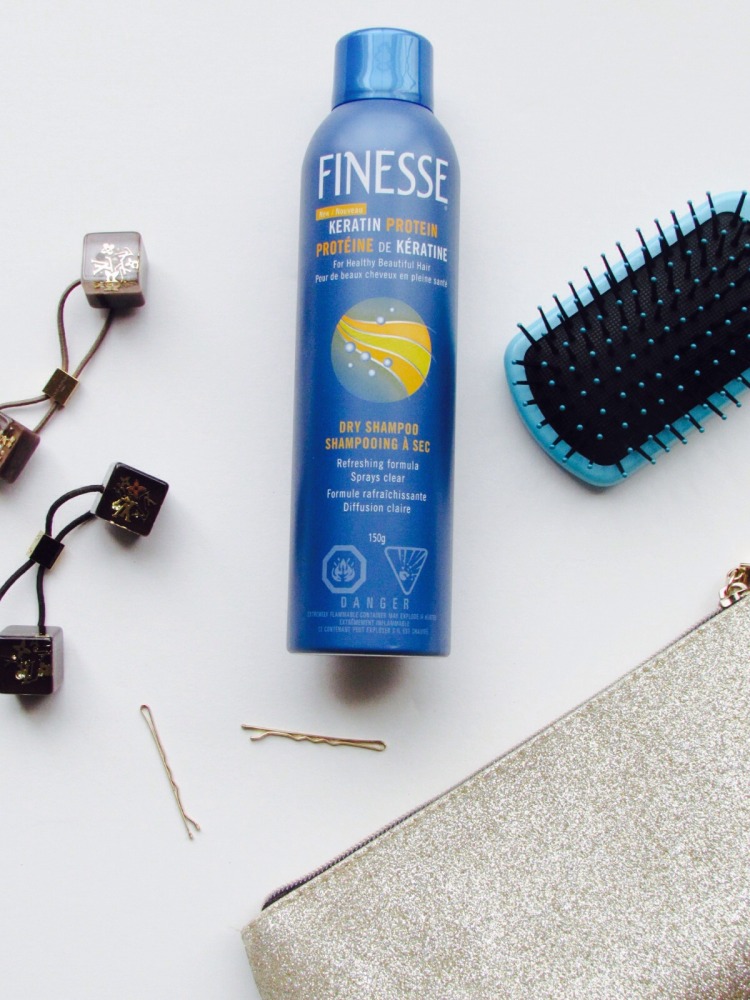
Last week I started using Finesse Dry Shampoo with Keratin Protein. This is by far the most affordable dry shampoo I have ever purchased! At under $5.00 CDN (depending on the retailer – Walmart has it right now for $3.97!), it can’t be beat for price.

I’ve never purchased a dry shampoo before that claims to do anything more than refresh your hair. This Finesse Dry Shampoo has Keratin Protein. Keratin provides added conditioning and shine. It also strengthen’s hair, which helps prevent split ends.


Finesse-dry-shampoo


With the holidays being last week, I needed to use a lot of this stuff! I needed some great hair days for all of the events we had, but at the same time I didn’t have a lot of time to spend on my hair.

I found it was really important to shake this dry shampoo. It said to do so right in the instructions, but I tend to ignore those sorts of things most of the time. It still worked without shaking it, but I found that the product was less tacky in my hair after I shook it.

The smell was pretty refreshing! It was a strong smell (and a good one!), but it faded once the shampoo had dried in my hair.

The spray was clear which is great for a sometimes-brunette like myself, and it did a great job of absorbing oil and giving me some volume! I used it one day just before curling my hair and it gave me an extra boost.


Finesse-dry-shampoo


I liked this dry shampoo a lot, and it’s got a price that cannot be beat! You can purchase it at most drug stores, but if you need some ASAP then click here to order online.


My Fabulous Visit to Her Majesty’s Pleasure

Her-Majestys-pleasure


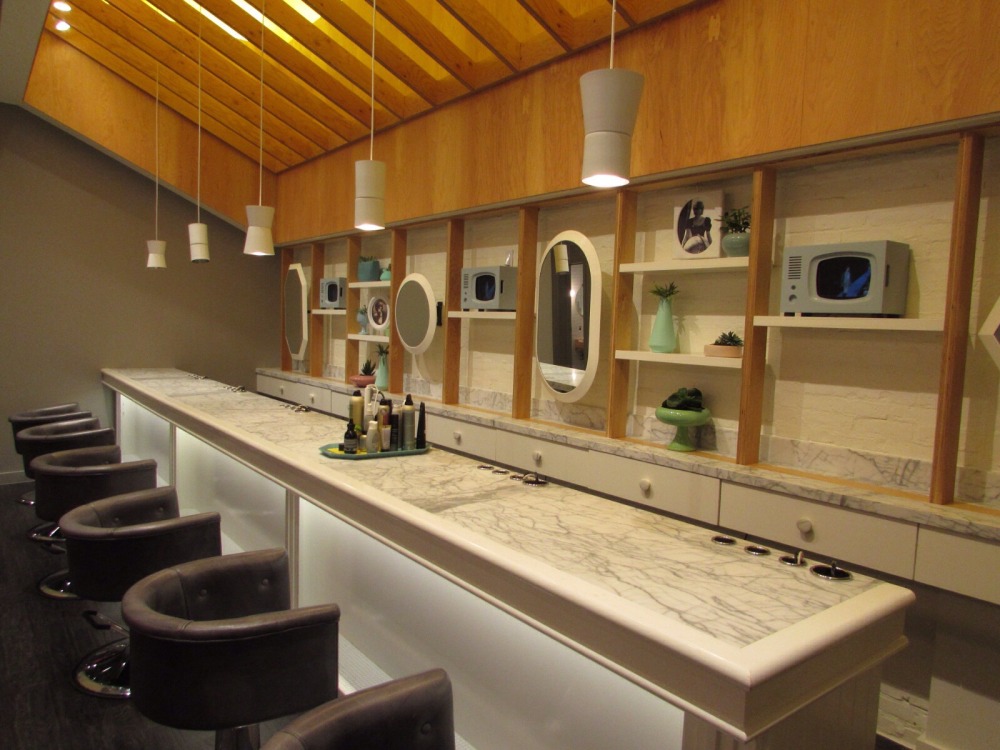
Things that make me happy include a glass of champagne, bite-sized macarons, getting pampered at the spa, and generally hanging out in pretty places. I pretty much thought I died and went to heaven when I checked out Her Majesty’s Pleasure last night in Toronto on King West.

Her Majey’s Pleasure is actually many things – a café and juice bar, salon and nail bar, boutique, full bar, and event space. From the outside it’s so pretty people couldn’t help themselves but stop outside to take a look!


Her-Majestys-pleasure


A girlfriend and I stopped in for a manicure, and we waited in the bar section for our service. When the bartender introduced himself he explained that there was no bar menu per say, but instead you would tell him what you liked, and he would make something up for you. If you didn’t like it, he would go ahead and make you something else! We wanted champagne, but since it was only sold by the bottle there, we settled on a glass of prosecco and a birthday cake macaron. Best choice possible.


Her-Majestys-pleasure


Her-Majestys-pleasure


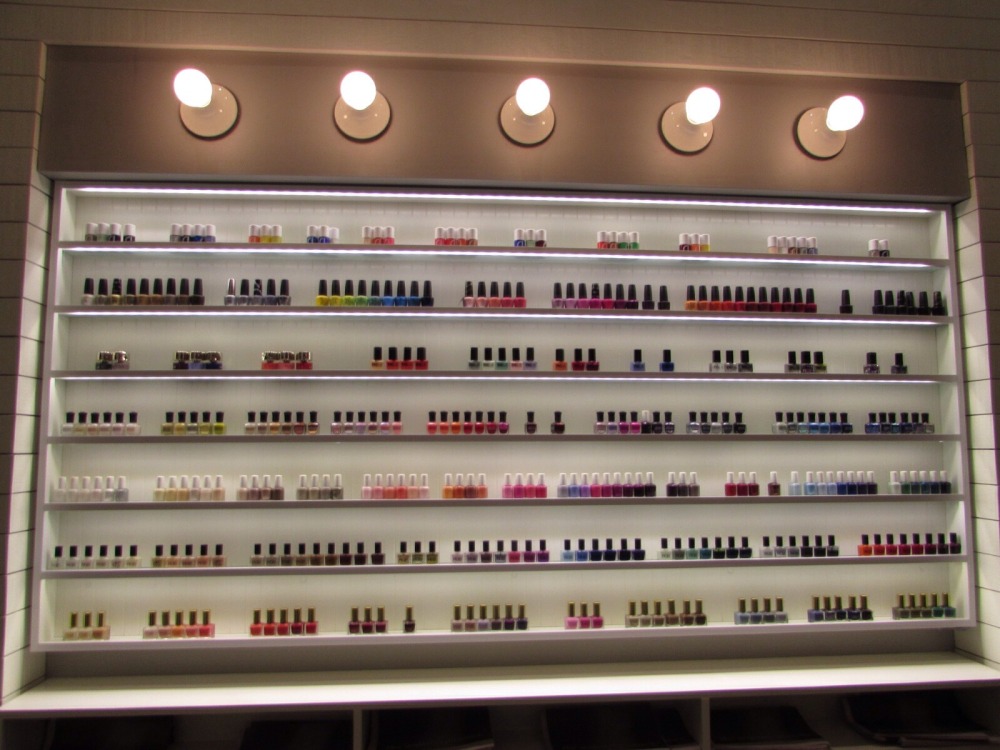
The most difficult part of the night was navigating the nail polish wall. I’d never seen one larger! Thank god we had something to eat and drink first, because deciding took an eternity!


Her-Majestys-pleasure


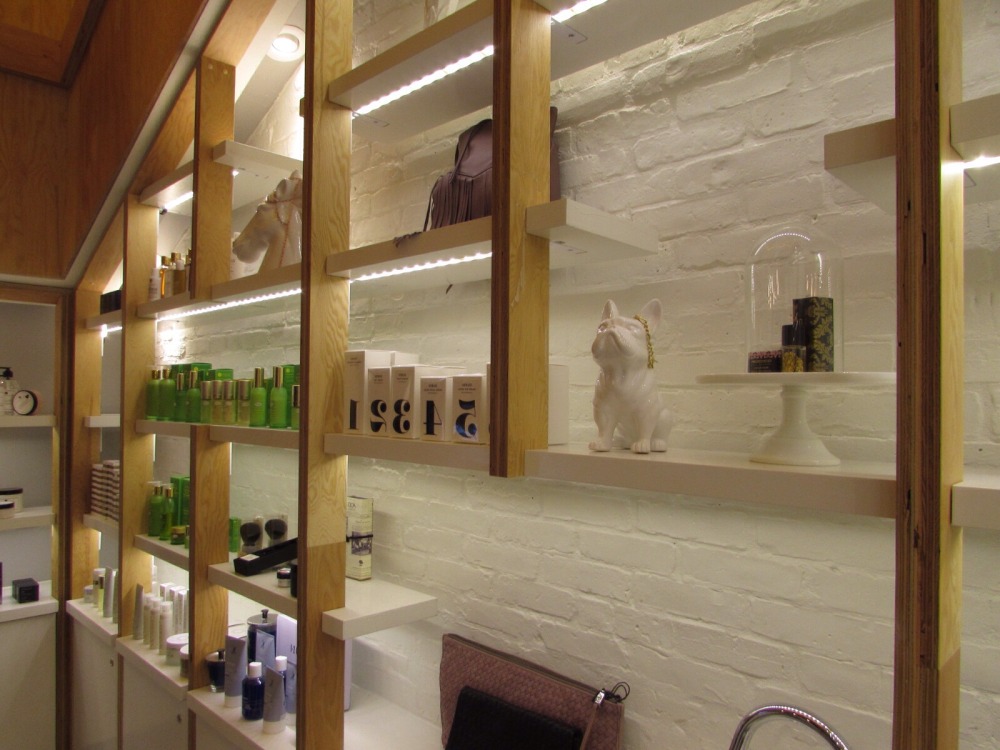
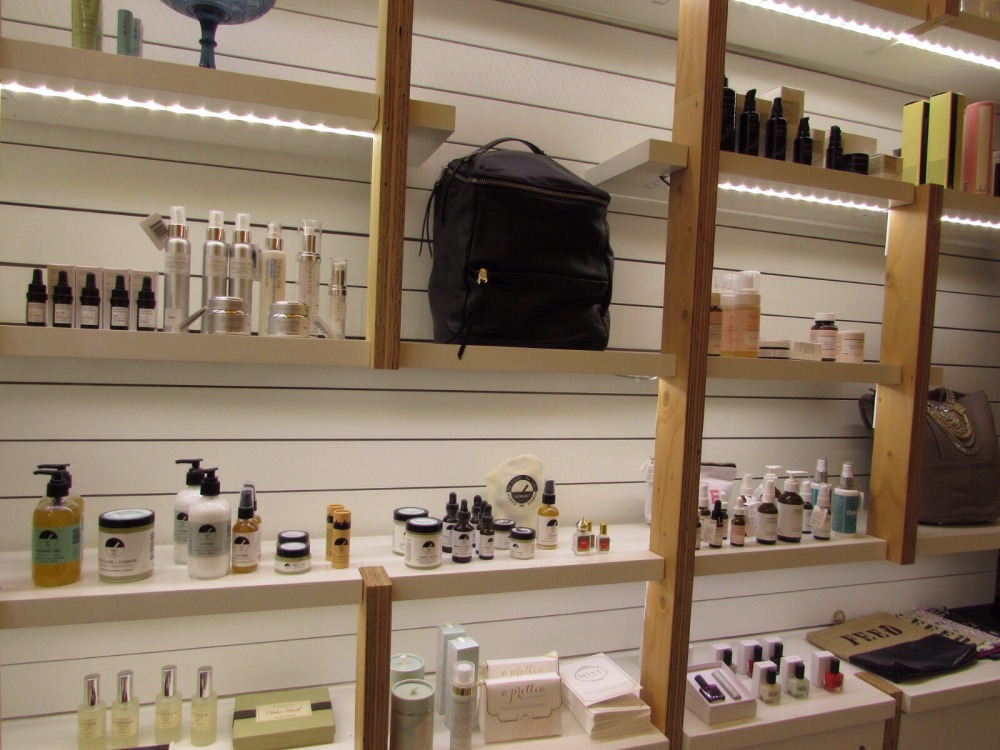
The space itself is gorgeous. They have a cute little boutique (where I picked up some desperately-required cuticle oil), an event space in the back, and a full hair salon.


Her-Majestys-pleasure


Her-Majestys-pleasure


Her-Majestys-pleasure


Her-Majestys-pleasure


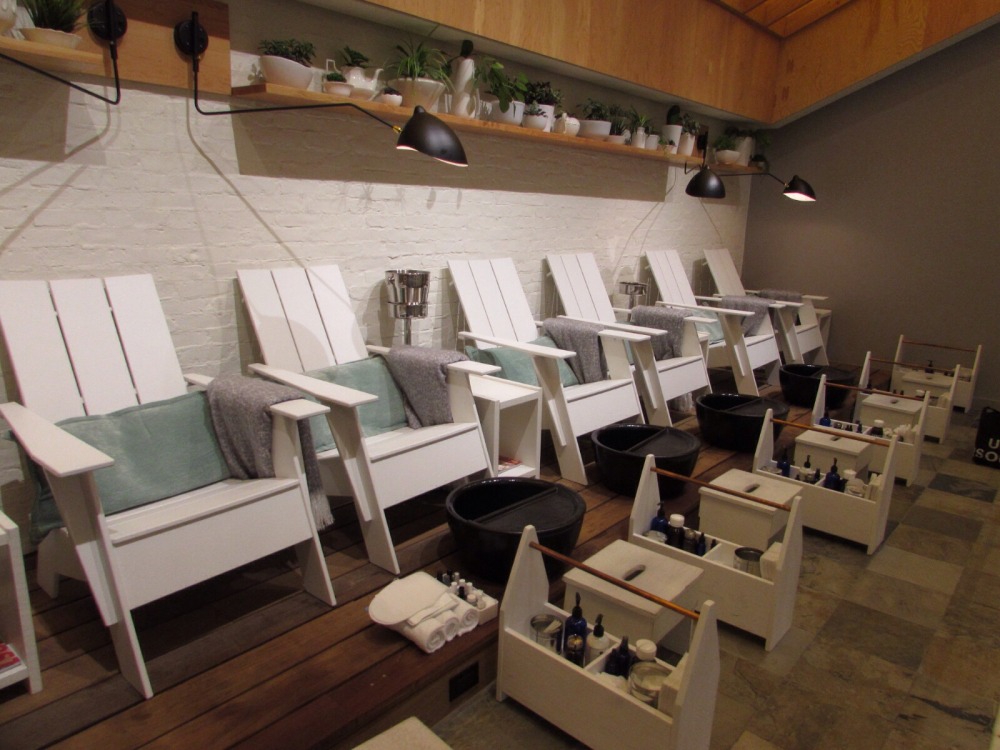
The pedicure area was semi-private, while the manicure station was in a bar setting with easy access to drinks!


Her-Majestys-pleasure


Her-Majestys-pleasure


The staff was incredibly friendly, and it felt like a night spent with a huge group of girlfriends. Everyone was having a great time, and we couldn’t wait to go back.

It’s the perfect spot for a relaxing spa visit, or a great place to get pampered before a night out. I think a bachelorette party would be a blast here too!


Her-Majestys-pleasure


Her Majesty’s Pleasure is located at 556 King Street West in Toronto, and you can visit them here on Facebook!


Review of Algenist’s Complete Eye Renewal Balm

image


I always fall for creams and potions that have research behind them. When I read a label and it lists all kids of percentages of people in a study who saw results with an anti-aging cream, it pushes me to buy the product. I want to be one of those people who saw results!

I tried out Algenist’s Complete Eye Renewal Balm for four weeks to see what kind of results I would get. I intended to use it longer, but I will get to that later!

I hadn’t used anything from Algenist before, and the packaging looks clean and almost clinical, so it wouldn’t be something I would normally be drawn to. At my local Sephora store one of the staff members suggested this cream and said it had worked wonders on her eyes. I decided to give it a try, although my first impression wasn’t great.


Algenist


The cream was fragrance free, but I still felt like there was a smell to it that I didn’t like. Every once in a while I could smell it, and then often I couldn’t smell anything. It bothered me a little bit – there was definitely a scent I didn’t really like, but it wasn’t a big deal because it wasn’t overbearing, and I couldn’t smell it all the time.

The cream was thicker than some of the ones I have used in the past, and it felt soothing to put it on.

The big deal about this cream was that it had the exclusive antiaging ingredient Alguronic Acid. The claim is that a biotechnology laboratory California unexpectedly discovered the properties of Alguronic Acid, and the bioactive compound available only in Algenist products.

Then there are the research statistics, which get me every time:

Following a self-assessment of 100 women, within 10 days of daily use:
– 86 % Felt skin density, suppleness, and elasticity was restored
– 93% Felt skin radiance appeared boosted

Within 4 weeks of daily use:
– Deep wrinkles appeared minimized in 78% of subjects.
– Skin appeared noticeably tightened and lifted in 81% of subjects.

So in theory, this cream was looking really good!

It’s funny, because I really did feel like the cream was making a difference in the first two weeks. I felt like the skin around my eyes looked a bit brighter! It was a little exciting.

Then things started to a go a little sideways for me.

Please note that when I review a product, it’s my own take on the product. This doesn’t mean you will have similar effects to the product I am using – everyone’s skin is completely different!

I did feel like the skin around my eye’s was tightening at first, and then I realized it was my skin around my eyes drying out and getting a little irritated. I couldn’t believe that was happening because the cream was so thick, and it felt like it was moisturizing when I was putting it on. I ignored this for a bit, which later ended up being a bad move.

By week four I started to experience the skin around my eyelids and eyes become extremely dry – the driest I had ever seen it! I thought it may have been the weather since my skin usually goes a little crazy when we get a weather change, but this was getting a little extreme. I also noticed little hives showing up around my eyes. Not the huge itchy ones, but little welts that would appear and disappear.

I finally clued in that it could be the eye balm, so I took a break from this cream and went back to my Korres eye cream, and the hives instantly went away! The dryness was gone by day two. It was pretty clear to me that this eye balm hated my face.

We had such a good start – it was like one of those amazing first few weeks of a new relationship when everything is lovely and happy. And then we broke up.

This eye balm has some amazing reviews online, and like I said it was recommended to me at Sephora as well, so maybe your experience would be better than mine. At a cost of $81.00 CDN, maybe ask for a sample of it first!


Photos courtesy of Algenist.com

My Review of the Smashbox Limitless Liquid Liner Pen

Smashbox-limitless-liquid-liner-pen


It seems like every time I run out of a makeup product, I’ve been trying out something new lately. I used a liquid liner for years, but lately I have been using Benefit’s They’re Real! Push Up Liner for the past few months. I’ve really liked it, but I thought I would go back to a liquid liner for a bit.

I’ve been using Smashbox’s Limitless Liquid Liner Pen for a few weeks, and I think it’s a keeper!

When I was checking out different liners at the store I was shopping at I marked my hand with a few of the pens, and this one actually lasted after washing my hand which was impressive!

This pen is perfect for a very thin line, but if you tilt it you can easily create a thicker one for whatever look you are going for. This stuff doesn’t budge either! If you make a mistake it doesn’t easily smudge off, and to remove it at the end of the night I had to use makeup remover. One late night I was just too tired to remove it, and it was literally perfect the next day. The rest of me looked pretty rough, but my eyeliner was pretty!

The pen is super easy to use and is very precise. The tip isn’t very flexible which is helpful when you are trying to draw an accurate line.

The one thing that is really annoying about it is the cap situation. It doesn’t snap or twist on easily – it’s got to be pushed hard while you twist. It always takes me more than one try to put on the cap, which is a little frustrating.


smashbooxlimitlessliquidliner


Pen liners like this tend to dry out quickly, so I’m hoping that doesn’t happen to me anytime soon. As long as I get at least three months out if it I will be happy.

It’s definitely the best liquid liner I have ever used. It’s totally worth trying!

It retails for $25 CDN, and I think it’s totally worth it.

You can purchase the Smashbox Limitless Liquid Liner Pen at Sephora, Shoppers Drug Mart, and at www.smashbox.com.