DIY Kids Valentine’s Day Treat Bags
At my son’s school the parents are on point. Every holiday includes some sort of personalized gift for each child in the class. Even when it’s their child’s birthday, the parents give toys or gift bags to all of the other children in the class. With Valentine’s Day coming I thought I would get ahead of the game and figure out what I would be giving 20 children who have creative parents.
I decided to make my own treat bags for Valentine’s Day which my son could give to his friends, and possibly make him proud of his creative Mom at the same time! Ok he’s probably not going to notice my effort, but I’ll be sure to bring it up when he’s older to guilt-trip him when he’s behaving badly.
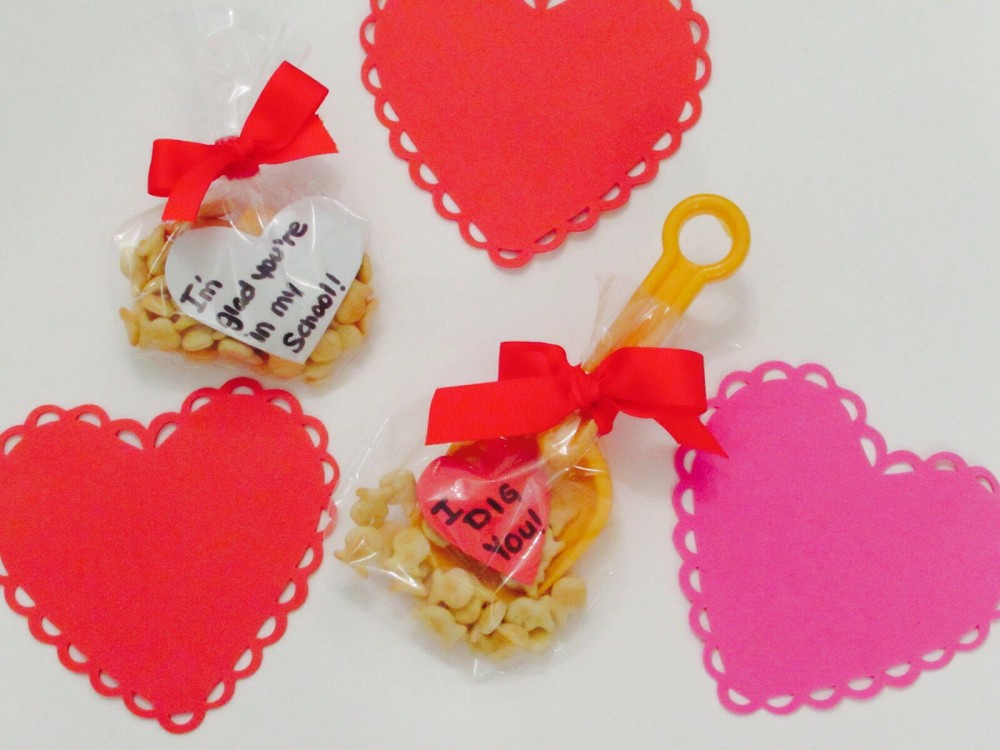
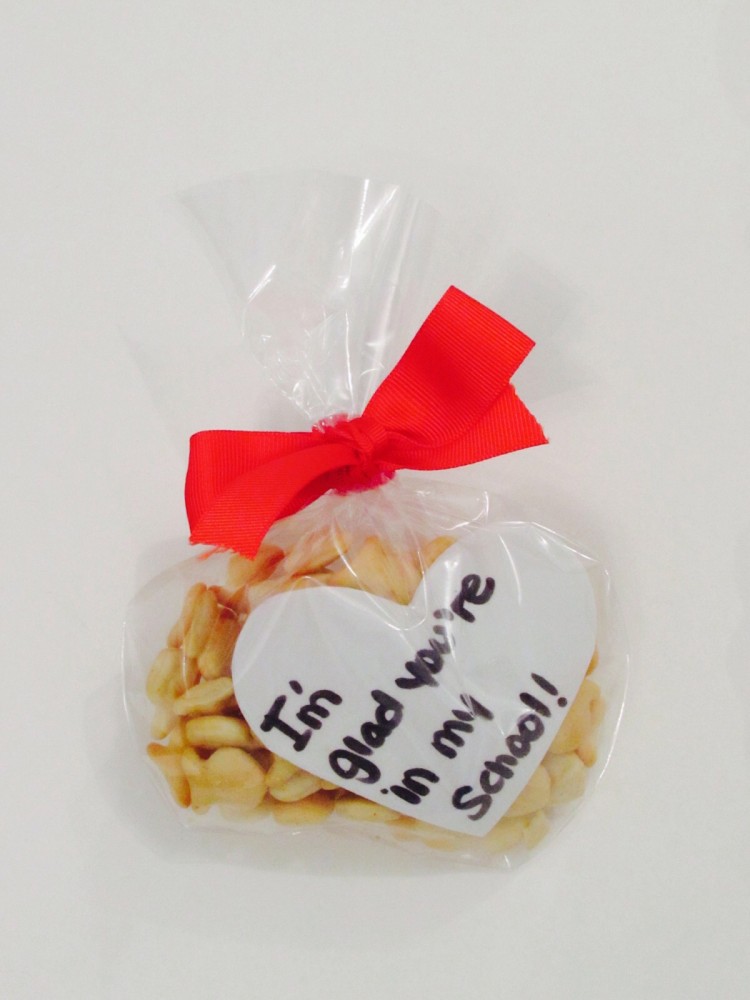
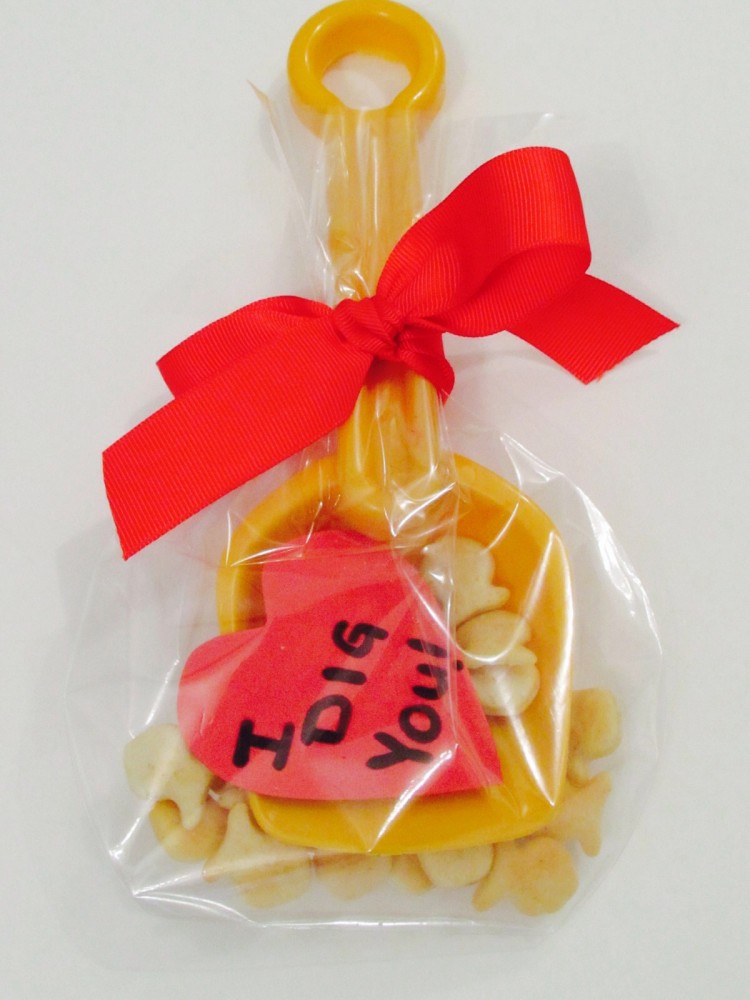
The universal toddler snack seems to be Goldfish, so I used them a couple ways in packaging a cute treat.
I started out with a roll of red ribbon, a stack of foam Valentine’s Day hearts from Dollarama, and a set of cellophane bags from Michaels. The materials for this one (since I had a Michaels coupon) so far were $8.00.
Next up I cut smaller hearts and wrote messages to go into the treat bags. For the bags with just Goldfish I wrote “I’m glad you’re in my school”. Get it? School of fish? It’s cheesy, but it makes me laugh.
On the other ones I wrote “I dig you” and added a shovel to the gift bag. I found toy shovels at Dollarama as well to keep this project at a low budget.
That’s it! A super easy project, and I get points for creativity. The hardest part will be explaining to my son that he needs to actually give away these treats!
Review of Wet n Wild’s Color Icon Bronzer With SPF 15
Once I opened up a package to find wet n wild’s color icon bronzer and saw that it was called “Ticket to Brazil”, I knew I was going to like this product. I thought to myself, yes, I want to go to Brazil! Who wouldn’t? At this time of year when everyone is likely running on a Vitamin D deficient system with frostbitten cheeks, anything to do with Brazil sounds like a good idea.
This lovely compact is absolutely huge in size which make’s me very happy since it retails at approximately $3.99 CDN.
I had a feeling I was going to love this colour when I saw it in the compact, but once I used it then things were confirmed – this is the perfect bronzer! The color is so complimentary that it would work with many different skin tones, but you can also find shades like Reserve your Cabana, and Bikini Contest. I love the names!
It’s a very blendable bronzer so you can mix it with a blush if you want a bit of a rosier color, or you can wear it on it’s own just to give you that sun-kissed look.
I can’t imagine how long it’s going to take me to finish this compact. Not a lot of bronzer is needed to give you some color, and combined with the size of it I’m thinking it will last me forever. That’s a good thing because I’m in love with it. It’s one of those things where you love it so much you want to go out and buy a whole bunch of them just in case it’s ever sold out, or worst-case scenario, discontinued! If that were to happen you would be stuck searching for more on eBay, only to find some at an outrageous price you have to pay because you can’t live without it. I’ve been there, and it’s not fun.
I think one of the best parts about this bronzer is that is has SPF 15. I have never seen a bronzer with SPF in the formula before. I really try to buy makeup with SPF in it for added protection. In the summer I always wear sunscreen on my face, but in the winter I don’t follow this routine. Any help I can get in the winter with SPF protection is a no-brainer, so it’s another great reason to love this product.
I really think this bronzer is a must have, and at this price point it’s definitely worth giving it a try!
You can find more details on wet n wild’s color icon bronzer here!
West Elm + Kate Spade Saturday Collaboration
West Elm has launched a collaboration with Kate Spade Saturday, and I have to admit it’s got me tempted to redecorate my house. I’m often tempted to redecorate my house, but in this case I have found multiple items in the collection seem to be exactly my style!
Kate Spade Saturday is known for being a bit more casual and free spirited than the regular Kate Spade fare, and it basically screams fun.
The collaboration includes furniture, bedding, rugs and accessories to add a pop of colour and fun to your home.
I have bought many items from West Elm, and they were all made with great quality and has lasted me without an issue. I love shopping at West Elm, so adding Kate Spade Saturday to the mix means I’m going to have to hide my credit card bill from my husband. That is until he notices the new rug on our living room floor, and then I’m pretty sure he’s going to figure it all out.
Take a look at some of my favourites below which may or may not already be in my online shopping cart.
To see the rest of the collection, click here.
How to Make a DIY Pin Board + Workspace Makeover
A lot of things in our house are under transition decor-wise right now. There are few projects in our house that I can actually do other than choosing throw pillows and pictures, but there was one I could pretty much do on my own and that was redecorating my workspace.
The challenge to this is that it is in our kitchen, so I had to make sure it matched the surrounding room, and also I couldn’t make it too girly since I live with three boys (a husband, son and dog).
This workplace was previously created by Style at Home Magazine last year, but since then we have changed the colour of paint they used in the room from blue to grey, so the pin boards they created no longer matched. It was time to revamp the space!
Before photos:
The pin boards themselves were very easy! I chose some fabric from Fabricland that I liked to re-cover the pin boards. I picked a stitched leather just for fun. It was a more costly choice at $18 a meter (I needed two), but most fabrics were half the cost so you could do this project with only $20 worth of fabric. I also purchased fabric pins for $2.95, and a roll of ribbon for $2.99 that I would also need.
Luckily I already had cork boards which I covered in the fabric, and stapled it onto the back of the board. It was really easy! Next up I used the fabric pins to attach the ribbon to the board. The ribbon would be how I could place photos on the board as well.
The last thing I had to do was hang it on the wall – that was it. A very easy project.
I needed to revamp my space a little so I purchased some notepads for the desk detailed in gold from Chapters that you can also find here and here.
My favourite new piece is my Kate Spade Stapler! It’s also from Chapters. I really wanted the tape dispenser too but it was sold out everywhere.
Instead I found a pretty fabulous dog tape dispenser ($12.99) that seemed like a pretty awesome replacement. I also picked up my letter sorter ($6.99) from Target as well.
I kept my Louis Vuitton and Dior hardcover books because I love them, and I brought in a gold tray (previously purchased from West Elm) and some fresh flowers. I also kept the Poppin pen holder and pens I already had from Chapters.
Voila! Workspace makeover complete. It’s actually encouraging me to work a bit more at my desk instead of the couch.