DIY Kids Valentine’s Day Treat Bags

DIY-Kids-valentines-day-treats


At my son’s school the parents are on point. Every holiday includes some sort of personalized gift for each child in the class. Even when it’s their child’s birthday, the parents give toys or gift bags to all of the other children in the class. With Valentine’s Day coming I thought I would get ahead of the game and figure out what I would be giving 20 children who have creative parents.

I decided to make my own treat bags for Valentine’s Day which my son could give to his friends, and possibly make him proud of his creative Mom at the same time! Ok he’s probably not going to notice my effort, but I’ll be sure to bring it up when he’s older to guilt-trip him when he’s behaving badly.

The universal toddler snack seems to be Goldfish, so I used them a couple ways in packaging a cute treat.

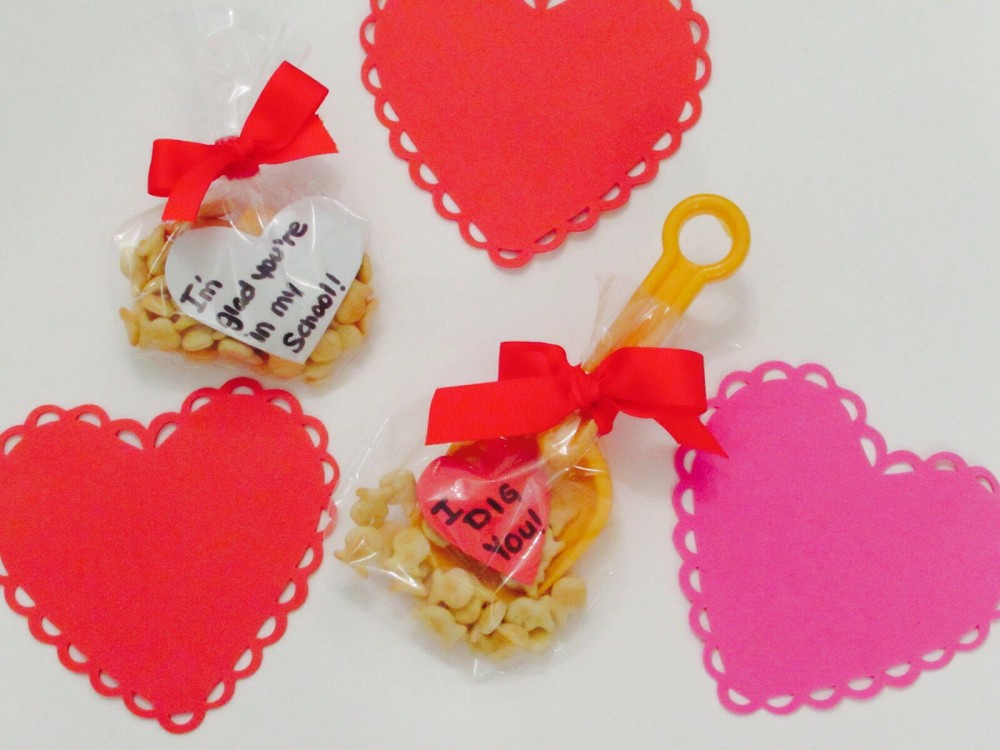
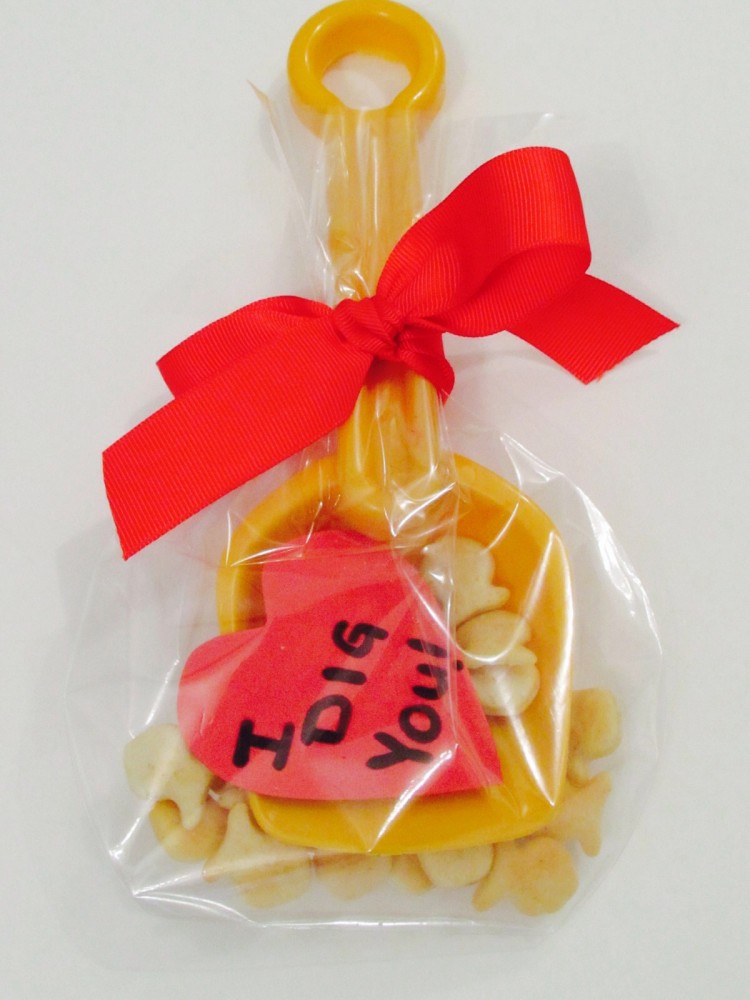
I started out with a roll of red ribbon, a stack of foam Valentine’s Day hearts from Dollarama, and a set of cellophane bags from Michaels. The materials for this one (since I had a Michaels coupon) so far were $8.00.


DIY-Kids-valentines-day-treats


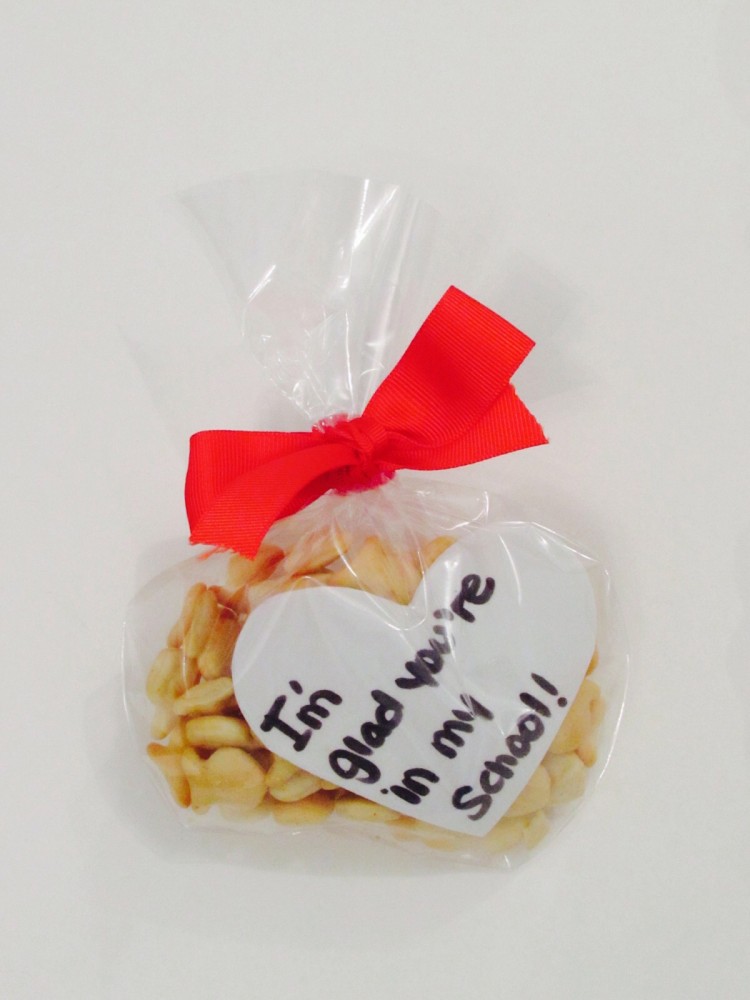
Next up I cut smaller hearts and wrote messages to go into the treat bags. For the bags with just Goldfish I wrote “I’m glad you’re in my school”. Get it? School of fish? It’s cheesy, but it makes me laugh.


DIY-Kids-valentines-day-treats


On the other ones I wrote “I dig you” and added a shovel to the gift bag. I found toy shovels at Dollarama as well to keep this project at a low budget.


DIY-Kids-valentines-day-treats


That’s it! A super easy project, and I get points for creativity. The hardest part will be explaining to my son that he needs to actually give away these treats!


How to Make a DIY Pin Board + Workspace Makeover

Sparkleshinylove-workspace-makeover


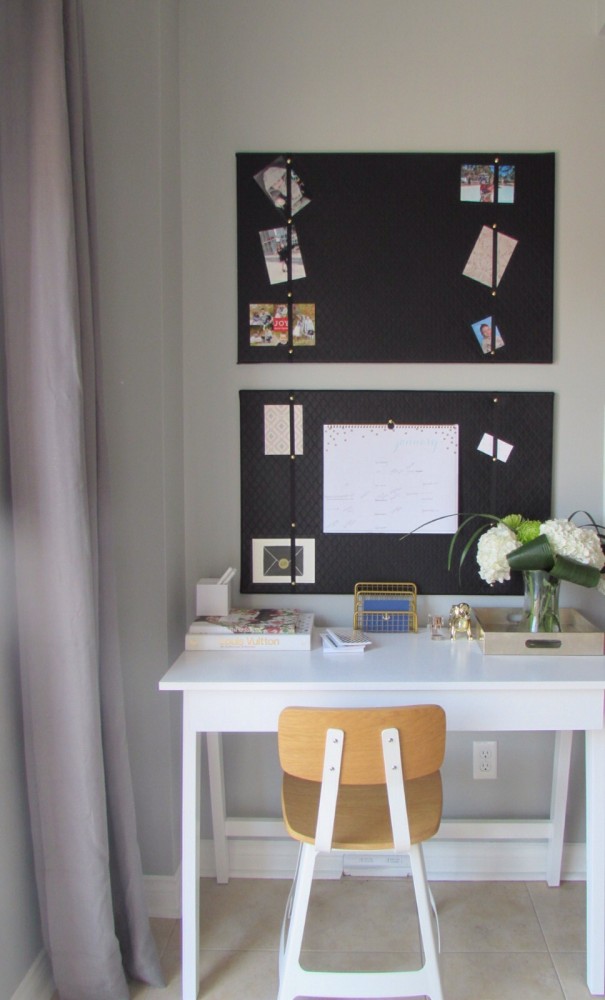
A lot of things in our house are under transition decor-wise right now. There are few projects in our house that I can actually do other than choosing throw pillows and pictures, but there was one I could pretty much do on my own and that was redecorating my workspace.

The challenge to this is that it is in our kitchen, so I had to make sure it matched the surrounding room, and also I couldn’t make it too girly since I live with three boys (a husband, son and dog).

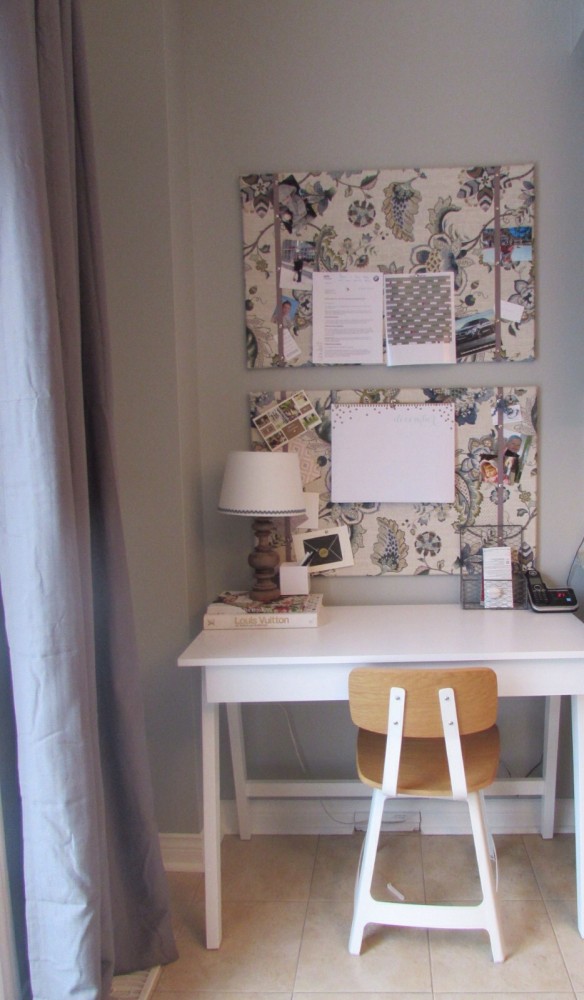
This workplace was previously created by Style at Home Magazine last year, but since then we have changed the colour of paint they used in the room from blue to grey, so the pin boards they created no longer matched. It was time to revamp the space!

Before photos:


image


image


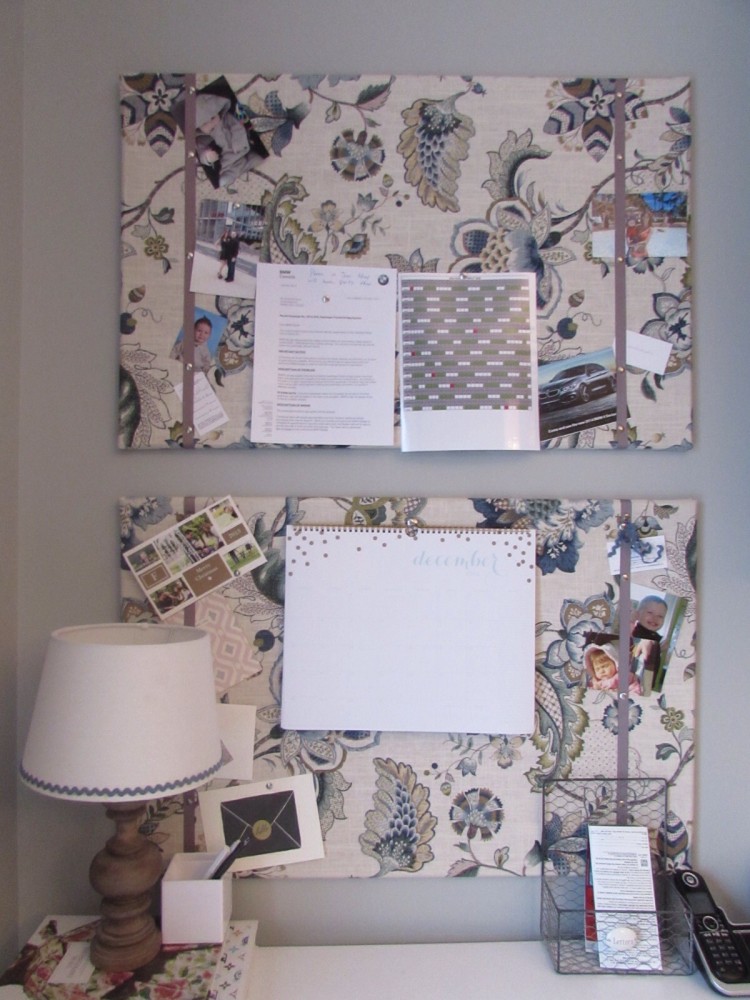
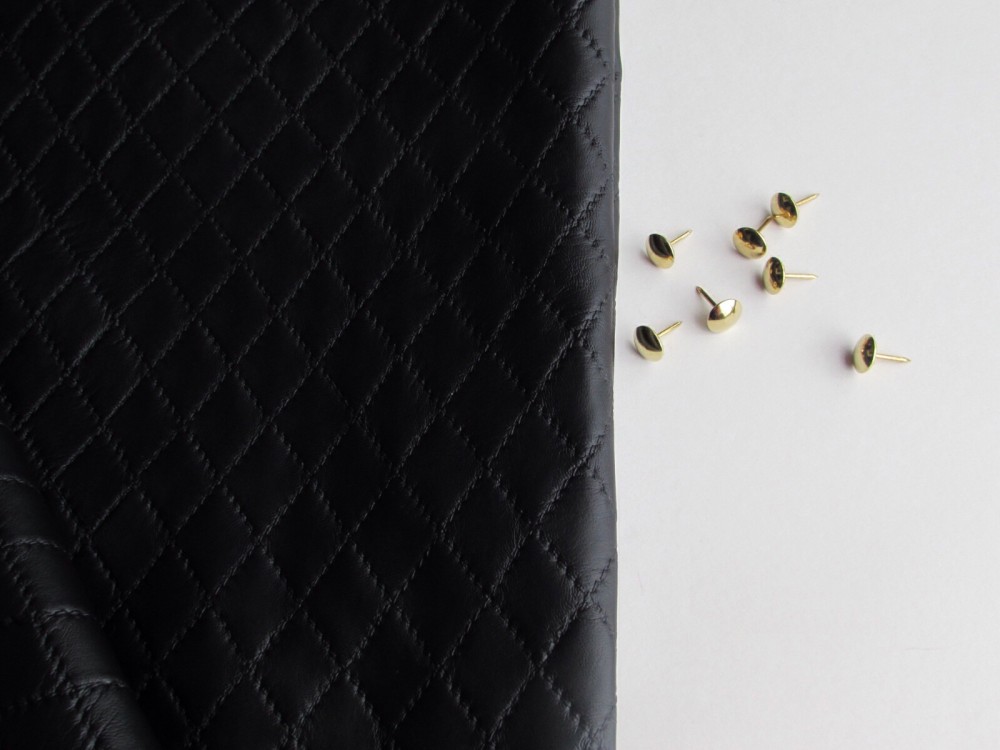
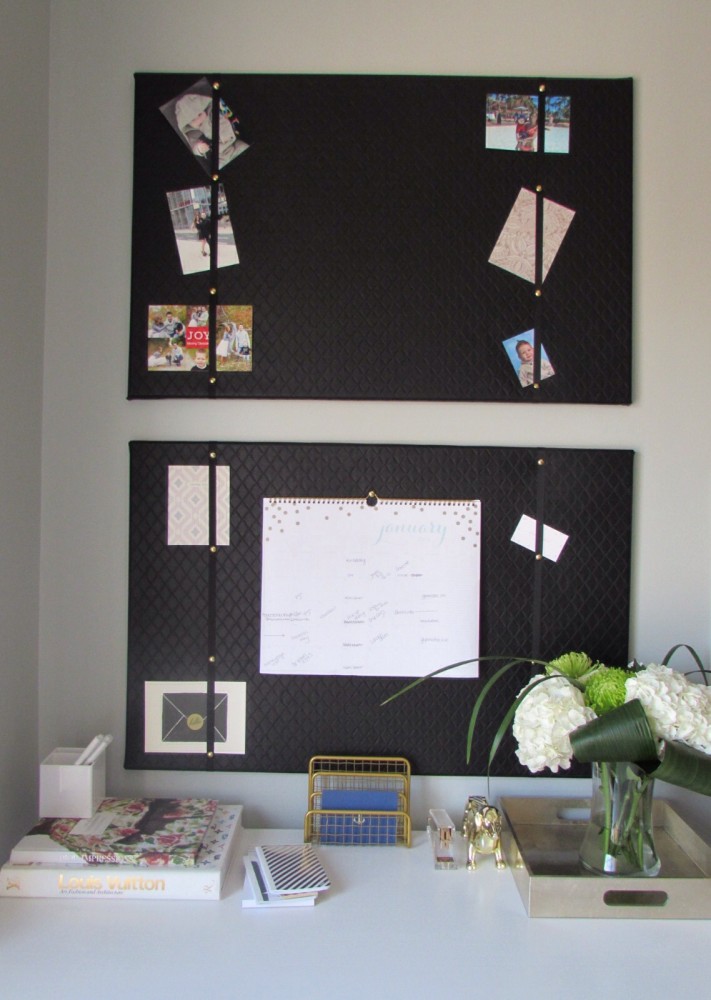
The pin boards themselves were very easy! I chose some fabric from Fabricland that I liked to re-cover the pin boards. I picked a stitched leather just for fun. It was a more costly choice at $18 a meter (I needed two), but most fabrics were half the cost so you could do this project with only $20 worth of fabric. I also purchased fabric pins for $2.95, and a roll of ribbon for $2.99 that I would also need.


Sparkleshinylove-workspace-makeover


Sparkleshinylove-workspace-makeover


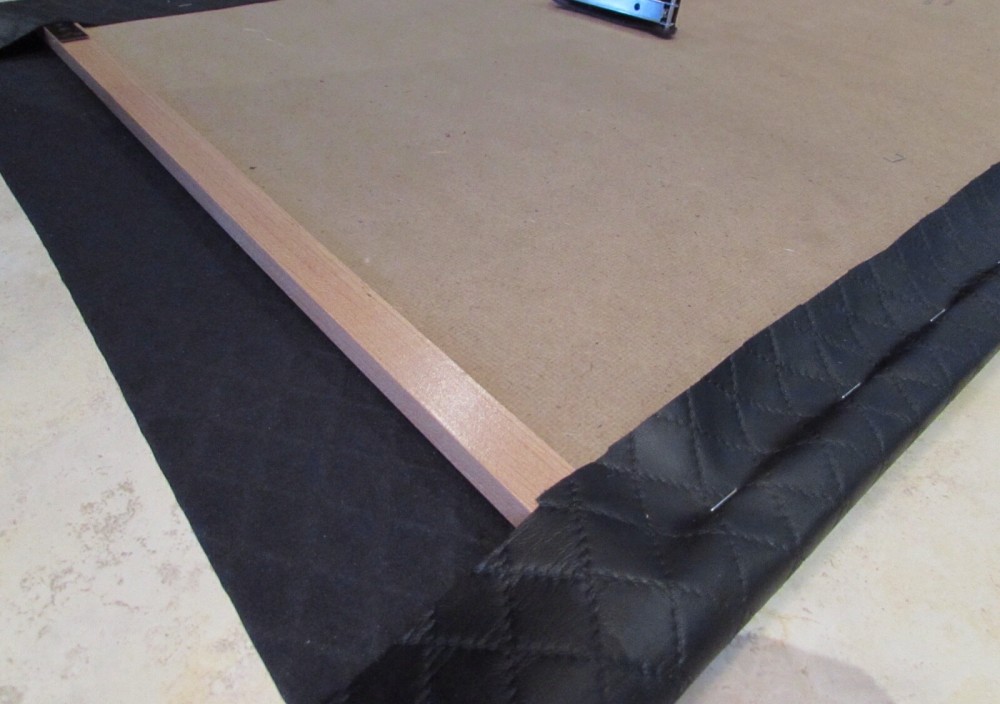
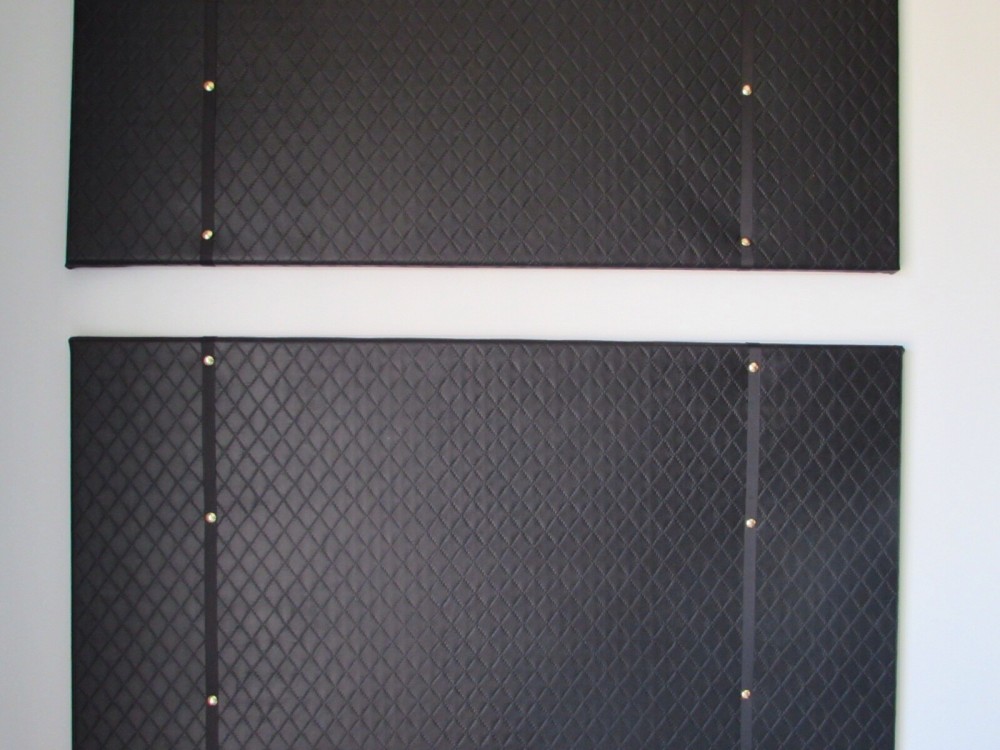
Luckily I already had cork boards which I covered in the fabric, and stapled it onto the back of the board. It was really easy! Next up I used the fabric pins to attach the ribbon to the board. The ribbon would be how I could place photos on the board as well.

The last thing I had to do was hang it on the wall – that was it. A very easy project.


image


Sparkleshinylove-workspace-makeover


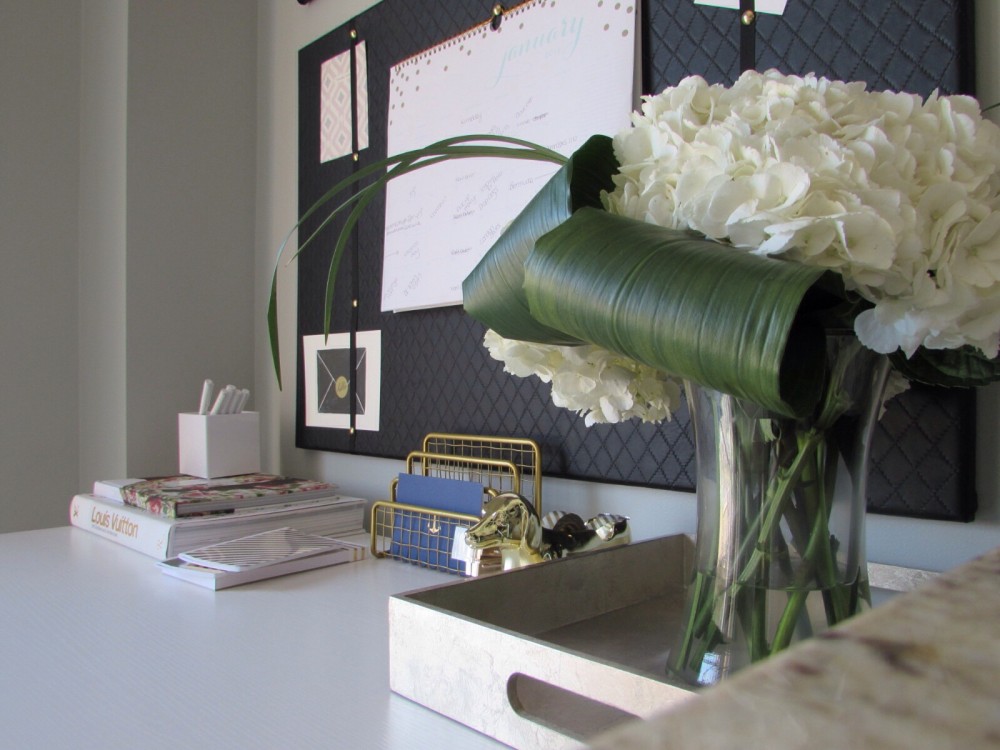
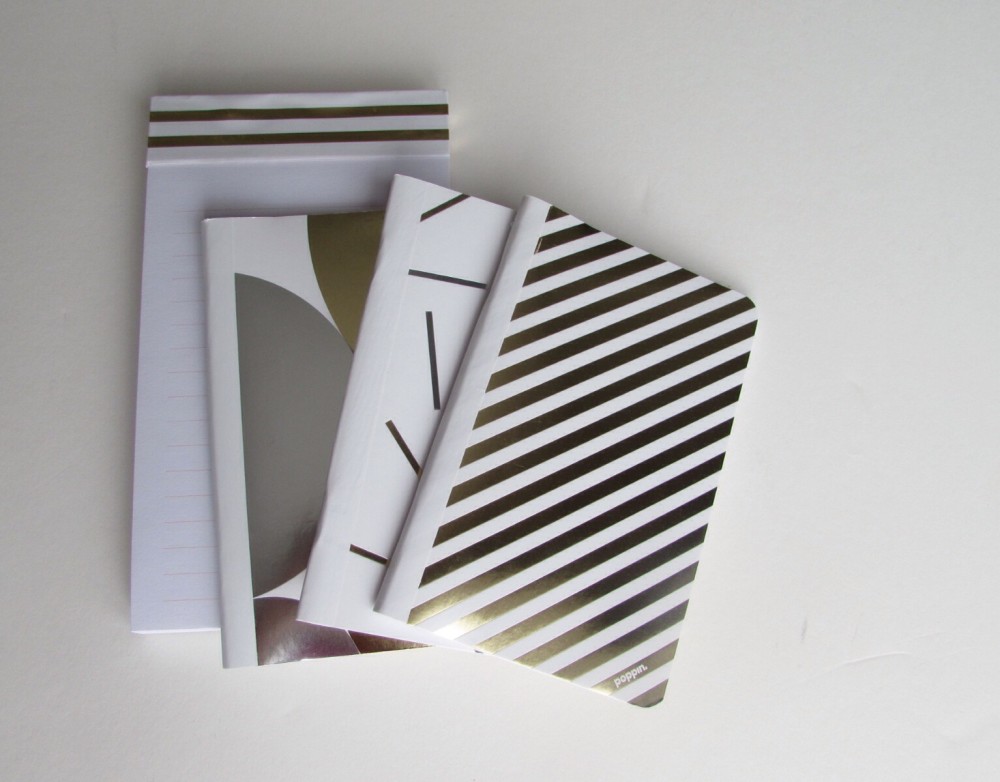
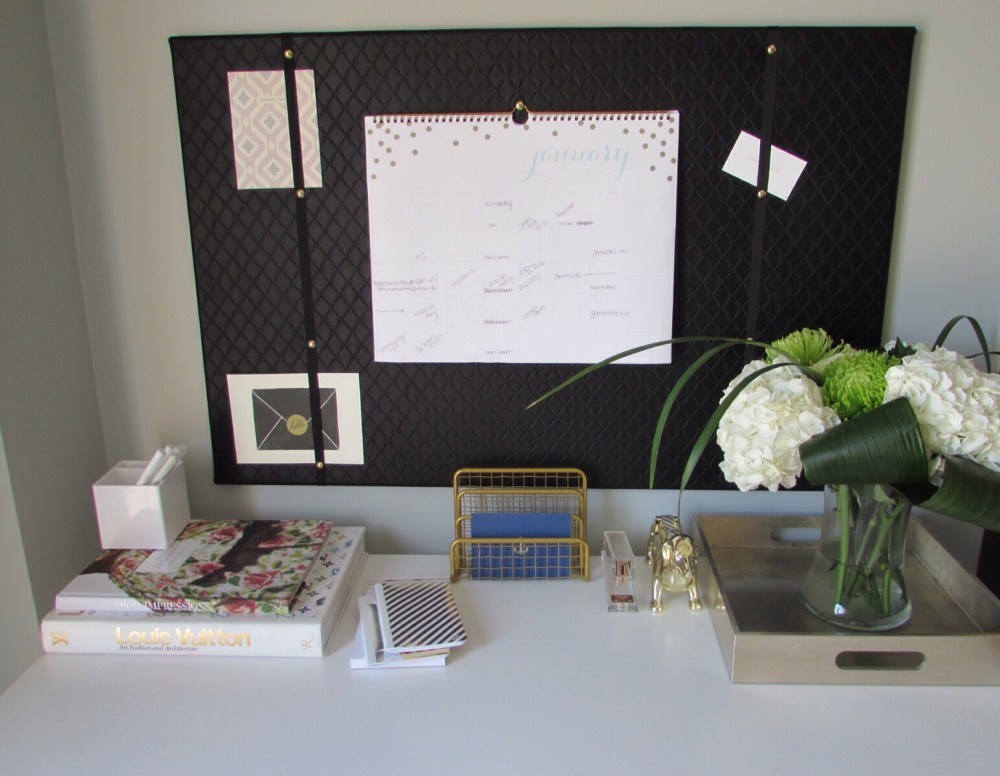
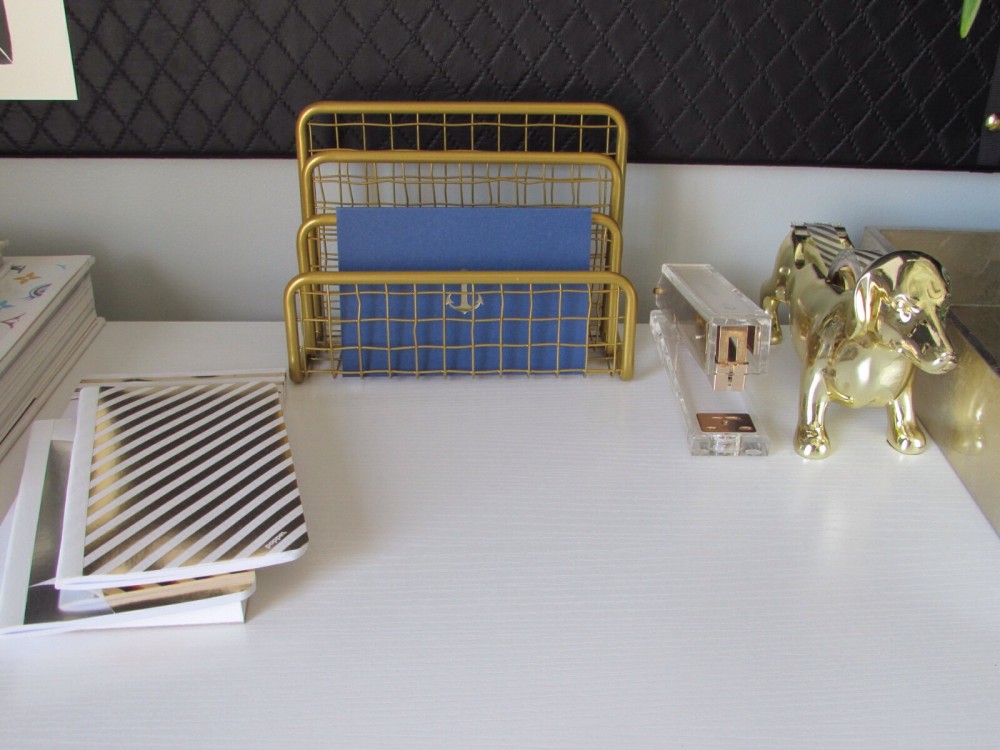
I needed to revamp my space a little so I purchased some notepads for the desk detailed in gold from Chapters that you can also find here and here.


Sparkleshinylove-workspace-makeover


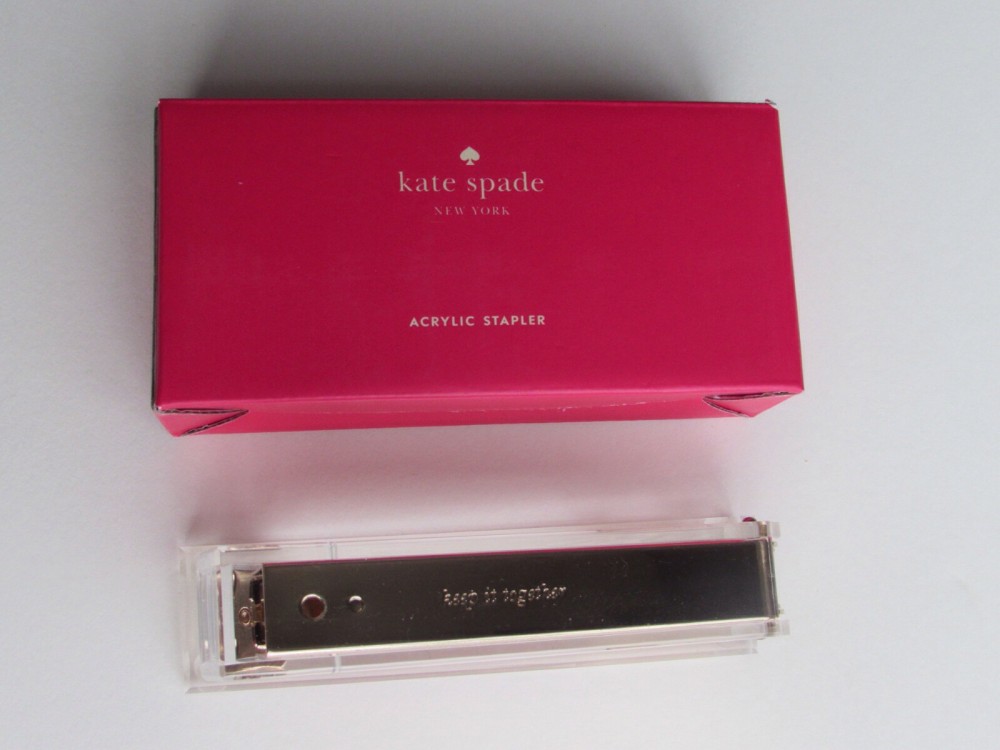
My favourite new piece is my Kate Spade Stapler! It’s also from Chapters. I really wanted the tape dispenser too but it was sold out everywhere.


Sparkleshinylove-workspace-makeover


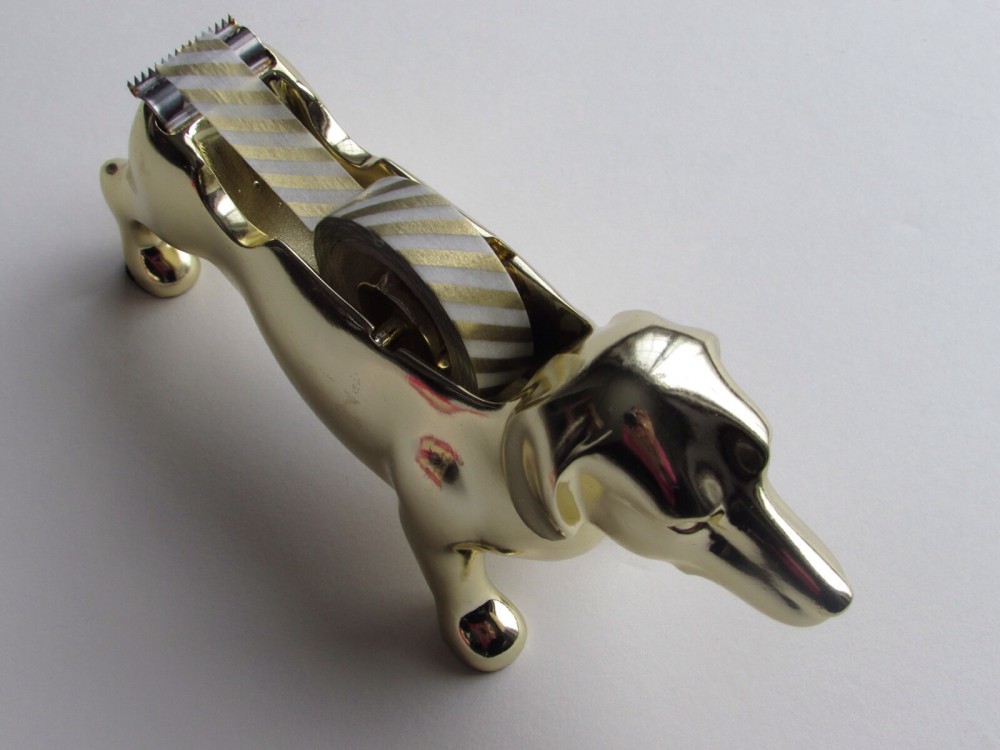
Instead I found a pretty fabulous dog tape dispenser ($12.99) that seemed like a pretty awesome replacement. I also picked up my letter sorter ($6.99) from Target as well.


Sparkleshinylove-workspace-makeover


I kept my Louis Vuitton and Dior hardcover books because I love them, and I brought in a gold tray (previously purchased from West Elm) and some fresh flowers. I also kept the Poppin pen holder and pens I already had from Chapters.

Voila! Workspace makeover complete. It’s actually encouraging me to work a bit more at my desk instead of the couch.


Sparkleshinylove-workspace-makeover


Sparkleshinylove-workspace-makeover


Sparkleshinylove-workspace-makeover


Sparkleshinylove-workspace-makeover


image


How to Host a Teddy Bear Picnic + An Awesome Crustless Quiche Recipe

Teddybear-picnic-sparkleshinylove


I’m really lucky to have Friday’s off to spend with my son. We are also lucky that we have an awesome group of friends who are also off on Friday’s too. London’s got some great friends that were born all at the time same he was, and we get together with them as much as possible for play dates.

I thought it would be cute to host a teddy bear’s picnic themed lunch for the kids. Looking around online I wasn’t re-inventing the wheel or anything – there were lots of ideas out there for this type of lunch.

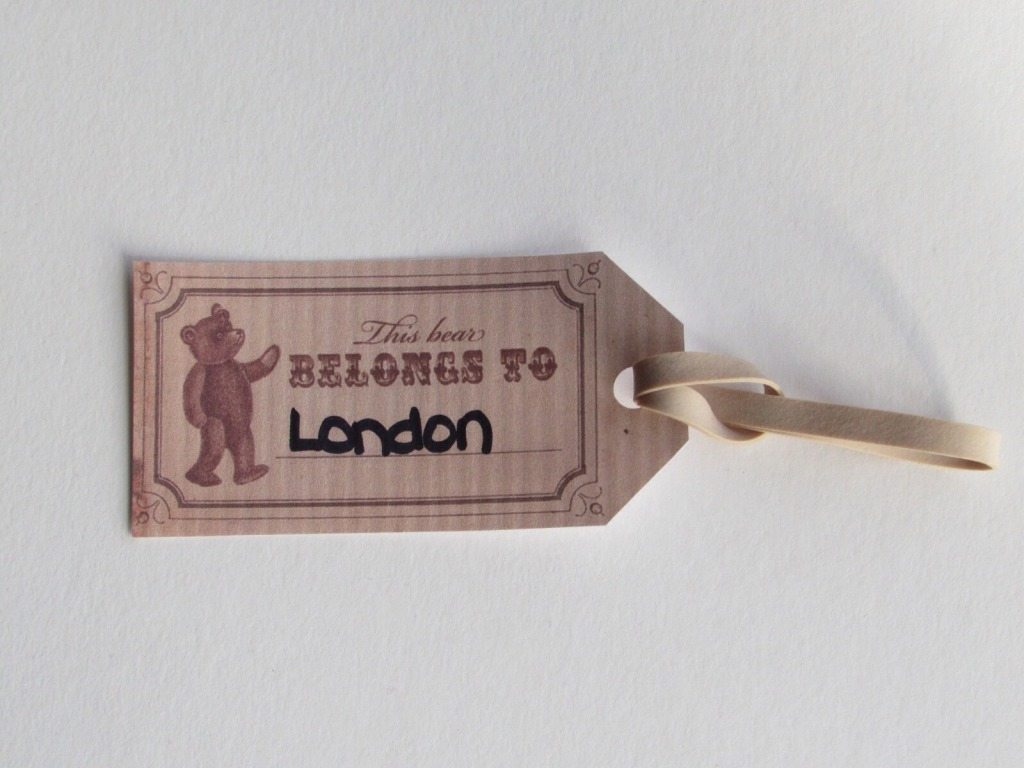
I started with asking all of the kids who were coming to bring their own teddy bear’s to our house for the party. When each child arrived they were given a cute tag with their name on it so they could put their bear in Teddy Bear Daycare. I found some free printables on this website here, and they turned out really cute! I created the Teddy Bear Daycare sign myself, and I had the Daycare “Check-in” at the front door. I think it made the kids feel like this was a serious event for their bears!
 

teddy-bear-picnic-sparkleshinylove


Teddy-bear-picnic-sparkleshinylove


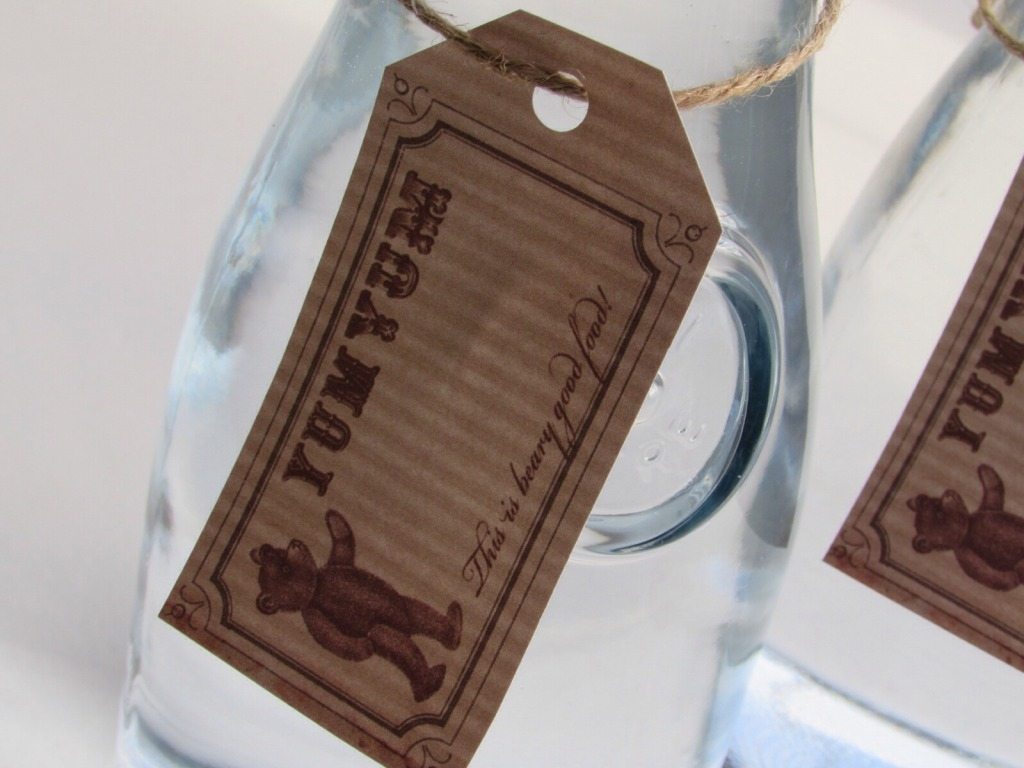
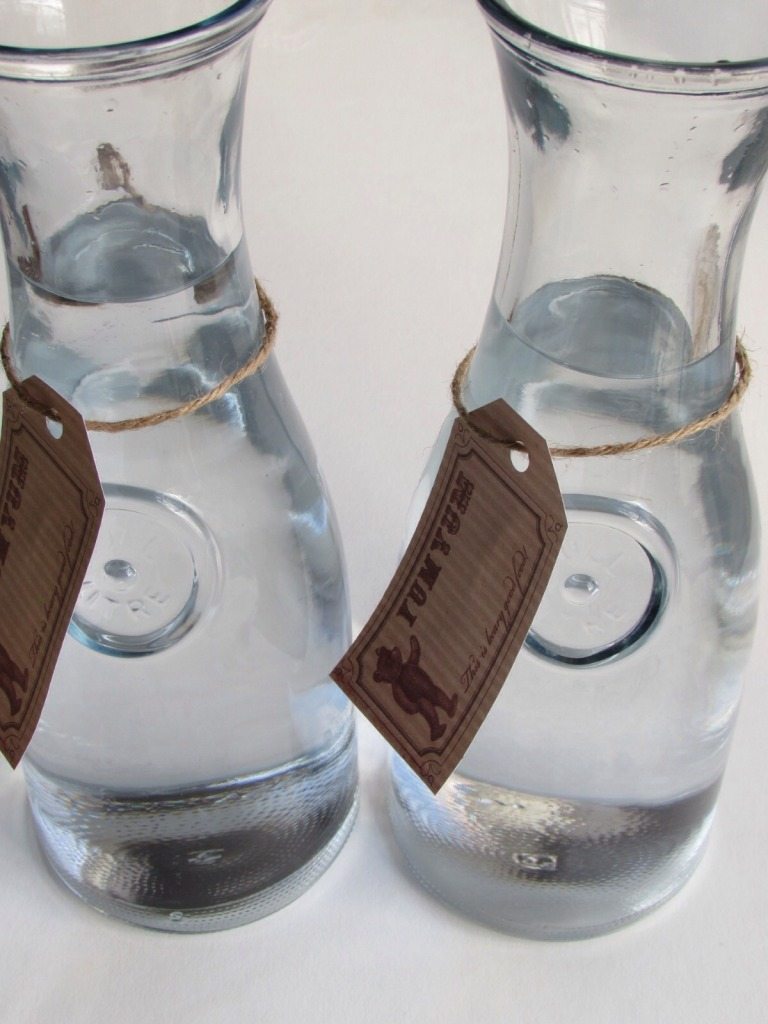
I used the same website for a printable tag for water we had with lunch as well.
 

Teddy-bear-picnic-sparkleshinylove


Teddy-bear-picnic-sparkleshinylove


I kept the food pretty basic for this party – I have a tendancy to take things a bit overboard sometimes, so I tried to keep things really simple. For the adults I had salad, sandwiches, and a mushroom, feta and spinach quiche which I will talk about later when I share the recipe with you!

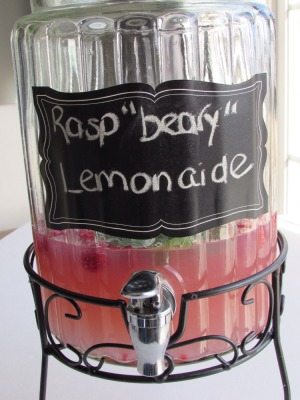
For fun I made rasp”berry” lemonade, and I added real raspberries and basil for flavour (and because it looked pretty too!).
 

Teddy-bear-picnic-sparkleshinylove


Teddy-bear-picnic-sparkleshinylove


For snacks I had Teddy Graham’s in a candy bowl, and everything was picnic themed in a checkered pattern.


tedy Bear


For dessert I had macaroons, tarts, mini apple pies, and I made vanilla cupcakes decorated to look like there was a bee on a beehive. I made the bees out of jellybeans. I cut black and yellow jellybeans into strips to make the bee body, and added some white royal icing to make the wings. I was kind of annoyed because I had the perfect tip to make the beehive, but of course I couldn’t find it the morning of the party, and when a toddler is running around your feet when you are looking for something important, concessions are made. I had to settle with it not looking quite the way I imagined it!


teddy-bear-picnic-sparkleshinylove

teddy-bear-picnic-sparkleshinylove

Finally, the actual picnic!

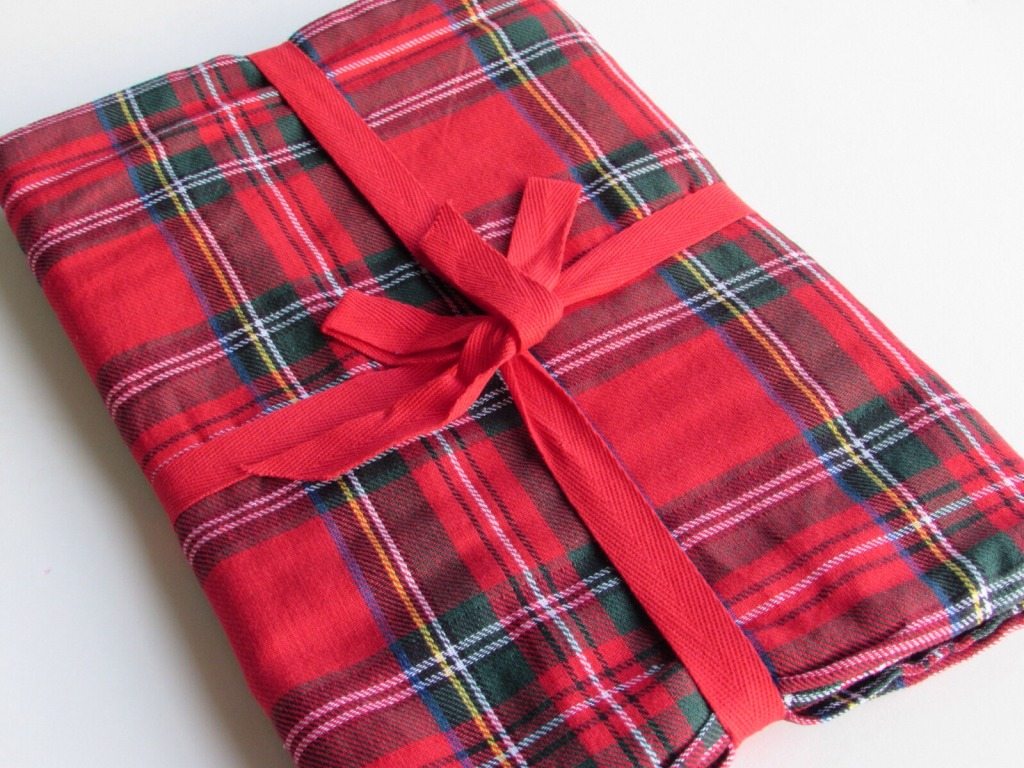
I purchased a plaid table cloth at Homesense for $9.99 because it looked like the perfect picnic blanket. I just layered another blanket underneath so it was a bit more comfortable.
 

Teddy-bear-picnic-sparkleshinylove


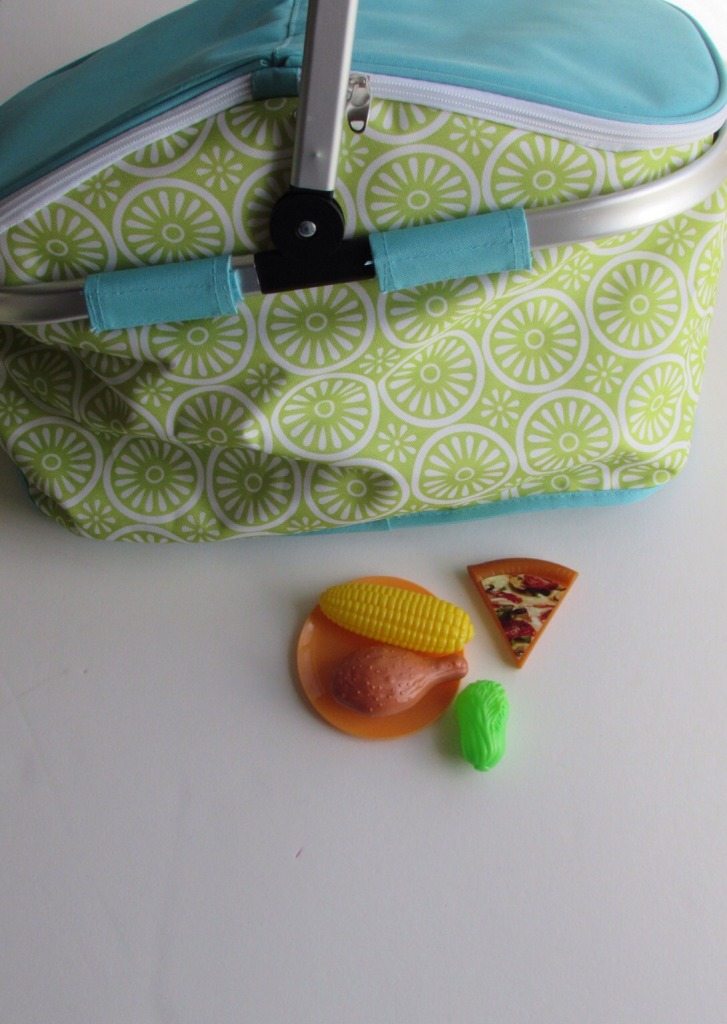
The idea was to first have the kids play for a bit, then take their bears out of daycare to have a picnic. They sat down with their bears on the picnic blanket, and I brought over a picnic basket full of plastic food to feed their bears. It was really cute to see them take it so serious and feed their bears lunch!
 

Teddy-bear-picnic-sparkleshinylove


Finally it was time to feed the kids. I bought baskets to go with the picnic theme at a store called Wholesale Club where they sell restaurant supplies. Each basket was only $1.50. I added one of the checkered pattered napkins to make a cute picnic basket for their lunch.
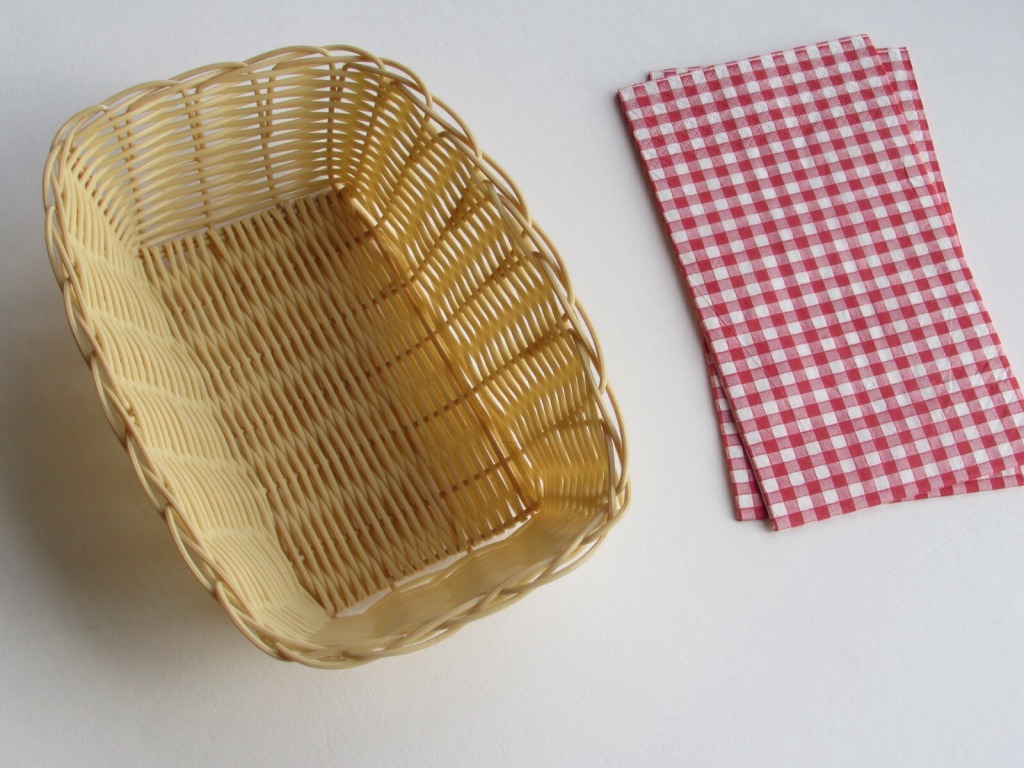
 

Teddy-bear-picnic-sparkleshinylove


In their baskets each child had an apple juice, fruit cup, a couple cerely sticks, a Bear Paw, and a sandwich.
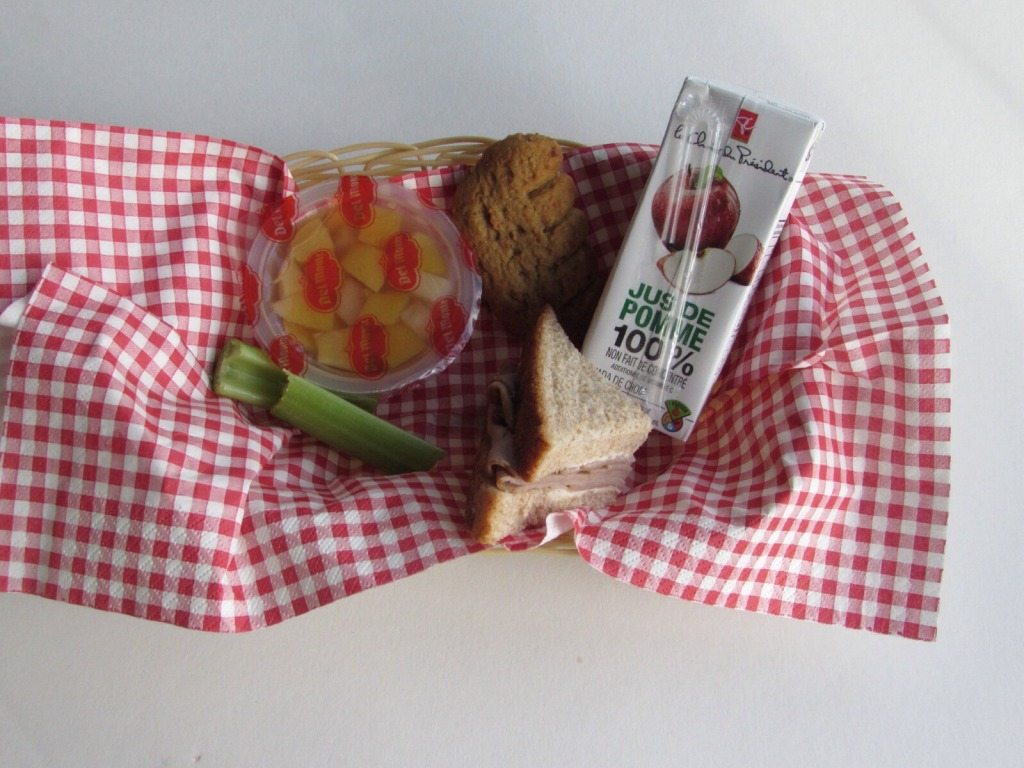
 

Teddy-bear-picnic-sparkleshinylove


It was a really fun theme to work with, and I think the kids had a good time!

For the adults I made a crustless quiche that I found on Budget Bytes that turned out really well! I have made a few good recipes from that website, and they have been really good. I changed up the recipe a bit, and I’ve added my own changes and step-by-step photos below as well.

To see the original recipe, visit the Budget Bytes website here. Like I said I changed it up a bit from the original.

Here is what I needed:

A handful of fresh spinach
One package of sliced mushrooms (I used cremini)
One clove of chopped garlic
2 oz of crumbled feta
4 eggs
One cup of milk
Half a cup of shredded Parmesan
One cup of shredded Mozzarella
Salt and Pepper
Olive Oil spray

Step one was to chop up the fresh spinach, and layer it along a baking pan. I sprayed the baking pan with olive oil spray so the quiche wouldn’t stick to the pan.

Crustless-quiche-sparkleshinylove

Next up I put the mushrooms and garlic into a frying pan and cooked them on medium until they were soft and there was no juice in the pan from the mushrooms. I added a little salt and pepper at this point as well.

Crustless-quiche-sparkleshinylove

Next up I added the mushrooms and garlic on top of the spinach.

Crustless-quiche-sparkleshinylove

I like to use Apetina Feta in water, and I took a few handfuls (2 oz-ish) and added them on top of the mushrooms.

Crustless-quiche-sparkleshinylove

In a separate bowl I wisked the four eggs, added milk and the parmesean cheese and some salt and pepper. I poured this onto the ingredients in the pan, and then put the mozzarella cheese on top. That’s it – super easy! It baked for 45 minutes at 350 degrees. The quiche was pretty yummy, and so easy to make. And easy is very important when you have to worry about throwing something in the oven in the middle of a party! I planned on having tea at the party as well with a really cute tea set I had, but I completely forgot in the middle of all the chaos. Oh well, now my next party theme will be a tea party!
 

A Quick and Easy DIY Burlap Advent Calendar

DIY-Burlap-advent-calendar-sparkleshinylove


As much as I love those cardboard advent calendars with the waxy-tasting chocolate, I thought this year I would make an advent calendar for my son. Oh I will for sure be buying one of those advent calendar’s with the funny tasting chocolate anyway for myself though – no chocolate is bad chocolate!

This will be the first year my son really understands the holidays, so I thought making my own advent calendar would would be a great way to countdown to the big day to get him excited.

This whole project only took me an hour, and it was super easy! It actually didn’t cost much either which was a great bonus too.

Here is what I needed:

Roll of Twine
25 Clothes Pins
25 Mini Burlap Sacks
Black Fabric Marker
Stencil Kit

I picked up some twine and clothes pins at the dollar store, and I purchased burlap bags at Michaels which were two for $1.50. Luckily my husband already had stencils, so the only other thing I needed was a fabric marker (purchased it Michaels as well – regularly $8.49 but I had a 40% off coupon).


DIY-Burlap-advent-calendar-sparkleshinylove


DIY-Burlap-advent-calendar-sparkleshinylove


I used the stencils to put numbers one to twenty five on each of the burlap bags for the Chistmas countdown.


DIY-Burlap-advent-calendar-sparkleshinylove


Since I was writing on burlap the numbers dried as quickly as I filled them in. I had another idea to use mittens instead of burlap bags, but I had a really hard time finding ones I liked! Walmart had some cute ones in their baby section for only 60 cents each, but I could only find blue which didn’t work with my plan.

Once I finished writing the numbers I just had to hang the string on the mantel and clip the saks to the string. Super easy!


DIY-Burlap-advent-calendar-sparkleshinylove


DIY-Burlap-advent-calendar-sparkleshinylove


I’m not sure exactly what I am going to put inside each sack, but there’s enough room to put a small toy, or a mini book or treat.

I’m pretty happy with the overall product, and like I said it was quick, easy, and was very budget friendly as a bonus too!


DIY-Burlap-advent-calendar-sparkleshinylove


DIY-Burlap-advent-calendar-sparkleshinylove

A Pirate Themed Bathroom With A Little DIY

Nautical-decor-sparkleshinylove


The most difficult room in a house to decorate HAS to be the bathroom. They are usually small, strangely-shaped, and since the focus of the room is normally cleanliness, it’s not like you can make it more comfortable than it is with some throw pillows.

What’s worse than decorating a bathroom? Decorating a kid’s bathroom! Kids are messy. Things are unavoidably going to be destroyed, so things they can reach need to be durable and practical. Wow, who would have ever thought I would ever use those words – durable and practical! How boring.

Winter is when I work on those home projects I have left by the wayside in favour of summer weather and drinks on the patio. My first project when summer ended was to finish up my son’s bathroom. This bathroom is all his to use, so I could get away with a theme he would like. I asked him what he thought, and he said “Pirates!”. If I asked him today what he would want his bathroom to have he would say “Cars!”, so I’m just not going to ask him for a while.

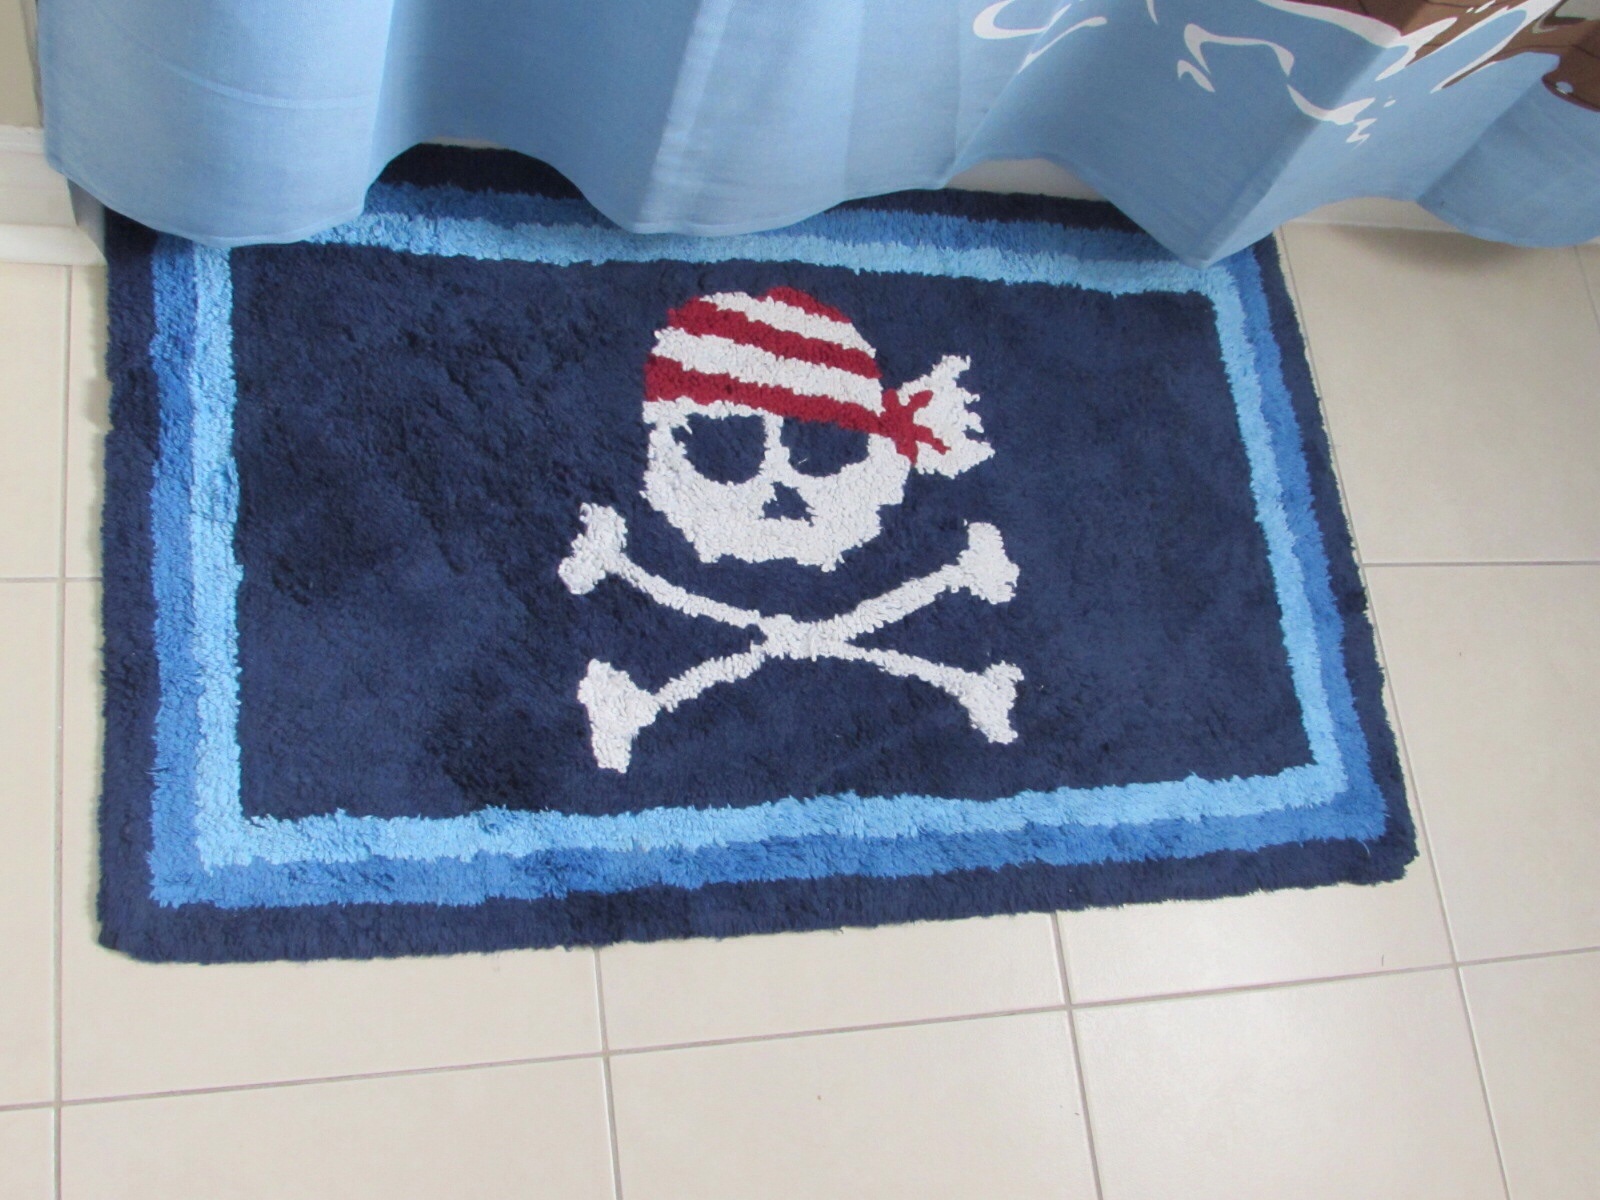
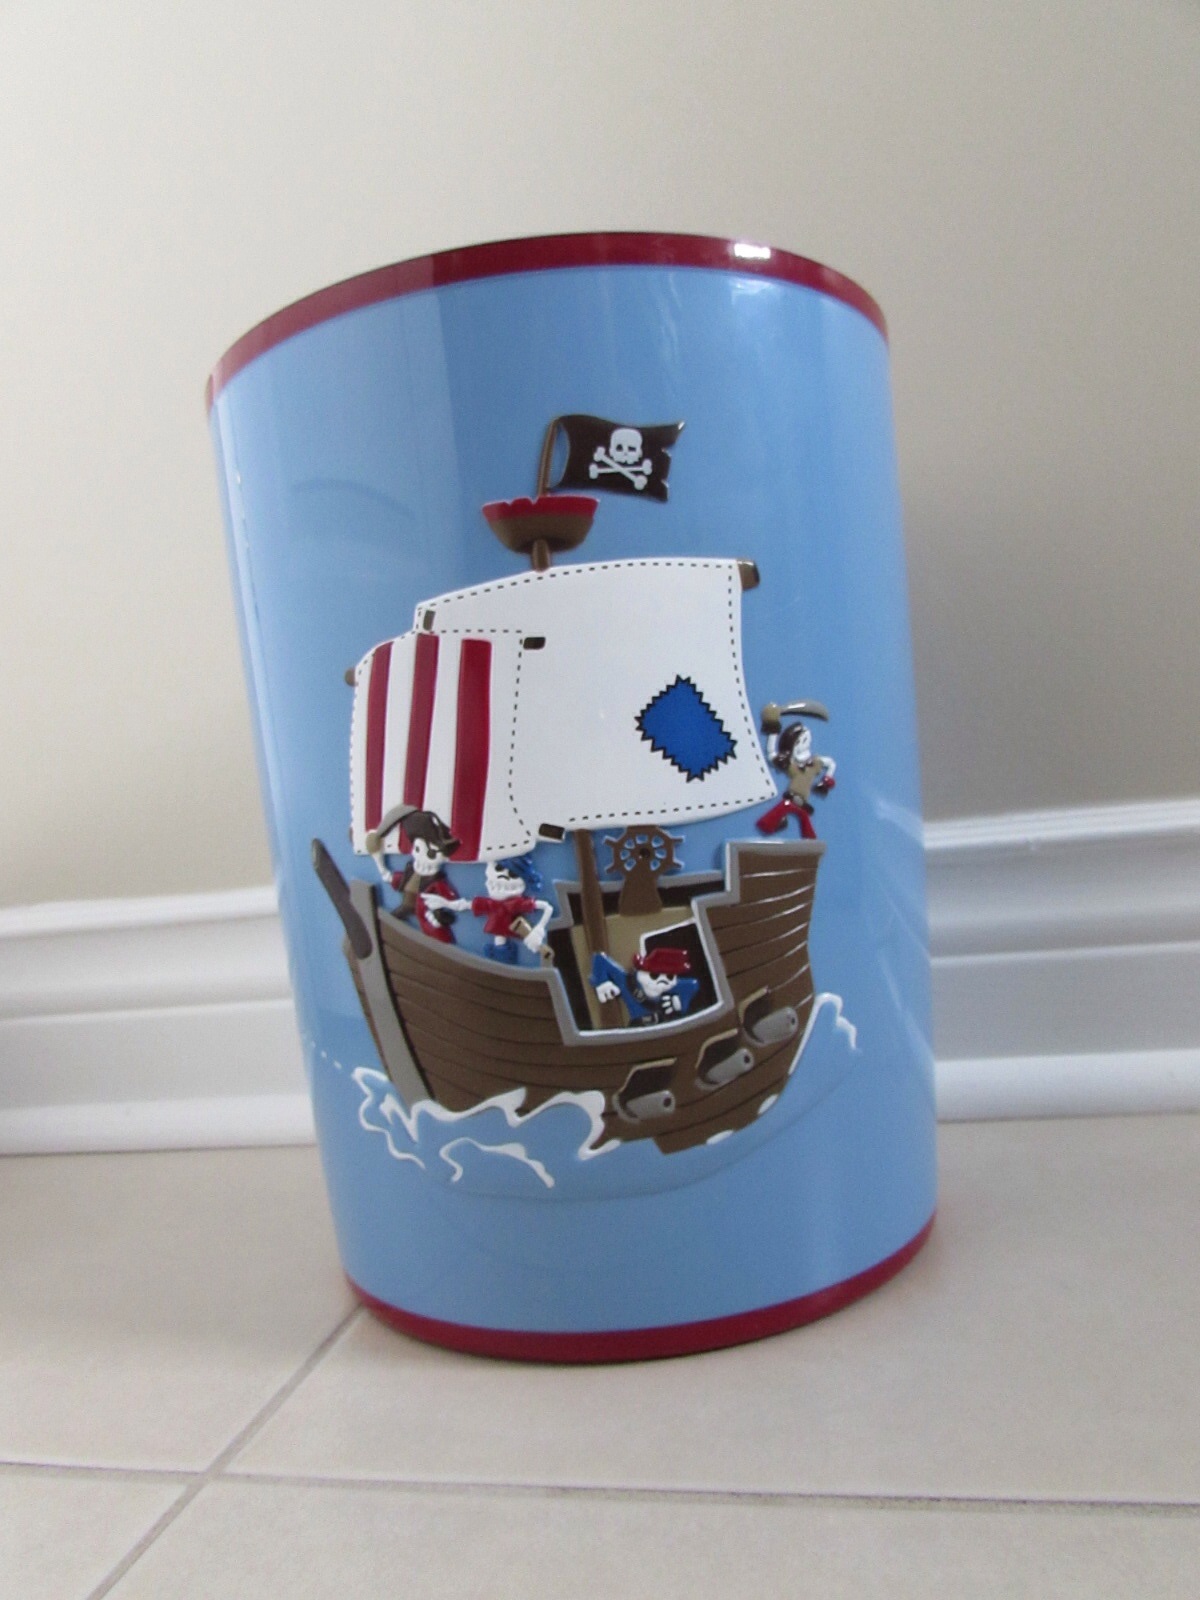
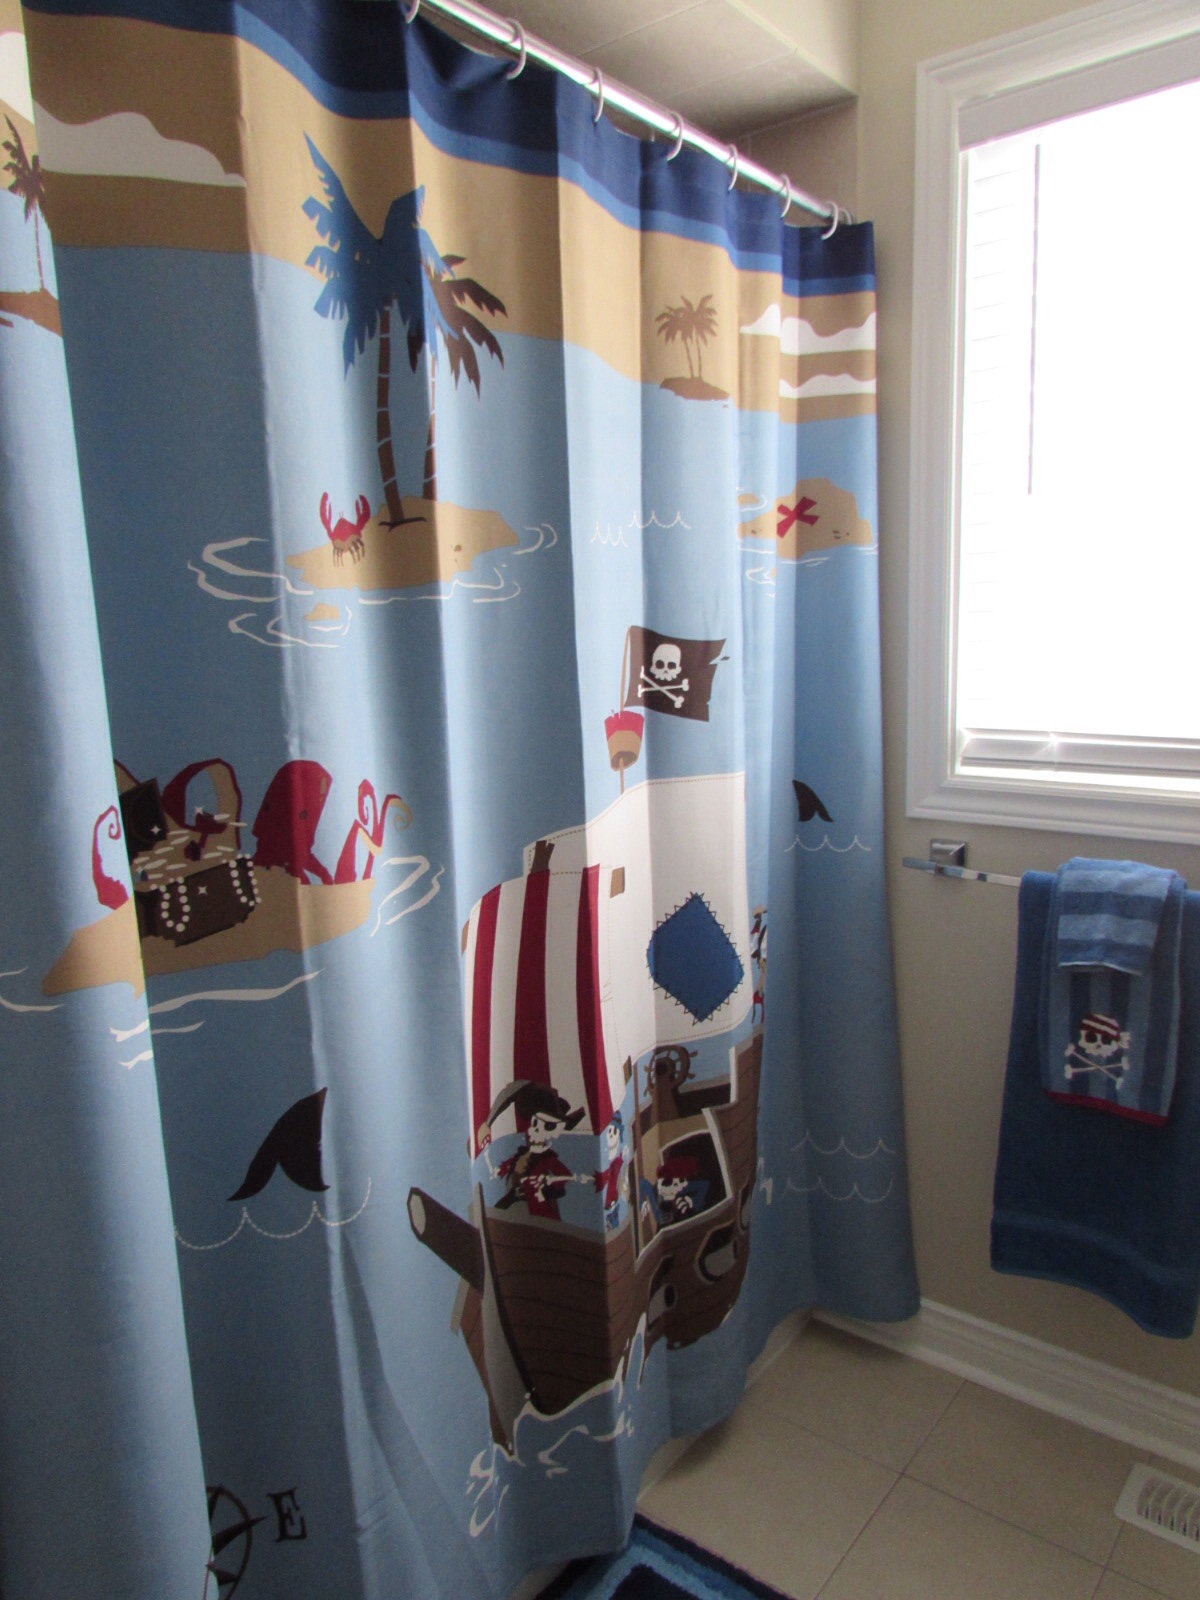
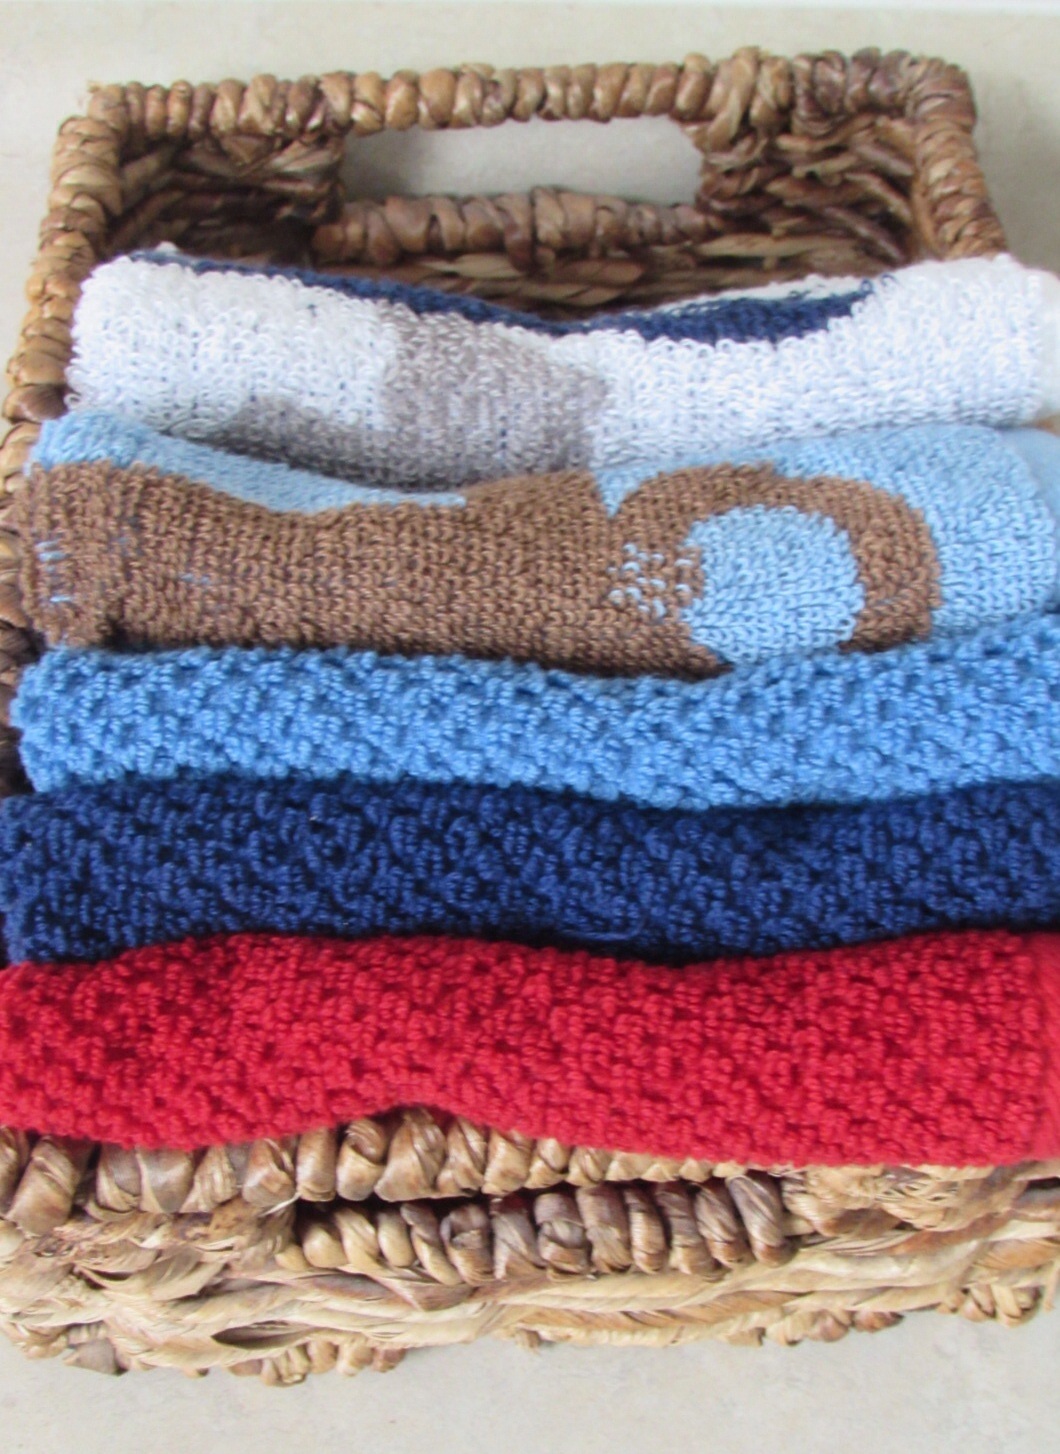
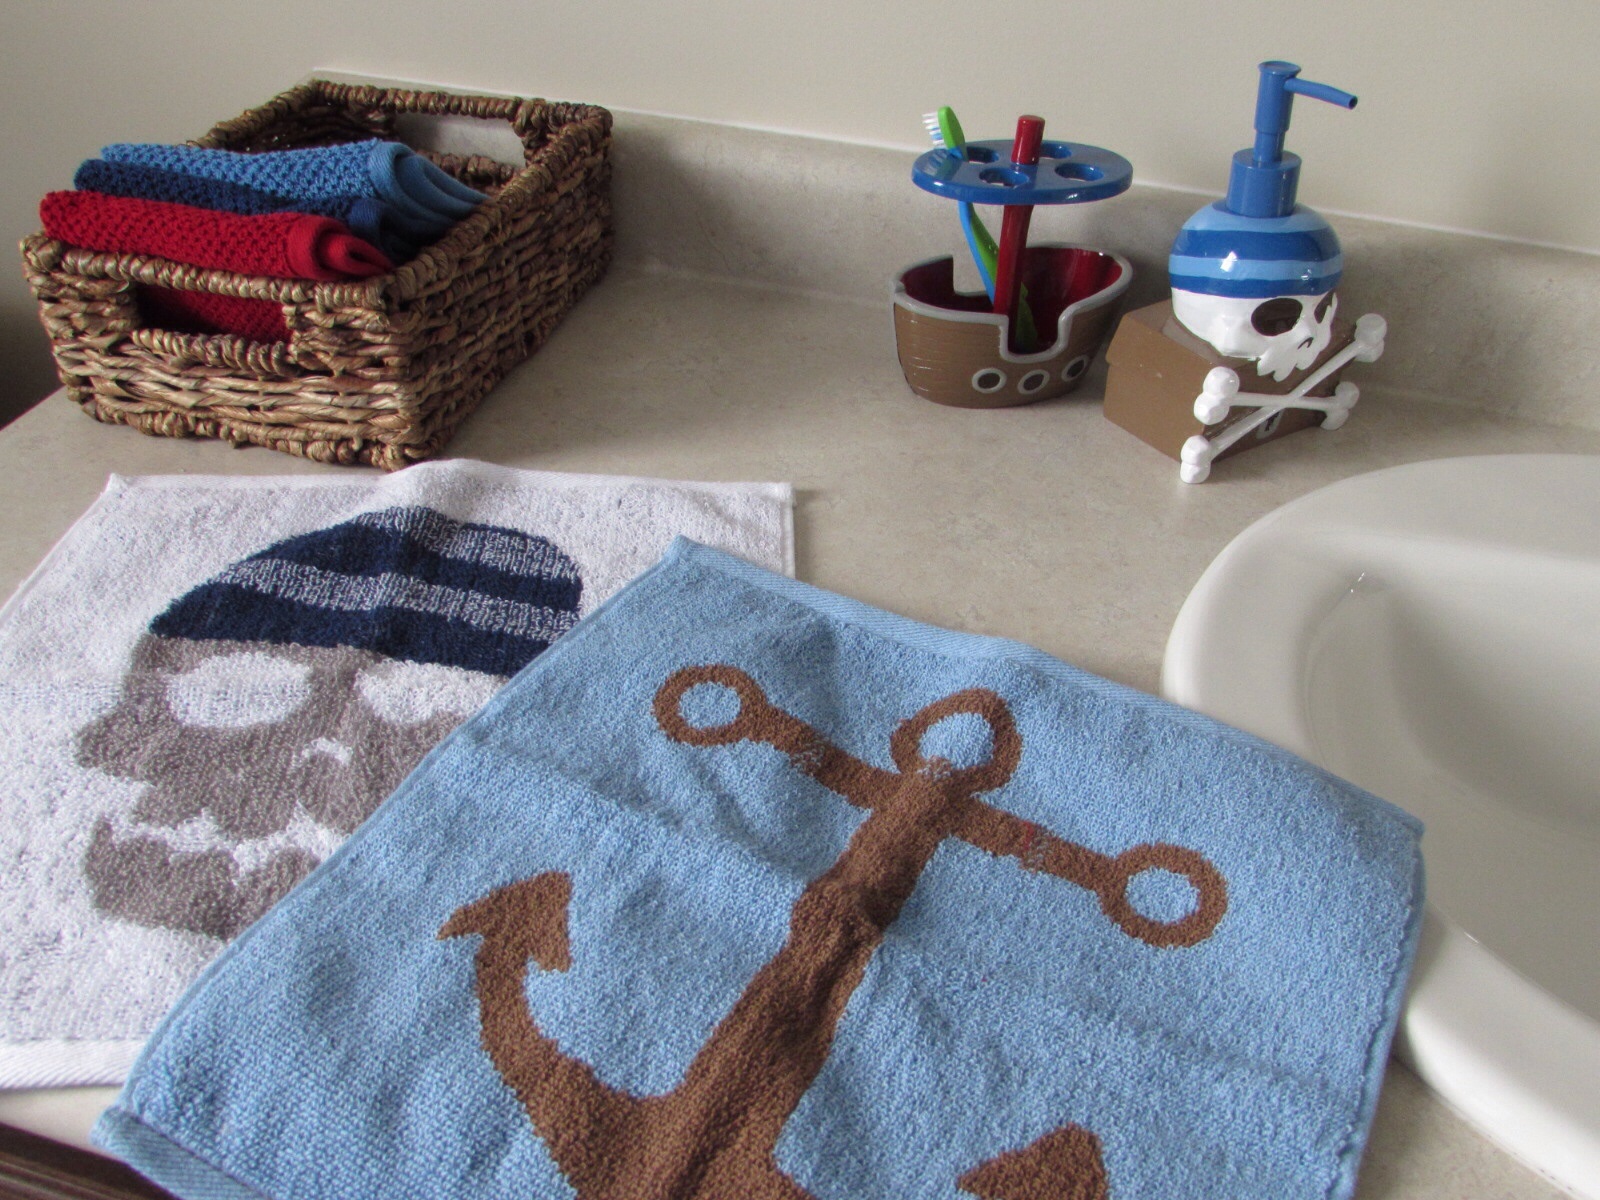
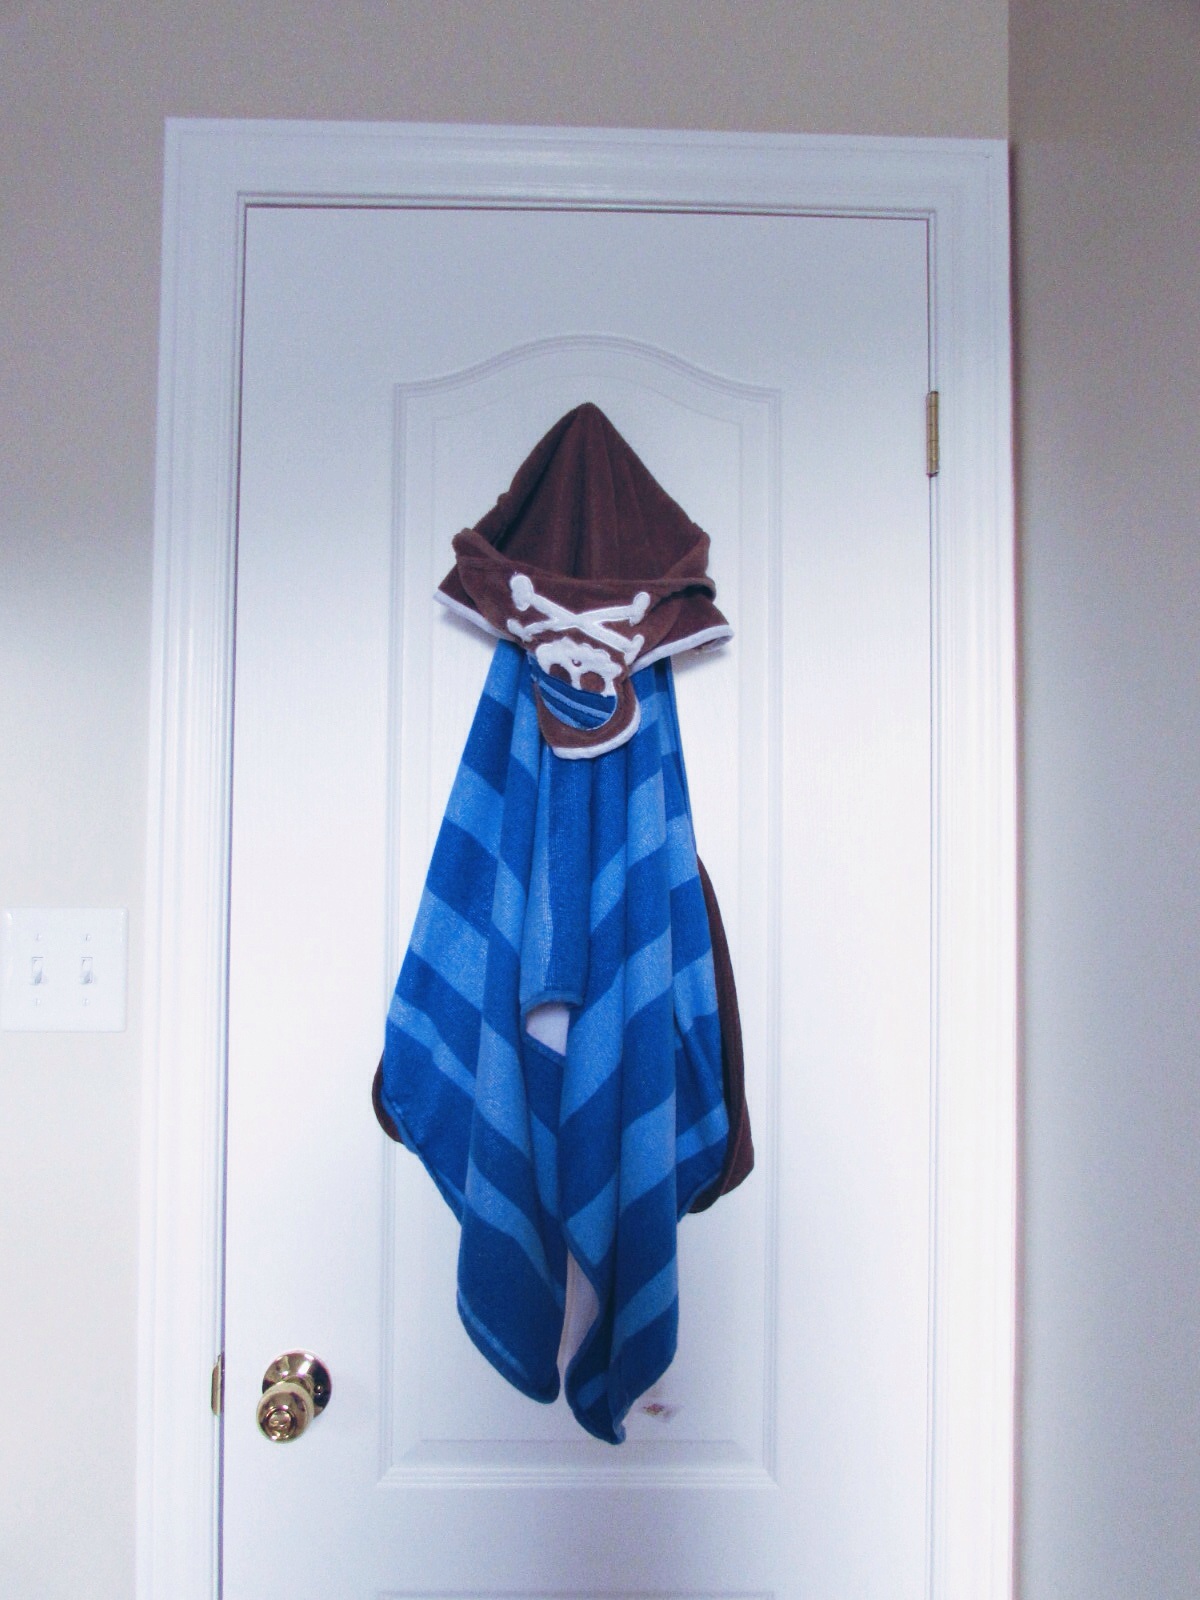
It wasn’t very Pinteresty of me, but I started out at Target! They had a really cute pirate set of a shower curtain, hooded towel, garbage pail, soap and toothbrush dispenser, bath mat, and matching washcloths and towels.


Pirate-theme-bathroom-sparkleshinylove


Pirate-theme-bathroom-sparkleshinylove


Pirate-theme-bathroom-sparkleshinylove


Pirate-theme-bathroom-sparkleshinylove


Pirate-theme-bathroom-sparkleshinylove


Pirate-theme-bathroom-sparkleshinylove


Pirate-theme-bathroom-sparkleshinylove


When I showed my husband my haul (it took me a while – I love Target but they never seem to have a lot of stock so I probably went to three stores) and what I had done with it, he said he was glad it was finished! He felt like the room was done, and it could have been, but I felt like I had to do a few other things to make it a bit more personal.

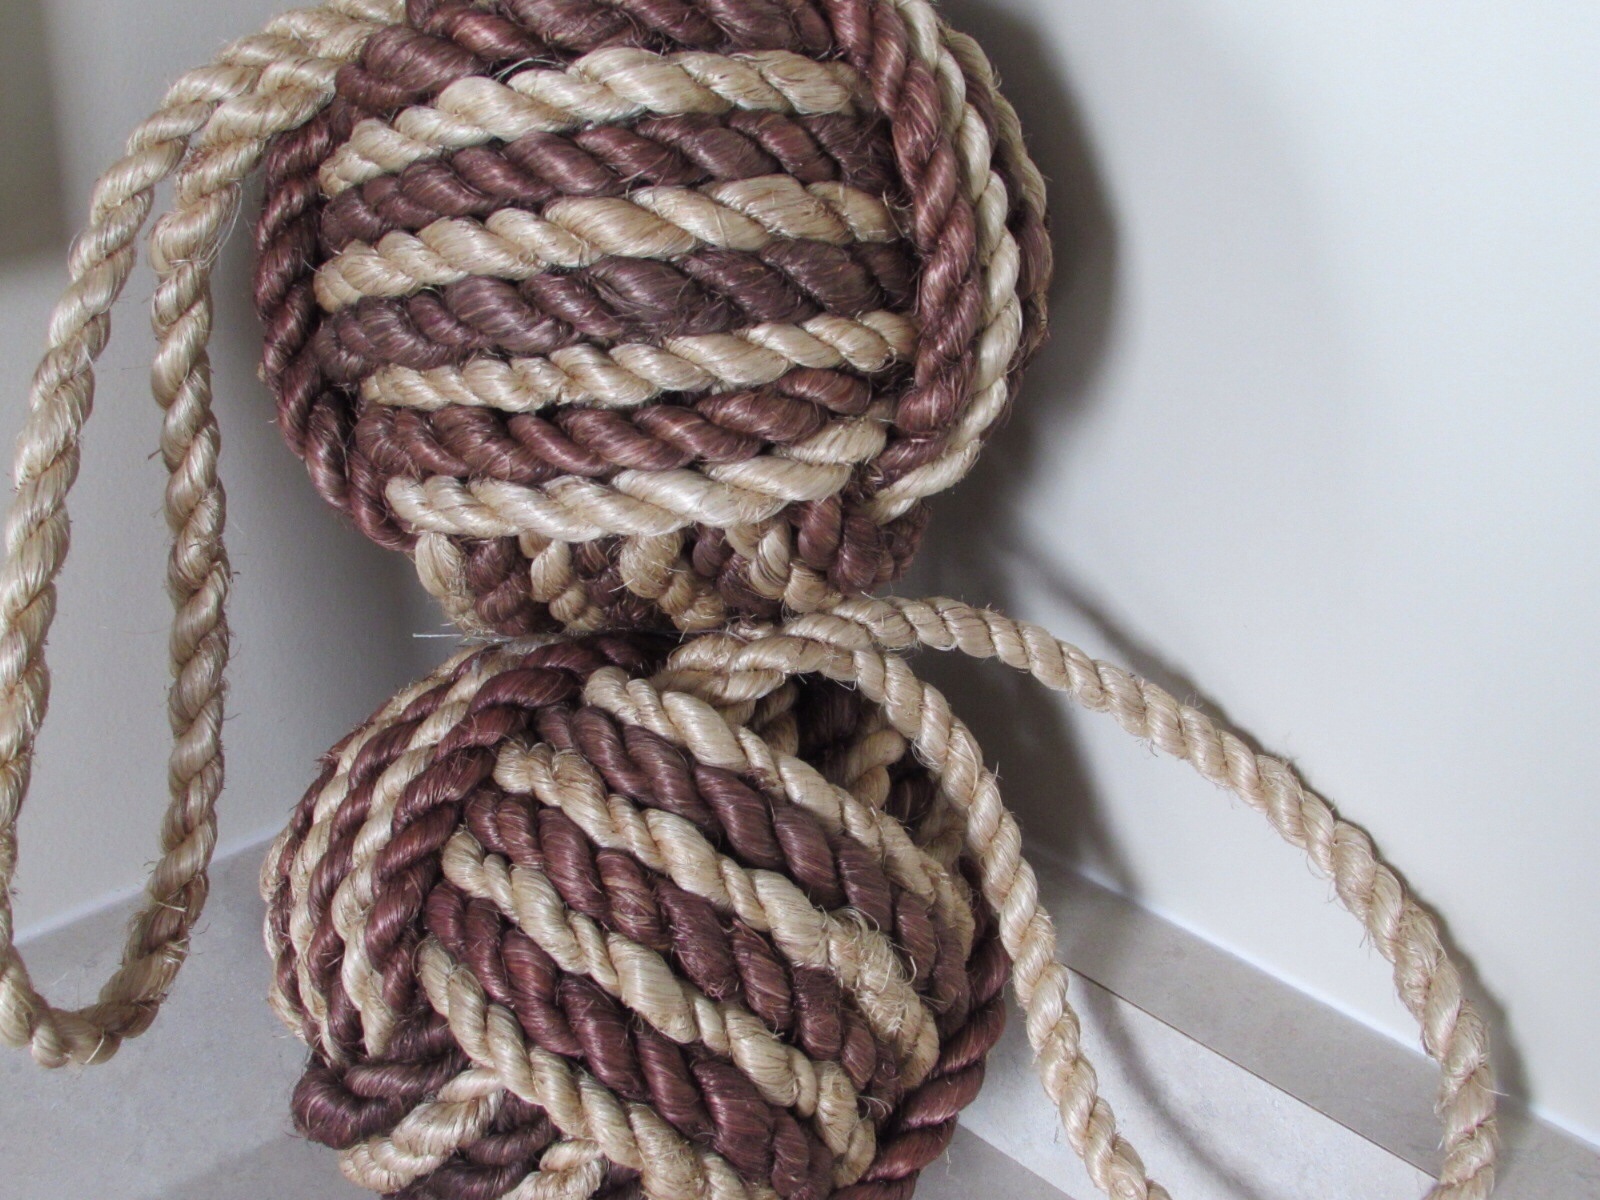
I picked up these great rope knots from Homesense for $4.99 each which was a steal!


Pirate-theme-bathroom-sparkleshinylove


Nautical-decor-sparkleshinylove


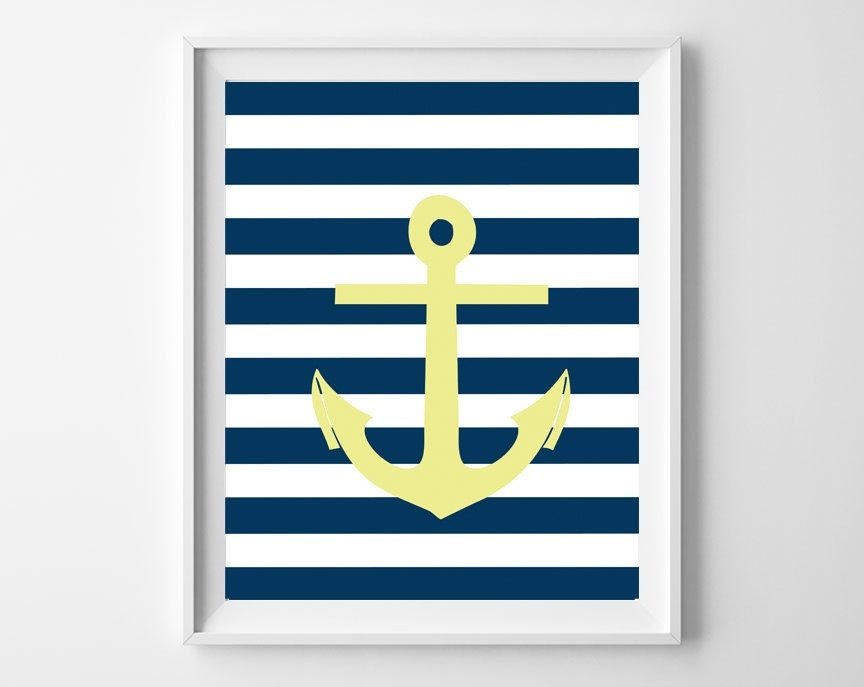
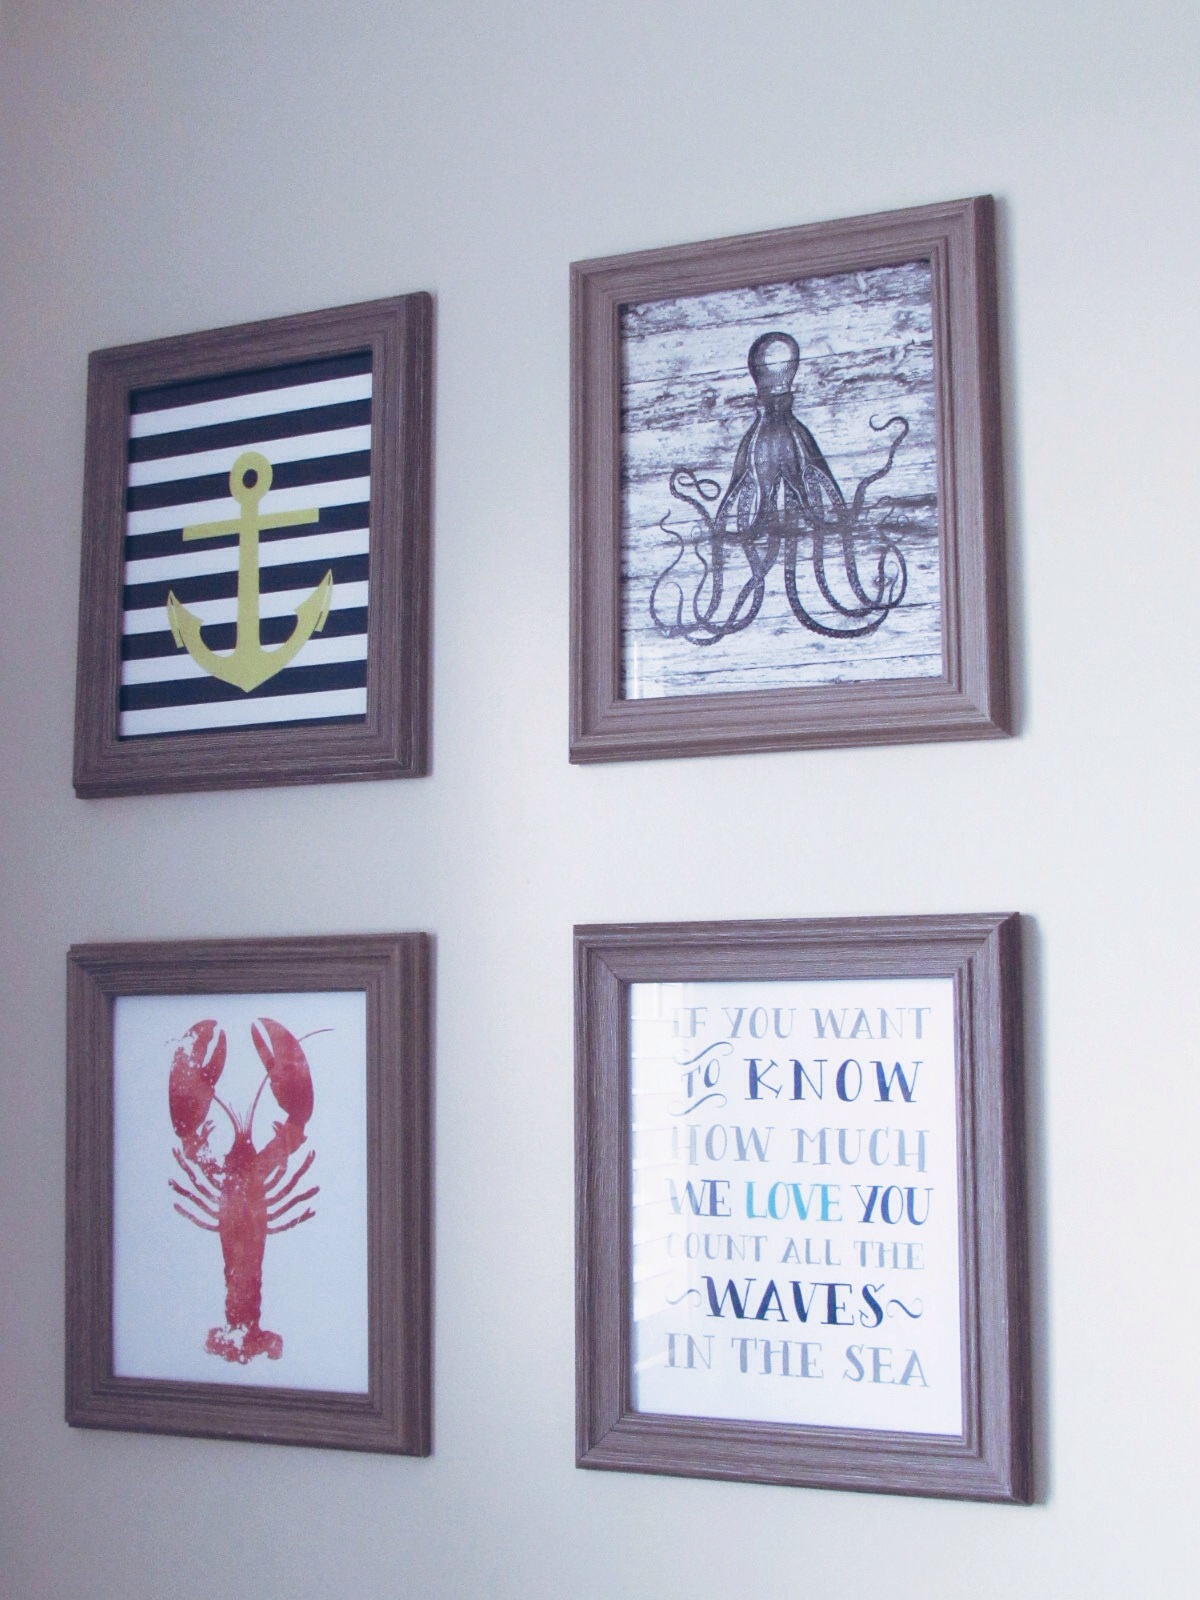
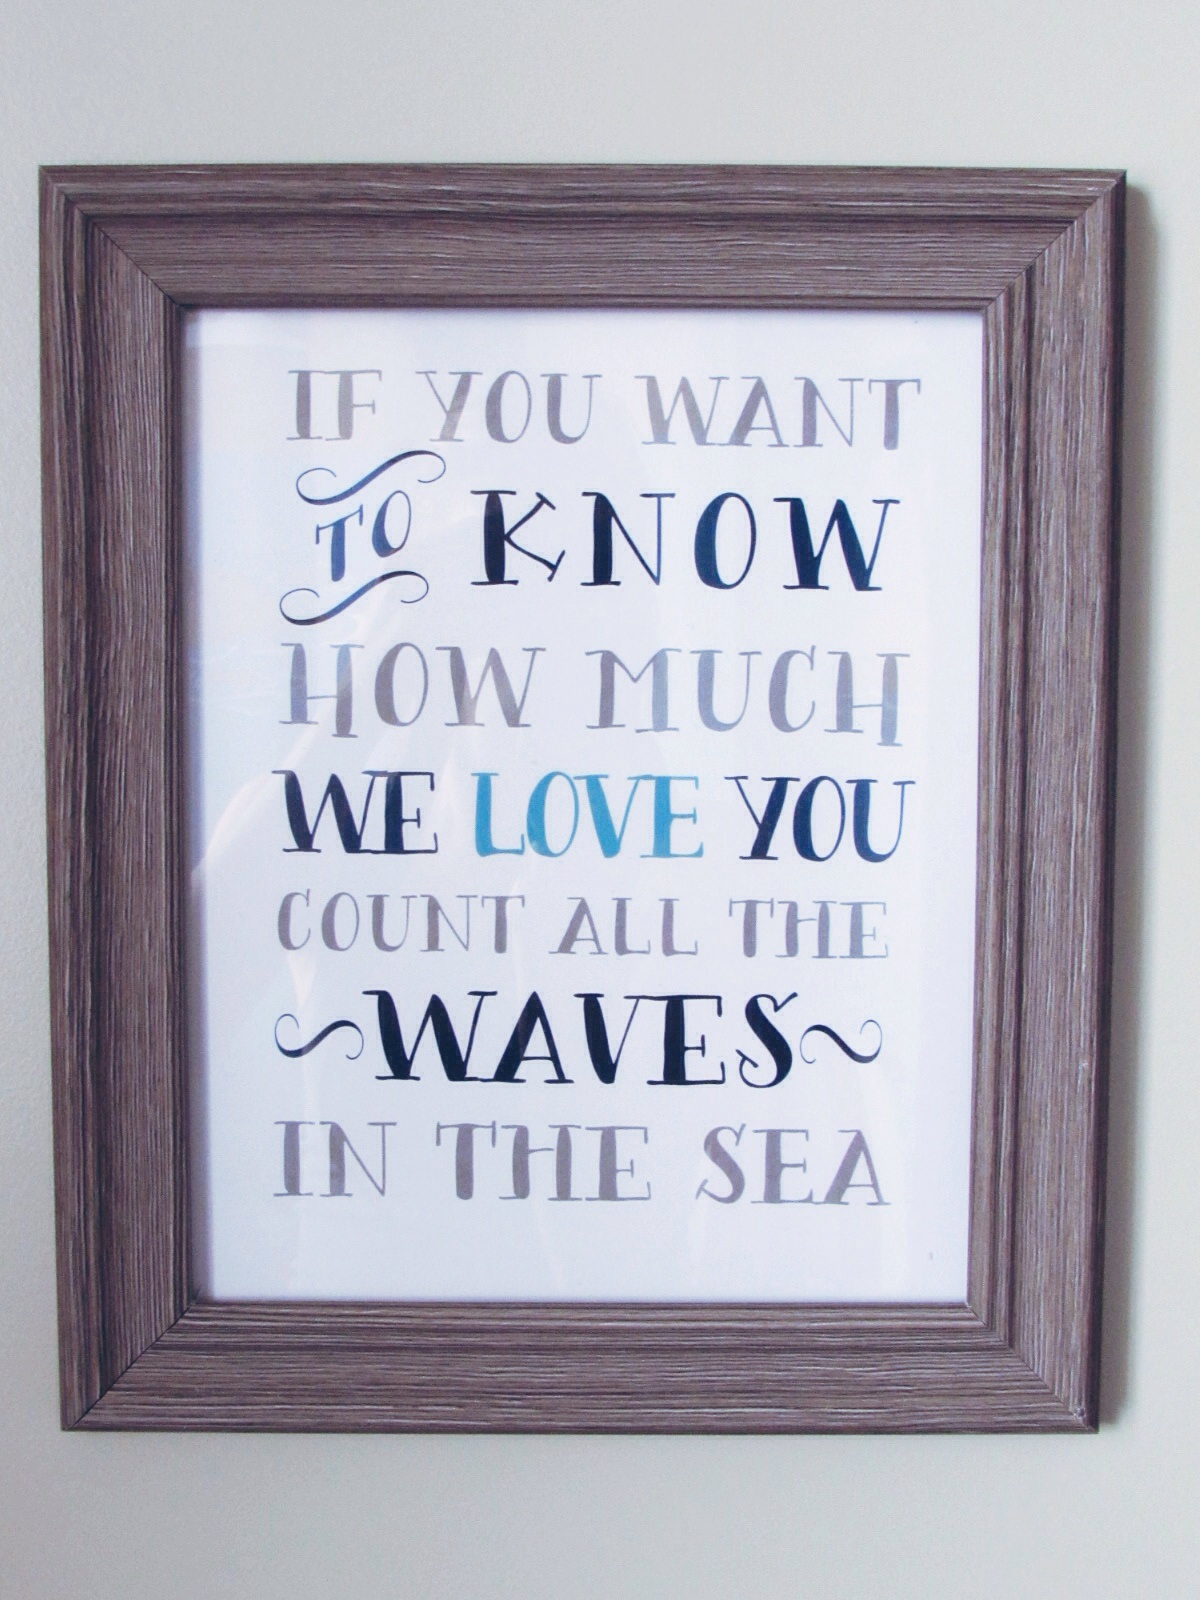
For wall art I went to Etsy to find some cute prints that I could frame myself. I found these first two at the Only Printable Art store here. The prints were only $5.57 CDN each!


https://www.etsy.com/ca/shop/OnlyPrintableArts


https://www.etsy.com/ca/shop/OnlyPrintableArts


The next two prints I chose were from different stores on Etsy. The lobster print was from Digital Art Downloads by Jonathan who’s store can be found here.


Nautical-decor-sparkleshinylove


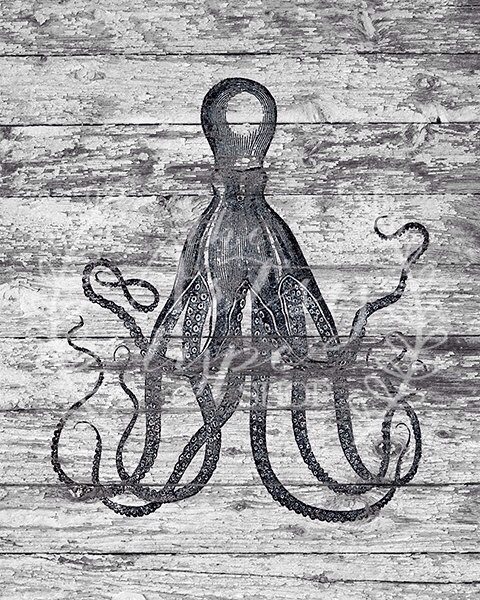
The octopus print was from The Artsy Type Shop found here.


Nautical-decor-sparkleshinylove


I picked up the frames at Walmart for two for $12.00.


Nautical-decor-sparkleshinylove


Nautical-decor-sparkleshinylove


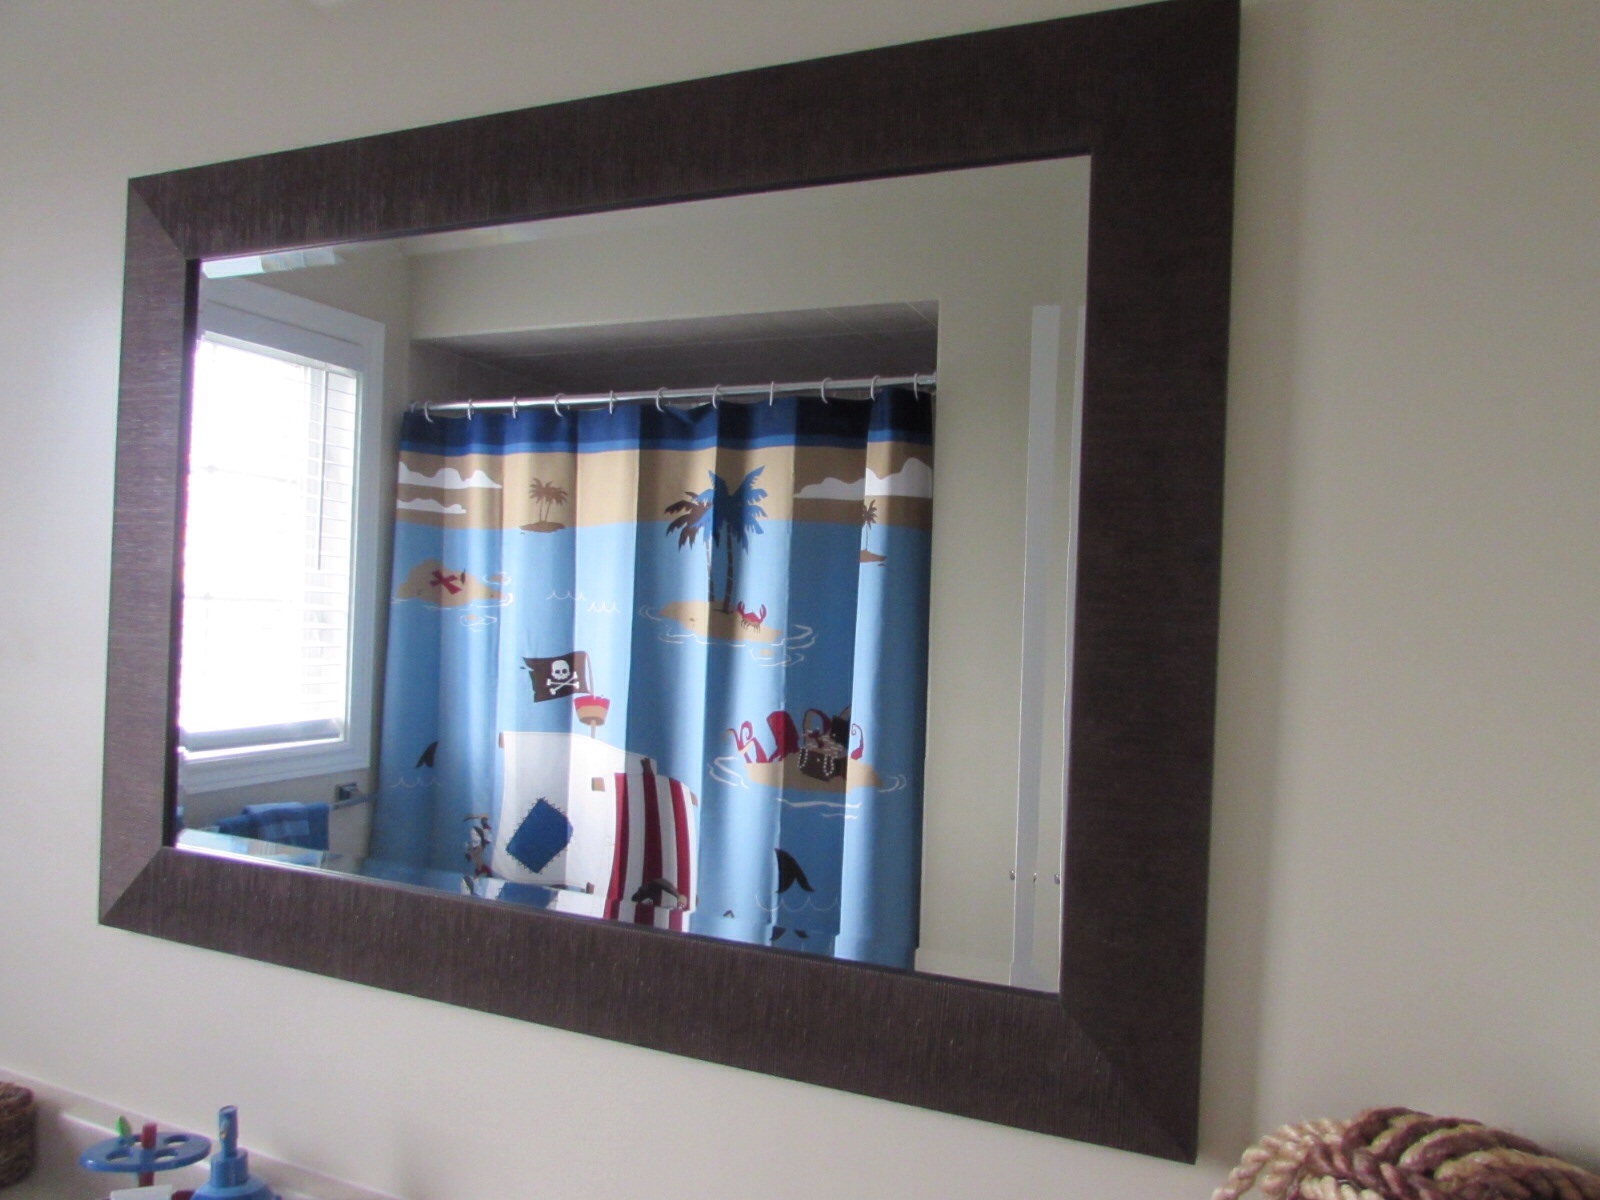
I wasn’t overly happy with the mirror in the bathroom – I wanted something more nautical. I looked everywhere and couldn’t find anything! I had an image in my head of what I wanted, so I decided to do it myself.


Nautical-decor-sparkleshinylove


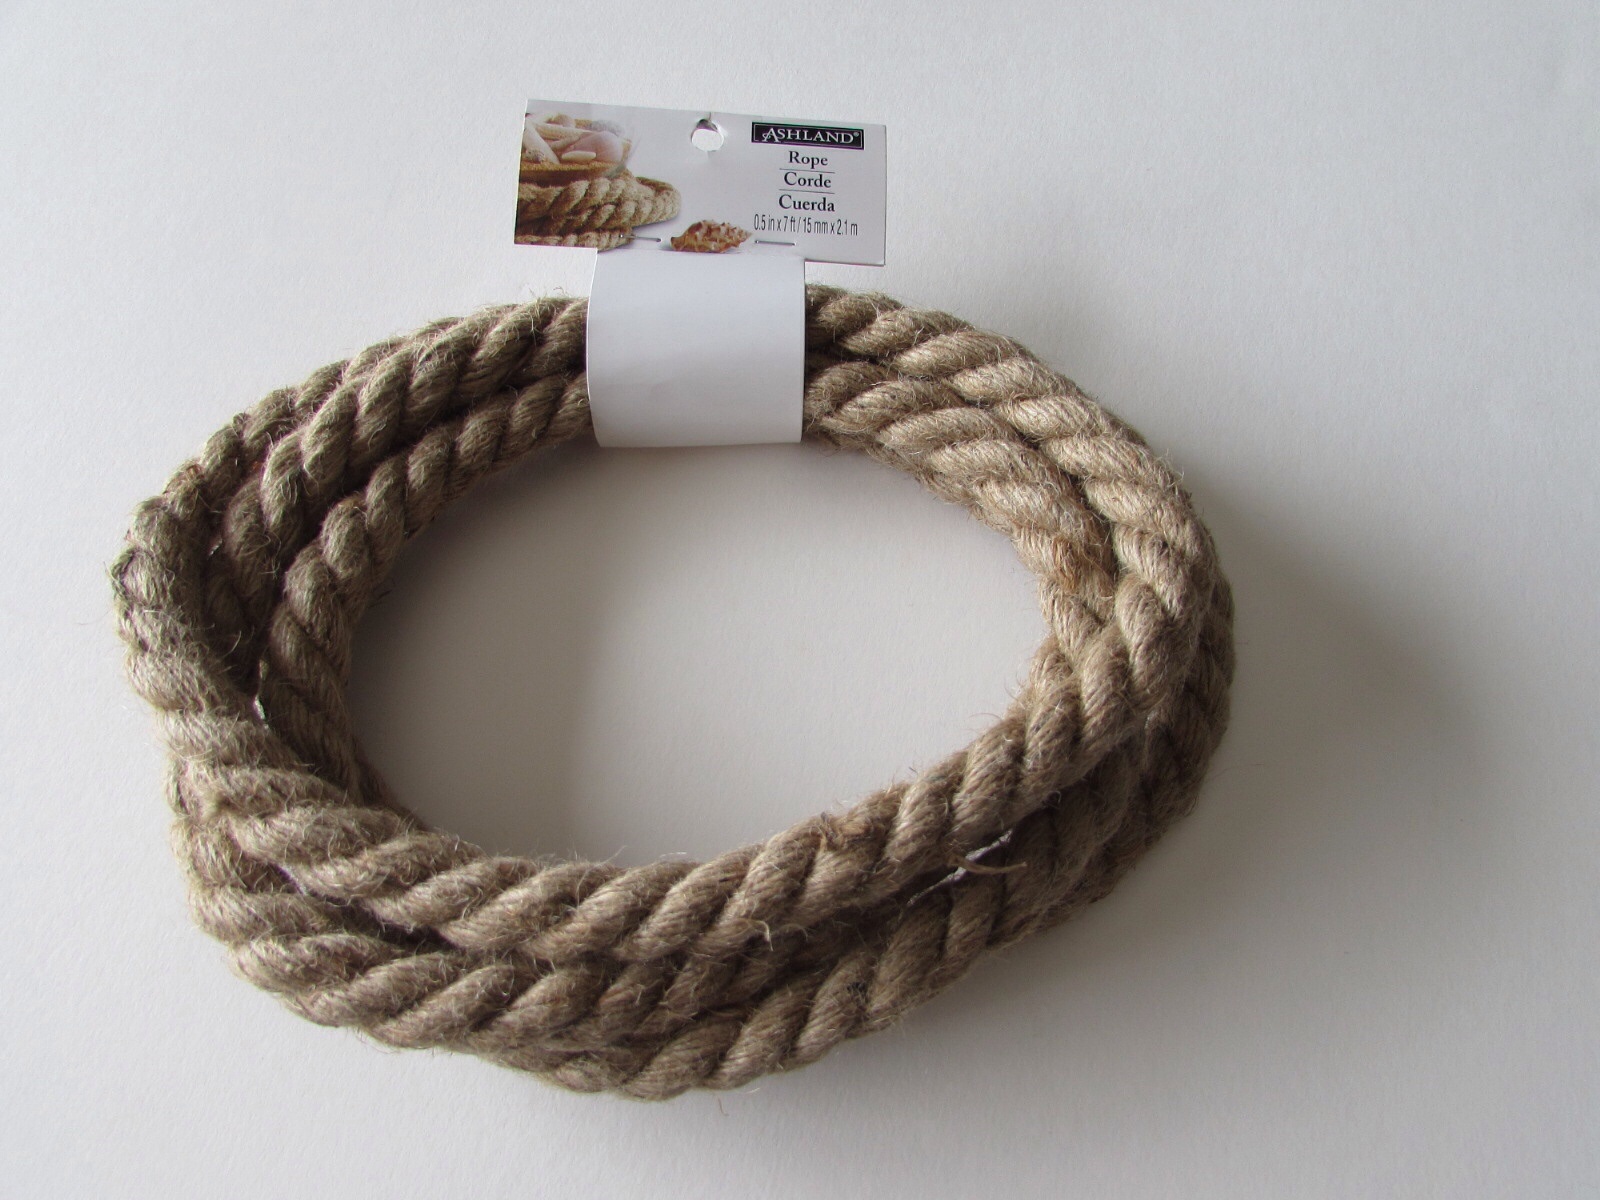
I wanted to incorporate rope into the mirror, so I went looking for materials. Do you know how hard it is to find rope? I thought I could just to one of those obscure isles at Home Depot and find the rope I wanted. Not so easy! I went to Home Depot, Lowes, Canadian Tire and Walmart and couldn’t find what I wanted. Finally Michaels had what I was looking for.


Nautical-decor-sparkleshinylove


Each package was $9.99, so I made a few trips to the store with one of those 40% off coupons you can find online. I grabbed my pink glue gun (obviously it’s pink, right?), and got to work!


Nautical-decor-sparkleshinylove


I glued the rope right to the mirror frame, covering the border completely. It was easier than I thought it would be!


Nautical-decor-sparkleshinylove


Nautical-decor-sparkleshinylove


Before I knew it, I was done and pretty proud of myself! I did a DIY project! I don’t usually get too crafty, so this was a big deal. The good news is my son loves his bathroom. For now. Just don’t ask him what theme he wants in there next, because I don’t feel like glueing cars to the mirror instead.


Nautical-decor-sparkleshinylove


Nautical-decor-sparkleshinylove


Nautical-decor-sparkleshinylove